- Overview
- Step 1 - Create your project
- Step 2 - Add Account Codes
- Step 3 - Set up Share Groups
- Step 4 - Add Specification Division Codes
- Step 5 - Add Specifications
- Step 6 - Customize Form Types
- Step 7 - Add Merge Templates
- Step 8 - Add Folder Structure
- Step 9 - Invite Users to the Project
- Conclusion
Overview
The point of this article is to walk you through how to set up your first project (or project template) in ProjectTeam.com. You do not need to follow each step exactly, but the article will at least touch on the important areas.
-
On the top of your main navigation bar, click the Projects dropdown and select the View All Projects… option.
-
On the "All Projects" page, click the New Project button.
-
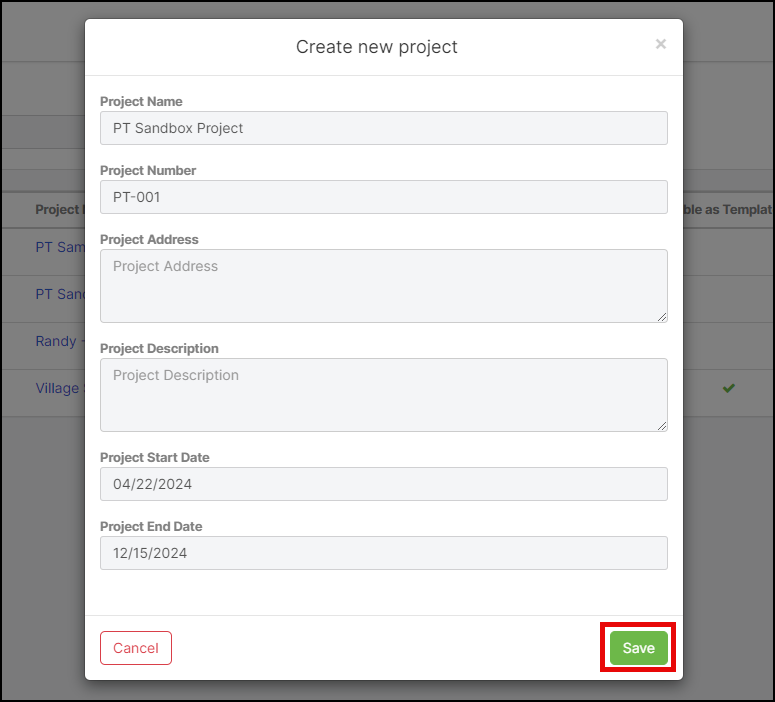
Fill in the general details of your project including Project Name and Project Number (you will be able to edit these fields later as well).
-
Click the Save button to close the window and view your new project.
Once you've created your project, there are a couple of important areas within the administration of the project to set up, especially if you plan to manage financial information such as Contracts, Payment Applications, and Budgets.
Step 2. Add Account Codes
Why is this important?
You will need to add Account Codes before you can add Budget Items and/or Budget Amendments.
-
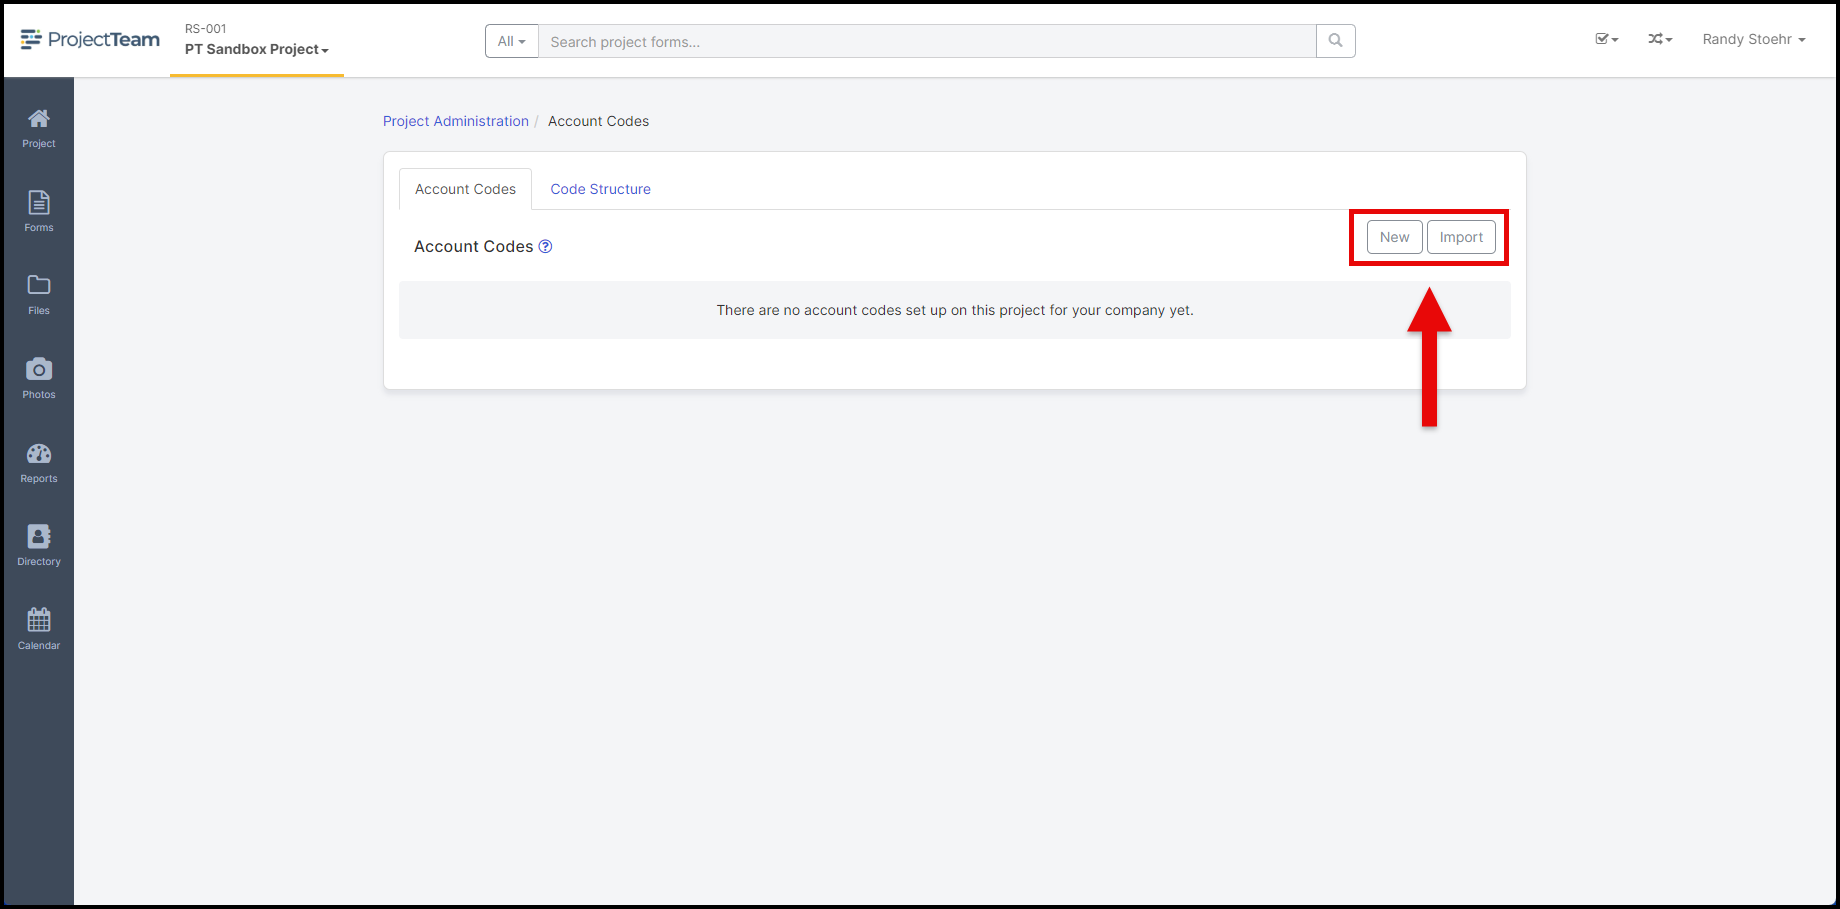
On the project homepage, scroll to the "Project Administration" panel and click the Account Codes option.
-
Before adding your account codes, you will need to set up your code structure. Click the Code Structure tab.
-
Click the New Segment button.
-
Add a "Segment Name", "# of Characters", and "Delimiter" (Ex. Category, 4, dash).
-
Click the Save & New option and repeat step 4 until all appropriate segments (for example, if your account code structure looks like "01-2340-A" you will need to add three segments, all delimited by a dash").
-
Once your segments have been defined, click the Account Codes tab to start adding your actual project account codes.
-
You have the option to manually add or import your account codes. Read more about importing here.
Step 3. Set up Share Groups
Why is this important?
Share Groups are helpful for organizations that have a lot of users. You can add users to Share Groups and assign access permissions to those groups instead of managing individual users.
-
On the project homepage, scroll to the "Project Administration" panel and click the Share Groups option.
-
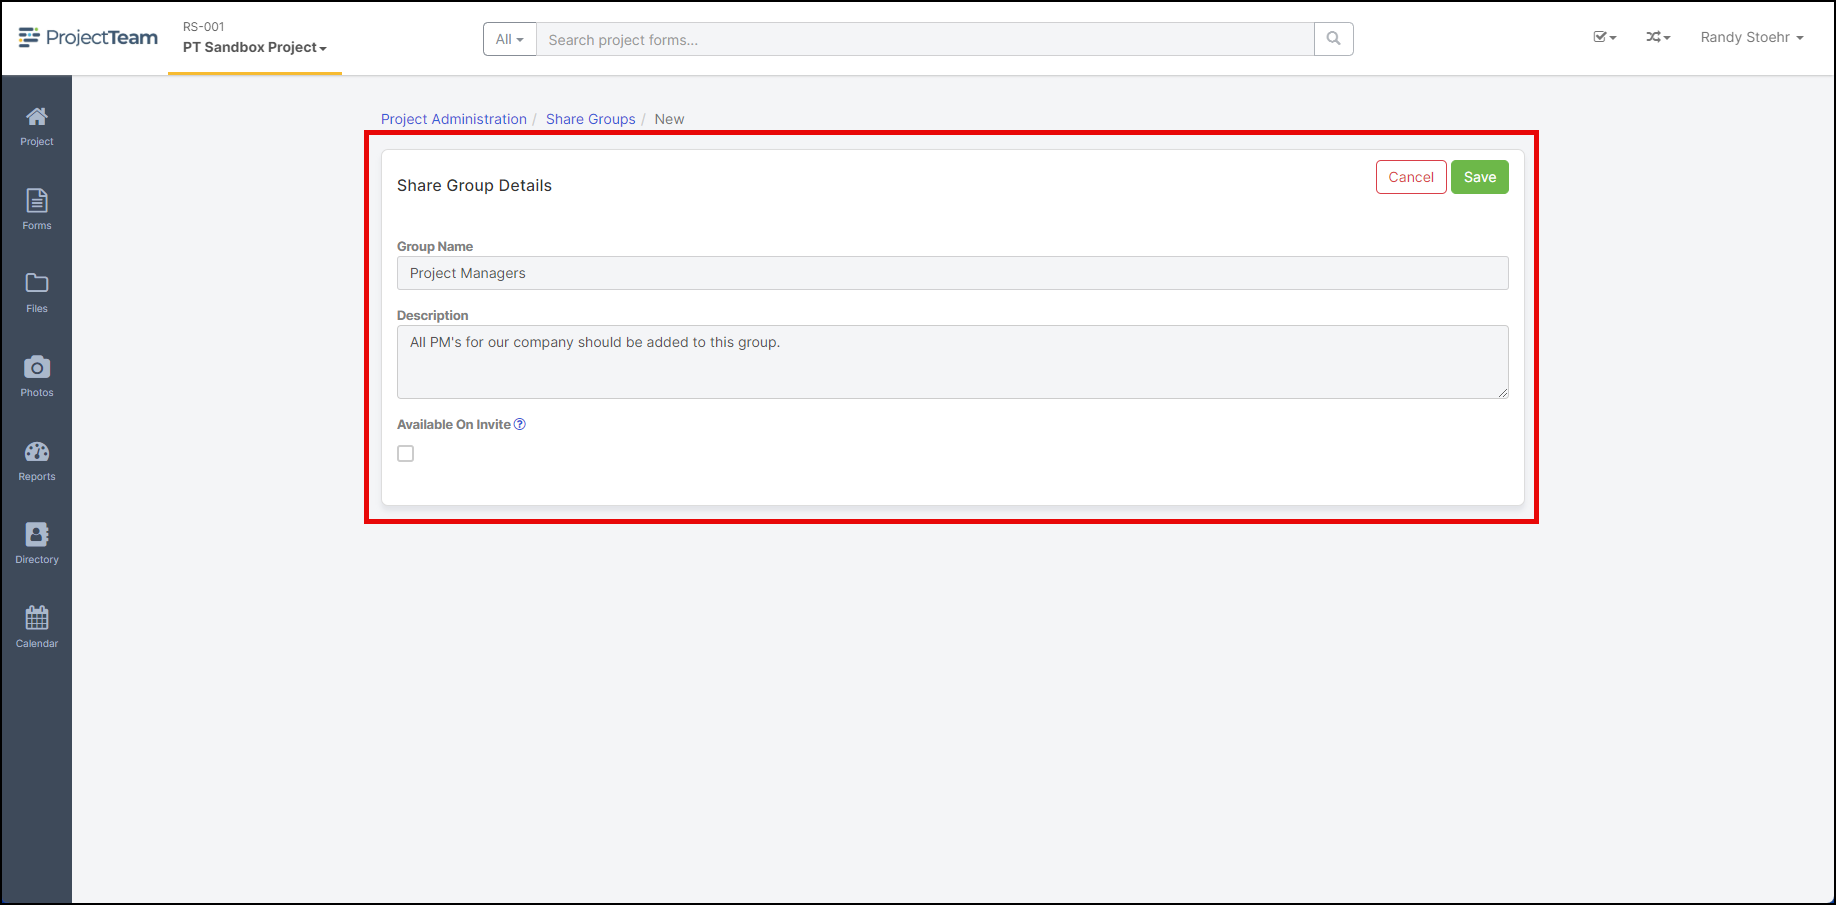
Click New to add your first Share Group.
-
Enter a "Name" and "Description" for your group (Ex. Project Managers, All PM's for our company should be added to this group).
-
Don't worry about adding user membership yet, you can add users at any time. It is recommended you finish the general set up of your project before inviting users and adding them to Share Groups.
Step 4. Add your Specification Division Codes
Why is this important?
You will need to add Specification Division codes before you can add your project Specifications.
-
Navigate to the Specifications form type.
-
From the log, click the ellipsis button and choose the Customize Form Fields option.
-
Find the “Division” field, click the caret dropdown, and click Edit.
-
In the Picklist Options area, click the caret dropdown next to the Add button and choose Bulk Add.
-
Add your custom options or copy the options from the “Specifications – Division Options.csv” file below and paste to the bulk add box.
Download : 16 Division - Specifications - Division Options.csv -
Click the Add button and then click the Save button at the top of the page.

Why is this important?
You will need to add Specifications before you can add your project Submittals.
-
Navigate back to your Specifications log.
-
At the top of the log, click New to manually add your Specifications one-by-one or click the Batch Import option. You can read about importing form data here.
-
The Specifications log should now be filled with the Specification items you added or imported. You are the only user that has access to the Specifications by default. To share, click the checkbox at the top of the log, then click the Share button that shows at the bottom of the log. You can read more about sharing here.
Step 6. Customizing Form Types
Why is this important?
ProjectTeam.com comes out of the box with a minimal number of system fields on form types because each company may have its own unique ways to track data on each form type. This section provides links to other help pages explaining "Customizing Form Types".
-
Company Form Types - Adding customizations at the company level will help you set standards for your organization. If you are new to customizing, it may be best to practice adding customizations in a sample project first, before customizing at the company level.
-
Project Customizations - As a project administrator, you have access to customizing any form type on your project (RFIs, change orders, punch list items, etc). Customizations done on the project level do not affect any other projects, so it's best practice to try things out on a sample project to see what works best for your organization.
Step 7. Add Merge Templates (Print Outputs)
Why is this important?
You can set up custom print outputs called Merge Templates in ProjectTeam.com. This lets you print or download versions of each form that have your logo, boilerplate information, and more.
- Click on your name in the top right of the screen and choose the My Company option.
- Click the Company Merge Templates option in the secondary navigation.
- View the list of existing Merge Templates created by your company administrators.
- At the top of the Merge Templates list, click the New button.
- A New Merge Template modal window opens with three steps.
- In step one, enter the required fields including:
- Merge Template Name
- Source Form Type (Choose the form type that will be used when users print to your Merge Template. For example, if you are creating a Merge Template that should be used when users print a change order, choose change order as the source form type.)
- Click the Next button on step one.
- Copy and past the merge tags to the appropriate area of your merge template. Click the Next button.
- Upload to finish the process.
Step 8. Add Folder Structure
Why is this important?
Set up a folder structure to help organize different file types in your project. You can create folders and subfolders and assign access to users of share groups.
- On the left side menu bar, click the Files option.
-
To create a new folder, click the New Folder button.
-
Add a "Folder Name" and click the Save button.
-
To add a subfolder, click into your first folder, then click the New Folder button.
Step 9. Invite Users to the Project
Why is this important?
Once you've set up your first project the way you want it, it's time to start inviting users to collaborate with you. There are many ways to invite users to join your project, in this section we'll talk about inviting through the Project Directory.
- On the left side menu bar, click the Directory option.
- To add new contacts to your company, click the name of your company in the Project Directory List (Or create a new business if the new contact does not work for your company).
- Click the Contacts tab.
- Click the Add button to add a new contact to your company.
- Add the contact's name and work email address.
- Click the Save button.
- Click the Invite button to send an email to that contact and invite them to your project. When you click the invite button, it will prompt you to add that user to a Share Group.
Conclusion
The steps detailed in this help article are just the basics of setting up your projects. I encourage you to read through other areas of the ProjectTeam Help Center and contact support@projectteam.com for more help if needed.