Importing is a great way to get all of your account codes into ProjectTeam.com very quickly. Instead of spending hours manually adding the account codes one at a time, it takes just a few clicks to import hundreds.
Import process
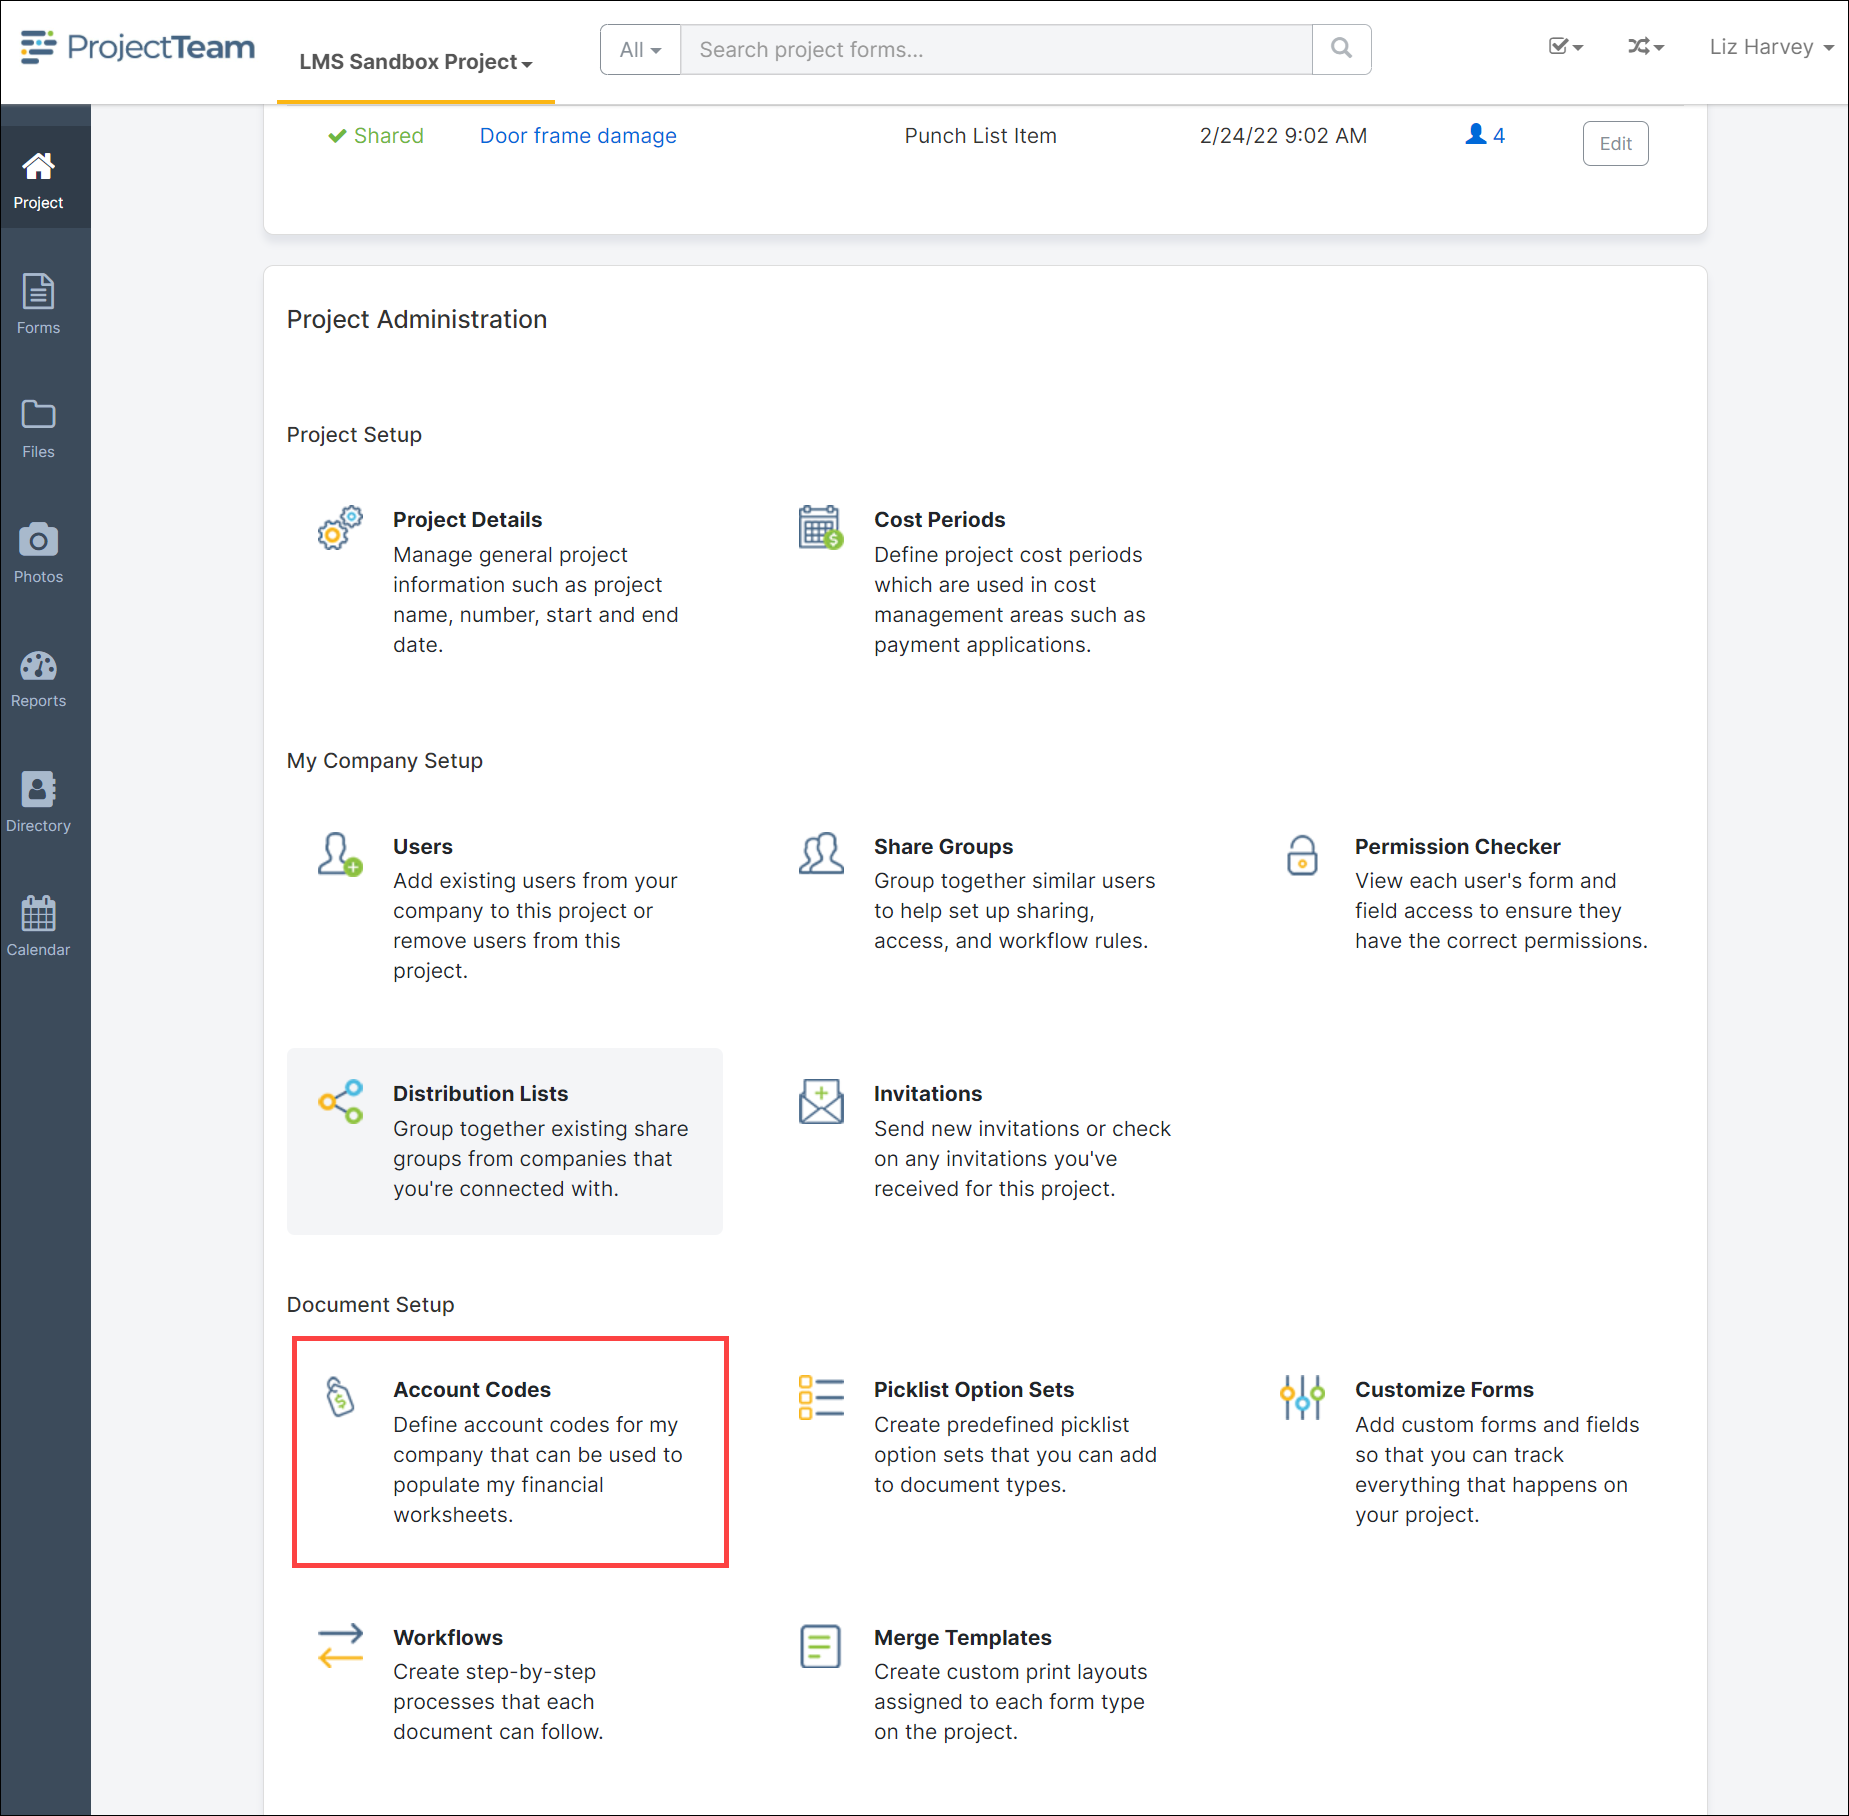
On the homepage of any project, you can scroll down to the project administration area and see a link for Account Codes.
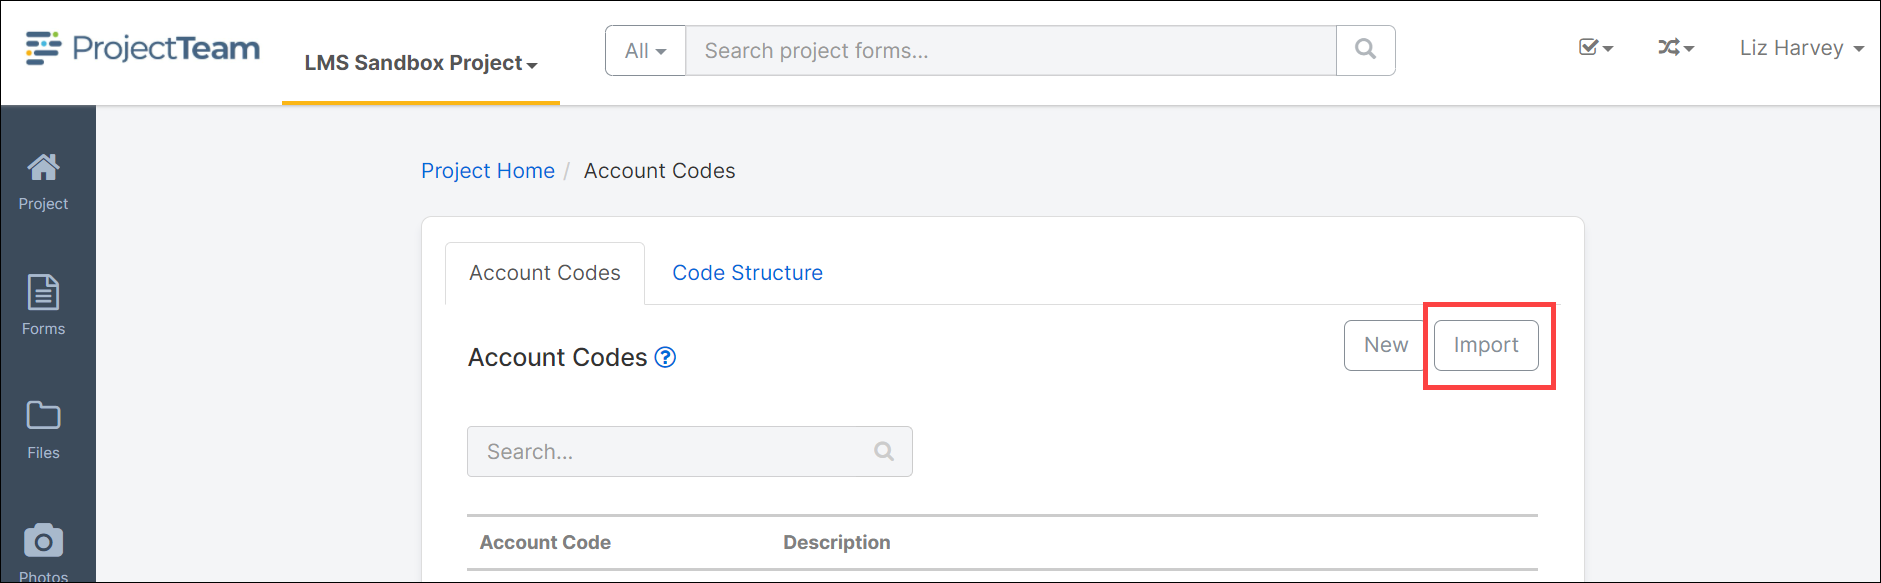
The Account Codes page is separated into two tabs - Account Codes and Code Structure. To import your account codes, you'll need to click on the Import button on the Account Codes tab.
Step 1. Import template
After clicking the Import button, you are taken to the first step in the three step wizard for importing your account codes. At this step, you will:
-
Download the import template: ProjectTeam.com has automatically created an import template based on your account code segments. Click the Download button to download the template to your computer. The template is a CSV (comma-separated values) file, but most computers will automatically open up the file in Microsoft Excel if you have the application installed, which is recommended.
-
Prepare your data: After downloading the import template, you will have the opportunity to prepare your data before uploading it into the system. You will need to fill in the CSV file generated by ProjectTeam.com either by manually entering values or copy and paste from a list of account codes you already created. It is very important to follow the rules you set up for each segment. After you are done preparing your data, save the CSV file to your computer.
-
Import account codes: Now that you have a clean CSV file with all your data included, you are ready to upload. Click the Upload button, navigate to your file on your computer, and click to upload it. You will immediately be taken to a loading screen which is an indication that ProjectTeam.com has received your data and is in the process of reading the file.
Step 2. Processing you file
After choosing a file to import, you will be taken to a loading screen. You don't have any actions to take at this step. All you have to do is sit and wait for the import to finish. Typically, this should take less than a minute. The loading time will depend on the size of your CSV file.
Step 3. Import summary
After the import has finished, you will automatically be taken to the import summary page. On this page, you will see the results of your import including:
-
The number of account codes that have been successfully imported.
-
The number of duplicates that have been removed. A duplicate is a row that has the exact same account code (a combination of all segments) as another row.
-
All errors found during the import. If you have zero errors, then you can go back to the list of account codes and see all the codes imported and ready to use. If you have errors, open up your CSV file again, fix all errors, and re-upload.
Import errors
After the import, on the import summary page, you may have received a list of errors that prohibited those account codes from being added to the project. After fixing all errors, you can re-upload the CSV file to add the account codes to the project.
Possible errors and their fix are listed below:
Segment names are required
Reason: If you get this error, it means you may have uploaded a blank CSV file. The error is saying that you have not even included any segment names or columns in your file.
Fix: Make sure you are using the template generated by ProjectTeam.com to fill in your account codes. When finished filling in the template, save the file as a CSV. Navigate to that file and upload it to start the import process.
Expected X characters
Reason: If you get this error, it means you have an invalid number of characters in a segment of one of your account codes. For example, if you have a segment defined that should have 4 characters, but on your CSV file, you add 5 characters, you'll get the "Expected 4 characters" error. You will also get this error if you leave any segment completely empty.
Fix: On your CSV file, fix the error by putting the correct number of characters into each segment.
Account code description is required
Reason: If you get this error, it means that you left the description field blank for one of your account codes. The Description field is required on every account code that you add to the system.
Fix: On your CSV file, add a description for all account codes that were missing.
Expected segment name is missing
Reason: If you get this error, it means that the number of columns on your CSV file does not match the number of segments in your account code structure. By default, when you download the import template, the correct columns should be included. If you accidentally deleted one of the columns you will receive this error.
Fix: You can manually add the column back to your CSV file or you can start over and download the template again. Either way, make sure the columns on your file match the segments of your account code structure (with one extra column on your file for the account code description).
X segments were included but only Y were expected
Reason: If you get this error, it means you have added an extra column to your CSV file that does not match an account code segment.
Fix: Delete the extra column on your file. If you are unsure about how many segments you have, you can go back to the Code Structure tab in the account codes are. Then, click back to import your file again.
Invalid segment name provided
Reason: If you get this error, it means that the name of one of your columns in the CSV file does not exactly match the name of the segment in your account code. While editing the values of the file, you may have accidentally edit the name of a column.
Fix: The names of your columns must match the names of your account code segments. To fix the error, it is recommended that you copy and paste the names of the segment into the column of your CSV file.