- Add Existing Businesses and Contacts
- Create or Add New Businesses
- Create New Contacts
- Invite a Contact to the Project
Add Existing Businesses and Contacts
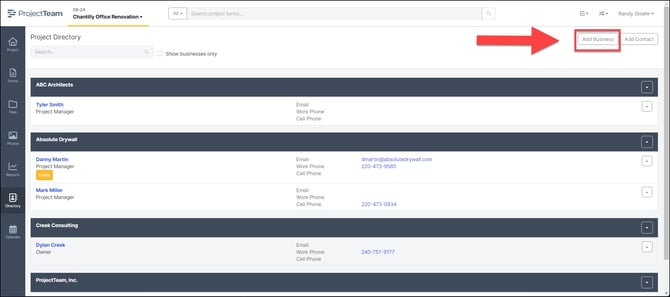
- From the Project homepage, navigate to the Directory icon on the left navigation pane.
- Within the Directory, a list of all Companies and Contacts related to their specified company will be displayed. Businesses and contacts only appear here after they've been added to the Directory.
- At the top of the Project Directory, you'll see a search bar for quickly finding a contact.
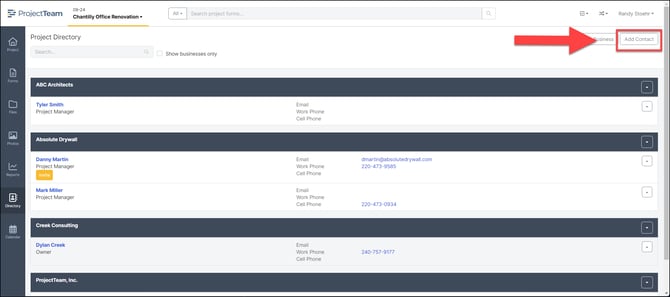
- To add a contact, click the Add Contact button located in the upper right-hand corner of the page.
- Select a Business Name to add one or more team members and click the Add Existing button. If the Business doesn't yet exist, you'll need to add the business first.
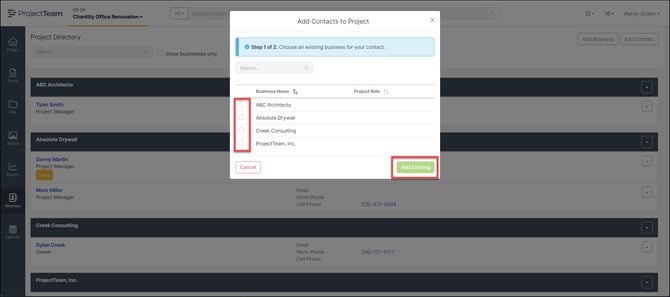
- Use the search field to find the team member(s) or scroll through the list. Click the checkbox beside each name and click the Add Existing button.
Create or Add New Businesses
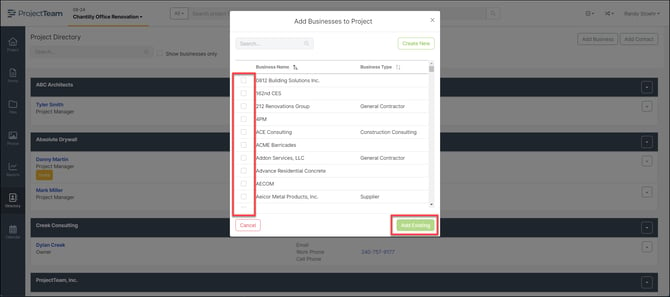
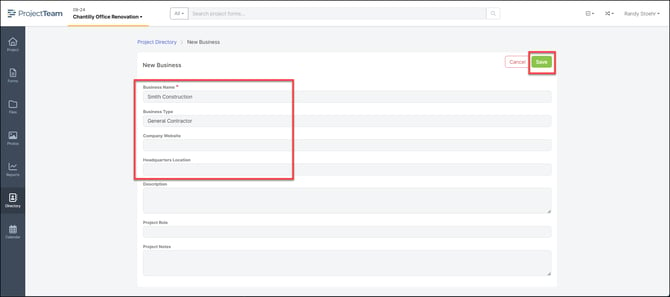
- While in Project Directory, click the Add Business button.
- Use the Search box to find an existing company or click the Create New button to add a new company.

- In the New Business page, fill out the appropriate information and select the Save button.
- Once a new business is saved, you'll want to add the business address. Click on the Addresses tab of the business contact and click Add.
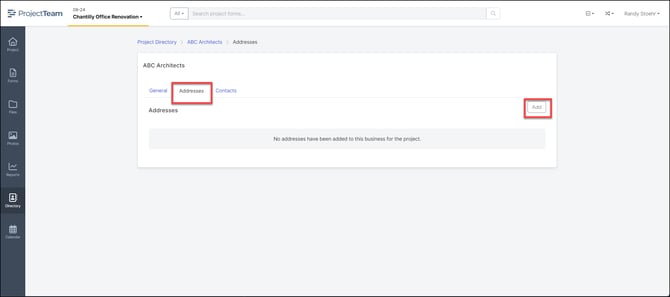
- To set a new address, click Create New.
- Fill in the address fields of the Company's address and select Save. Once a Company's address is added, it can be populated onto different forms.
Create New Contacts
After creating a new business, you can add contacts.
- In the Project Directory's business page, click the Contacts tab and click the Add button.
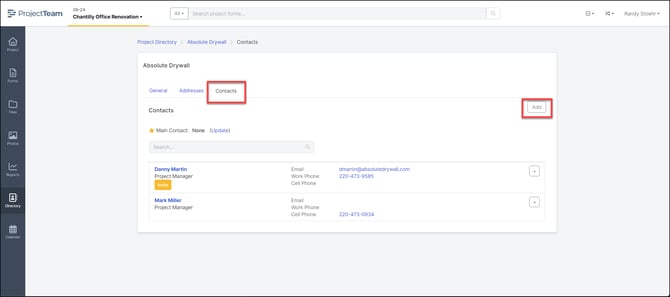
- Next, click Create New.
- Fill out the contact's information and then click the Save button.
Invite a Contact to the Project
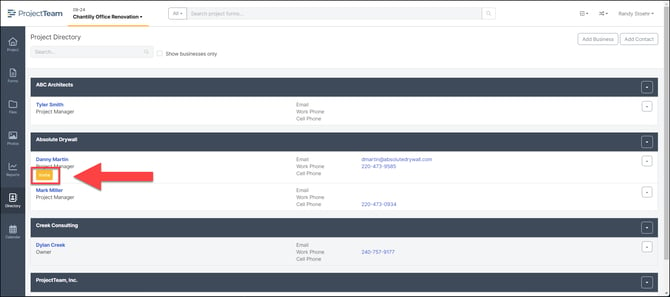
- After adding a company and contact to the directory, press the Invite button below the contact’s name. The user must have an email associated with their contact information to be sent an invite.
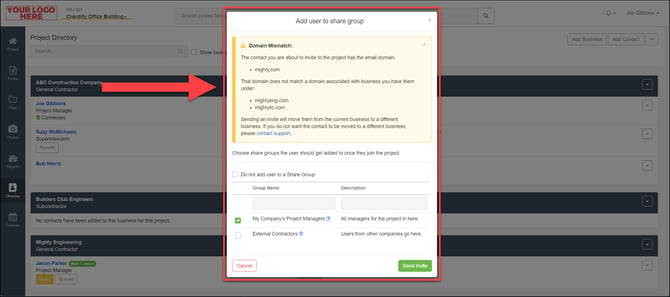
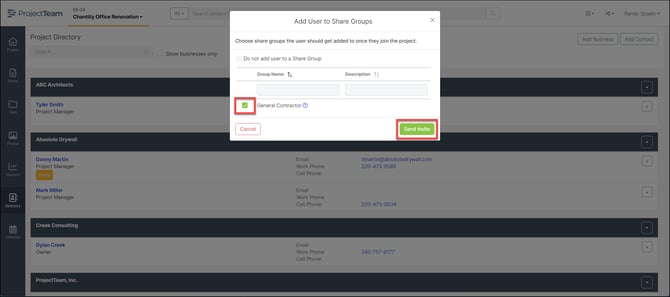
- If there are Share Groups on your project, you will be prompted to add the user to one. Choose which Share Group you want the user to be in, and select Send Invite.
Note: If a contact is invited to a project, but they have an email domain that does not match the associated company domain, then the system will associate them with a different company. If the two domains do not match, a warning message will appear to alert you before proceeding. If you wish to add the user with a different email domain, contact support so it can be set up correctly.