Contract Form
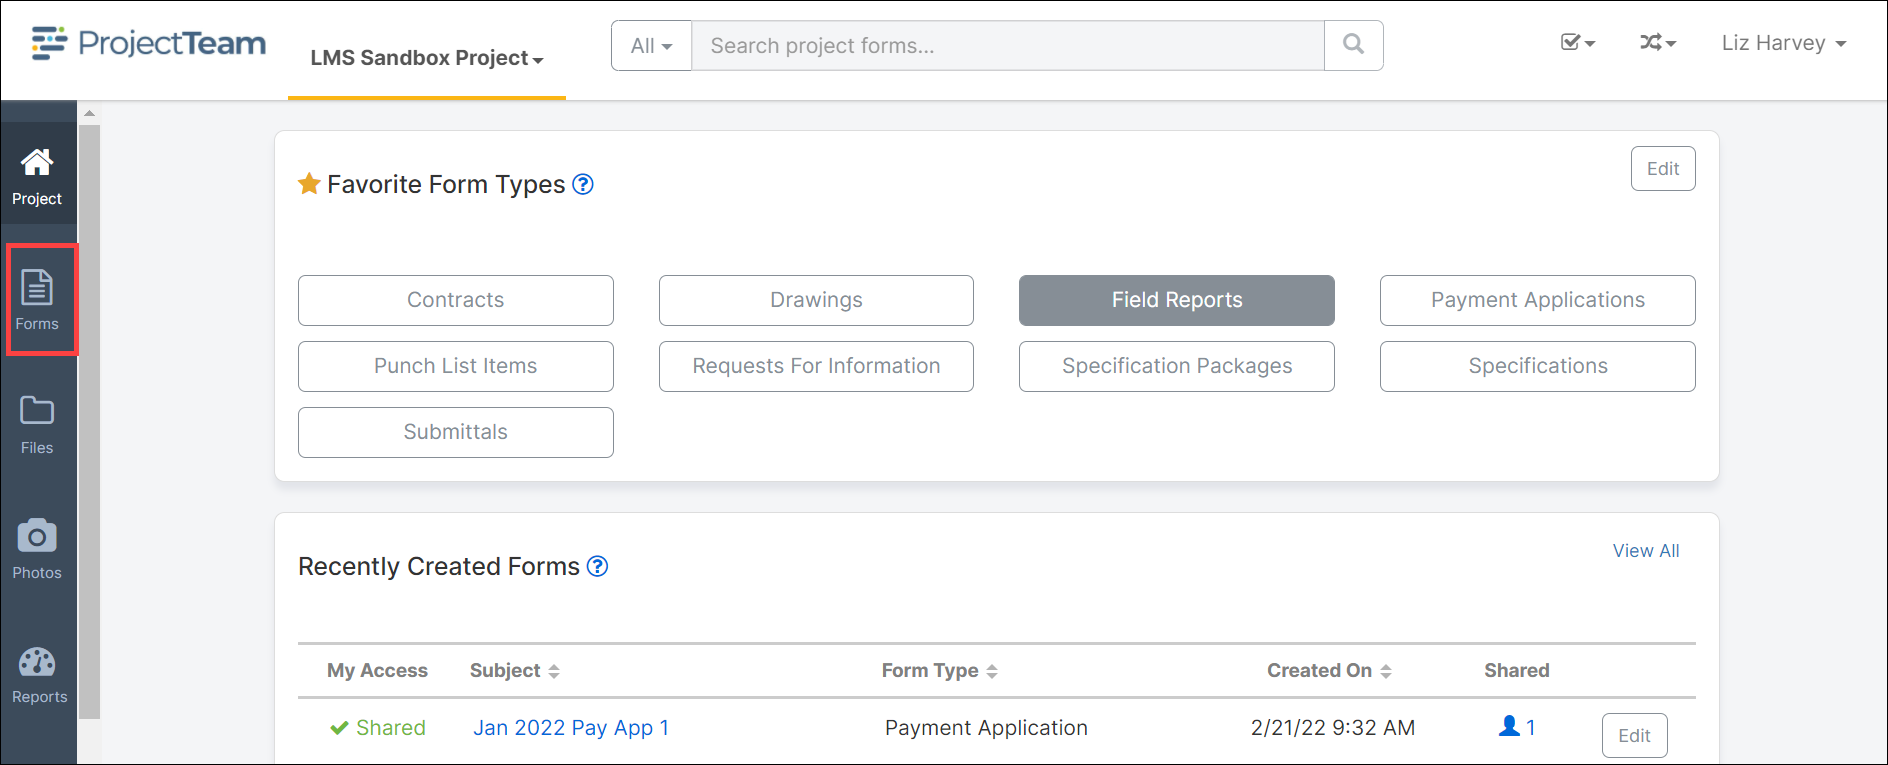
- On the left navigation pane, click the Forms icon.
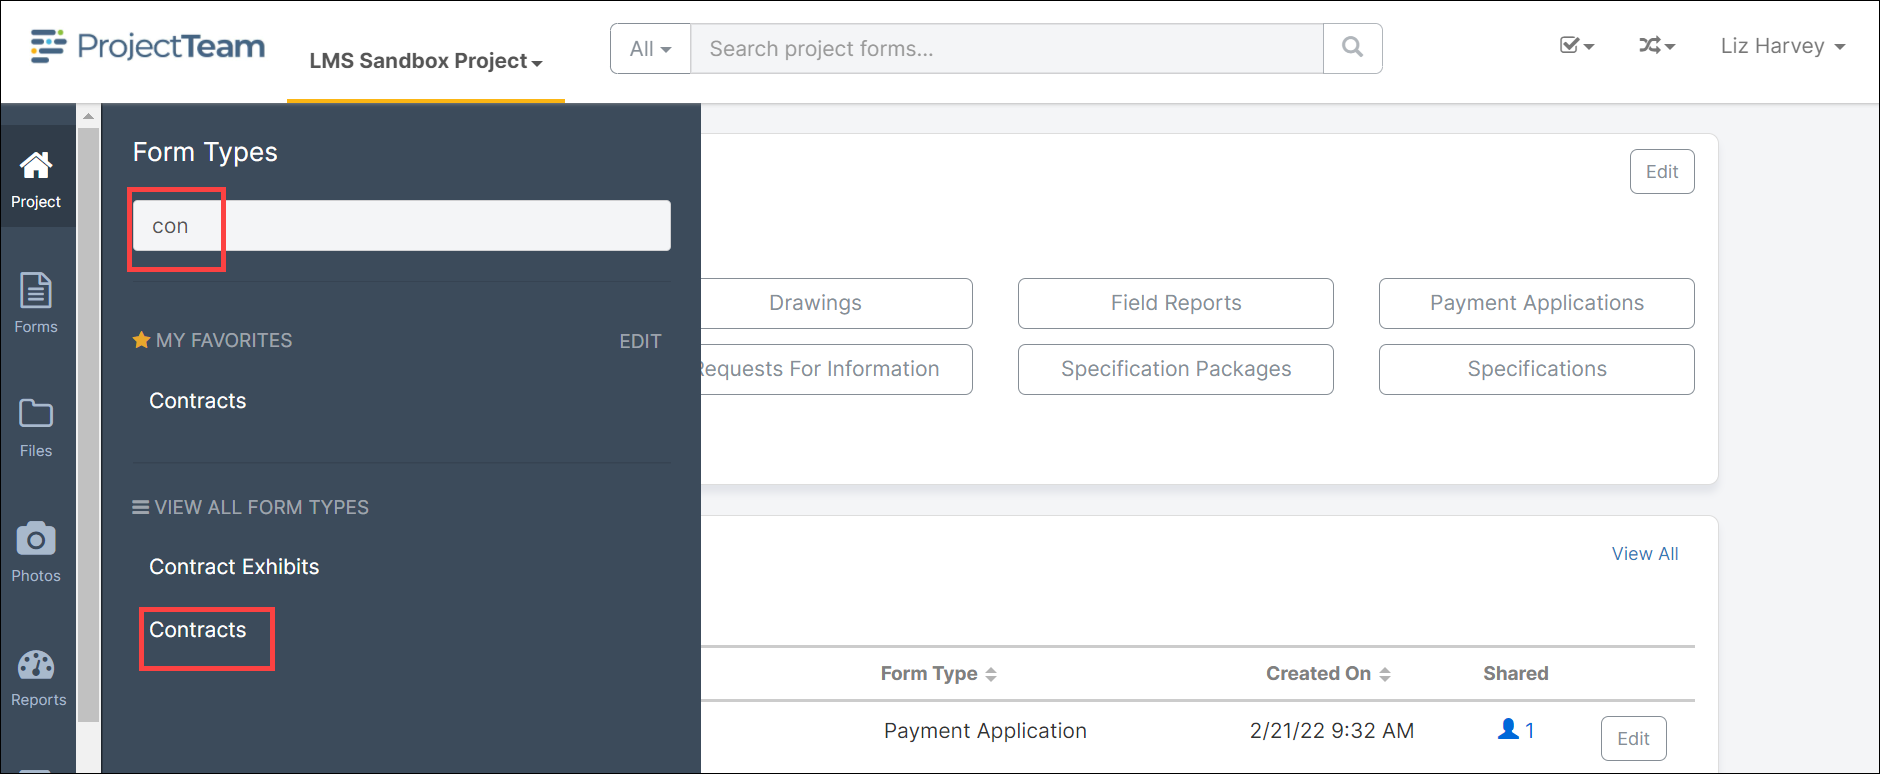
- Use the Search box to type con to easily locate the Contracts form.
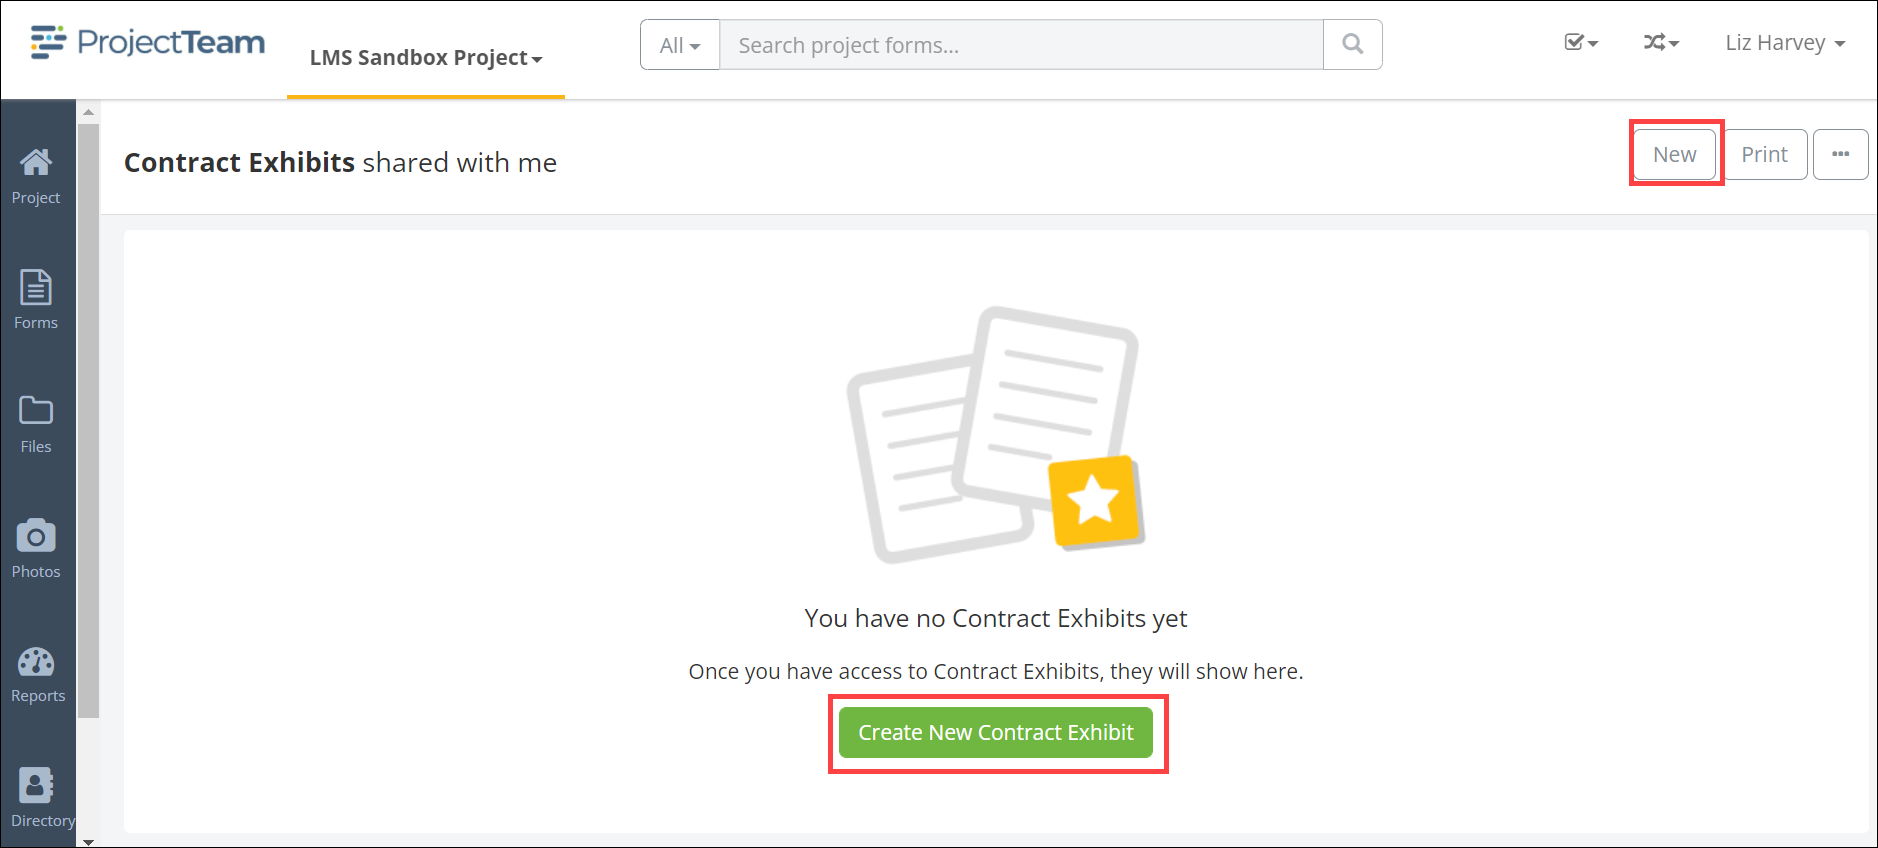
- The Contracts shared with me log opens. Click either the New button at the top of the pane or the Create New Contract button at the bottom of the form.
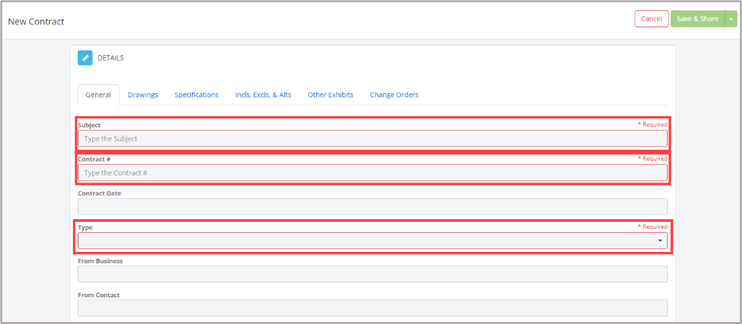
- Fill the required fields: Subject, Contract #, Type. Note: There are two types of Contract:
- Contract – A contract that is not dependent on another contract.
- Subcontract – A contract that is dependent on another contract.
- Enter data into other fields necessary for a complete record or required to complete your Merge Template.
Note:
Original Contract Amount
Type: Calculated (Based on Schedule of Values collection)
Details: The total amount of all line items defined in the Schedule of Values collection.
Approved Change Orders (Amount)
Type: Calculated (Based on Change Orders)
Details: The total amount of all Change Orders related to the Contract that has been marked approved. You can see all change orders by clicking into the Change Orders tab on the top of the form.
Revised Contract Value
Type: Calculated (Based on multiple fields)
Details: This field is the sum of the Original Contract Amount field and the Approved Change Orders (Amount) field.
Original Contract Completion Date
Type: Date
Details: Click into the field to choose a date which corresponds to the original complete date of the contract
Approved Change Orders (Days)
Type: Calculated (Based on Change Orders)
Details: The total days of all approved change orders included in the contract. You can see all change orders by clicking into the Change Orders tab on the top of the form.
Revised Contract Completion Date
Type: Calculated (Based on multiple fields)
Details: This field is the Original Contract Completion Date plus the Approved Change Orders (Days)
Retainage Clause
Type: Text (Multiline rich text)
Details: The retainage clause is an area to explain how retainage works according to the contract terms. For example, the retainage might be just 10% throughout the contract or that percentage may change based on milestones of the project.
Payment Bond Required?
Type: Checkbox
Details: Check the box if payment bond is required, otherwise leave unchecked.
Performance Bond Required?
Type: Checkbox
Details: Check the box if performance bond is required, otherwise leave unchecked.
Schedule of Values Collection
The Schedule of Values (SOV) collection is where users can add individual line items based on terms of the contract.
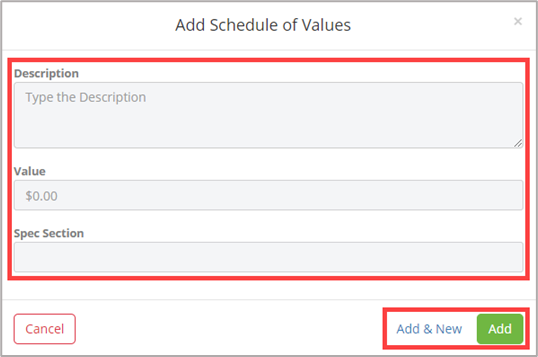
- Click the Create New button.

- Enter Description, Value, and Spec Section into the modal window, then click Add.
- If there are additional columns needed, they can be added by customizing the form.
- To associate a Schedule of Value item with an Account Code, you can add a custom column to the collection of type Account Code. Project Account Codes can be defined on the project homepage.
Note: Adding a custom Account Code column to the Schedule of Values collection on the Contract will automatically add a similar column to the Payment Applications Item Breakdown collection. This is so that when creating Payment Applications based on the Contract, all Account Codes defined will carry over to the Payment Application and then can be used in various reports.
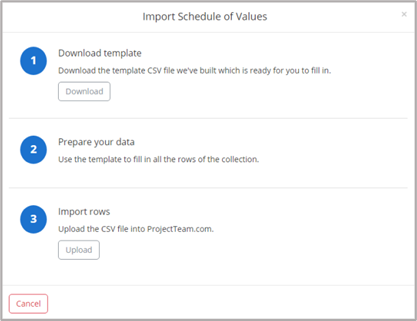
Importing SOV Rows
As with all other collections, you can import rows if needed. To import, click the "..." button on top of the collection and then choose the Import Rows option. This will bring up a modal that step you through the import process.
Change Order Markups
Defining Change Order Markups allow you to build in default markups based on the Contract for any Potential Change Orders. The columns of the collection have specific meanings:
Markup %: The Markup percentage is what will be used to calculate the total amount for that line item. For example, if a PCO has a value of $150.00 and there is a markup called General Conditions for 6%, the markup amount for General Conditions is $9.00 (150.00 x 0.06). This assumes that the General Conditions markup has a Calculation Level of 1.
Calculation Level: The Calculation Level determines which numbers are used to determine the percentage calculation.
- Level 1 will perform the calculation based on the subtotal of items
- Level 2 will perform the calculation based on the subtotal of items PLUS all markups in Level 1
- Level 3 will perform the calculation based on the subtotal of items PLUS all markups in Level 1 PLUS all markups in Level 2
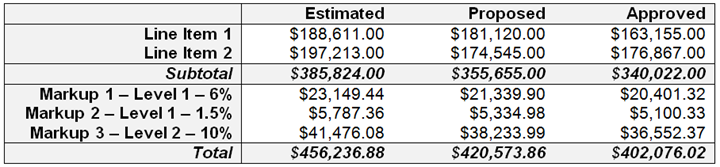
The example below is a simplified screenshot of the Cost Breakdown collection on a Potential Change Order. Here you can see there are two line items, then a subtotal, then the markups, and finally a grand total. The first two markups are calculating off of the subtotal since they are Level 1 calculations. The third markup is calculating off the subtotal and the first two markups. Then the sum of all line items and markups equals the total at the bottom.
Tabs of the Contract Form Type
General: First tab of the form type and shows all fields.
Drawings: Users can add references to related drawings.
Specifications: Users can add references to related specifications.
Incls, Excls, & Alts: Three separate collections give users a chance to add multiple lines of each type Contract Exhibits: Contract Exhibits are a different document type. This tab allows users to reference those Contract Exhibits in an organized way.
Other Exhibits: Attach exhibits created in the Contract Exhibits form type.
Change Orders: All Change Orders related to the Contract that have been marked approved will automatically be added to this tab. There is no other way to add Change Orders to this collection.

Special Merge Rule
As with all other form types, you can create Merge Templates and merge your Contracts to those templates to have customized print layouts. However, there is a special rule that will include the entire body of the Contract Exhibit in the resulting Merge Document even though the body does not show in the collection of the Contract - Contract Exhibit tab.
Locking the Contract
Once you have recorded all needed information and you do not want the contract to be changed any more, you can lock it. To lock down the Contract, click the "Approve Contract" button on top of the form in view mode.
Clicking the Approve Contract button will bring up a confirmation modal. The confirmation modal notifies the user that after marking the form Final and saving, the form will be locked and the only way to make adjustments to the Contract would be through Change Orders.

In the confirmation modal, you are required to add an Approved Date. Choose the date that the Contract was approved from the calendar picker field. Once complete, click the Yes button to approve and lock the Contract.

Warning: There is no way to manually unlock a document once it's been locked. If there was a mistake made, please contract support@projectteam.com.