The cost periods are a set of dates that are set up once on the project. Setting up the cost periods is typically done at the beginning of the project.
To get to the cost periods area, follow the steps below:
-
Navigate to a project
-
On the project homepage, scroll down to the bottom to find the Project Administration panel

-
In that panel, you'll see a set of links available that allow you to perform various tasks
-
Click on the Cost Periods link
New cost periods
-
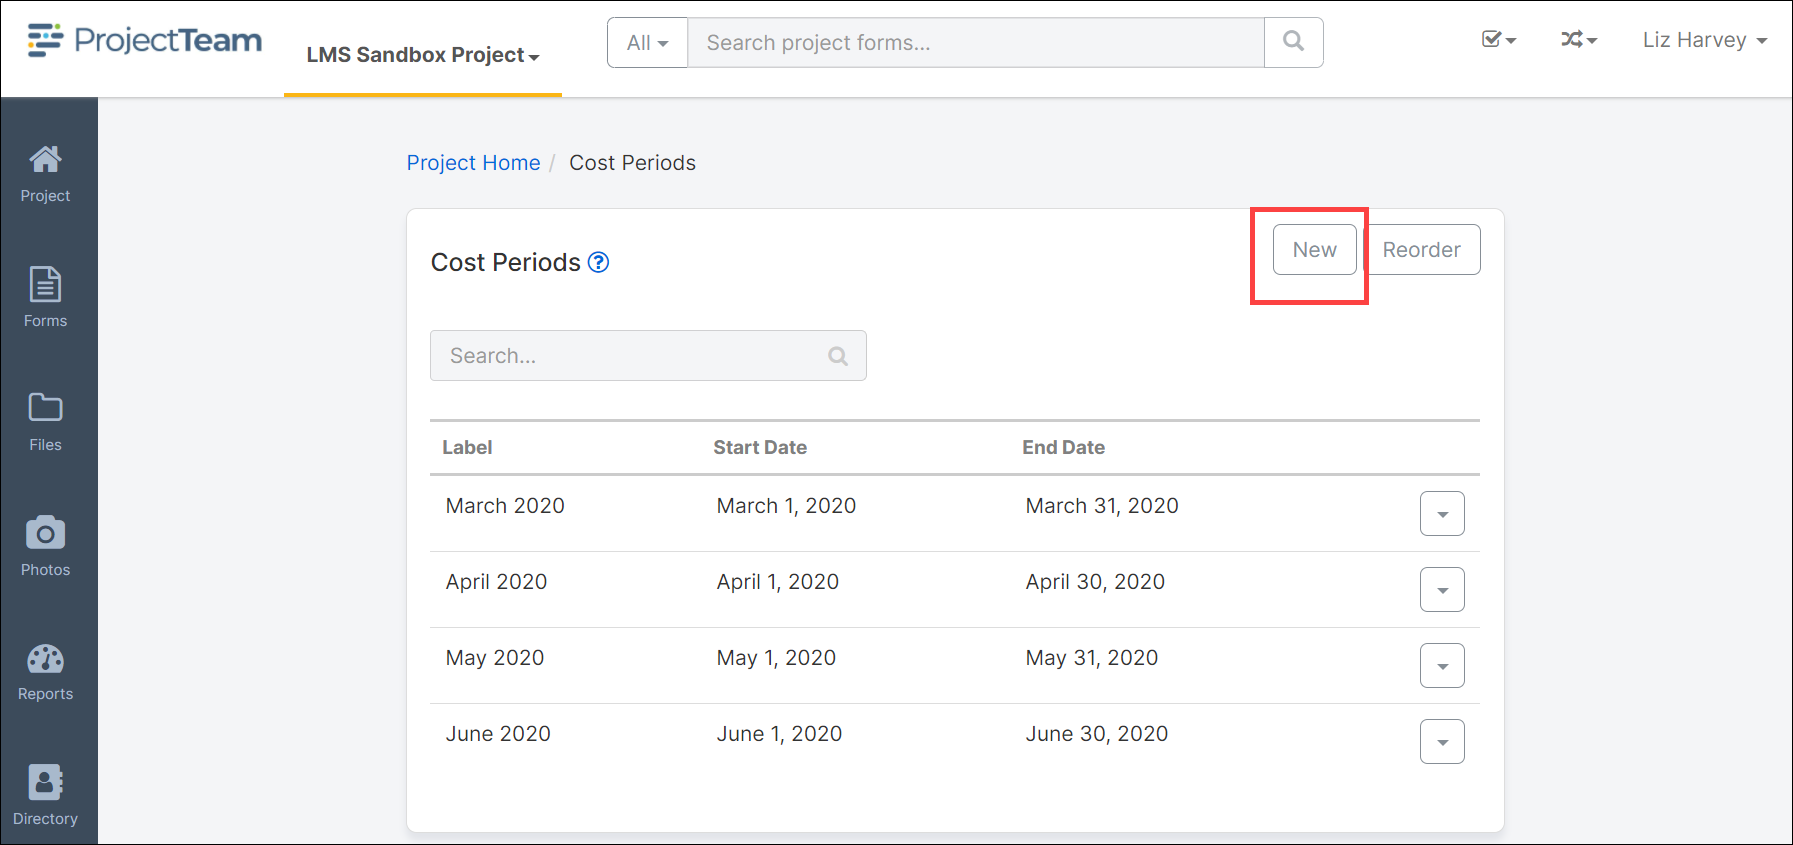
On top of the cost periods log, click the New button
-
A window appears showing three fields; Label, Start Date, and End Date. Each field is required.
-
Fill in the fields with information about the cost period. For example, for the Label you may put something like "January 2018", Start Date may be "01/01/2018" and the End Date may be "01/31/2018". You should already have an idea of what the official cost periods are on the project so you should be able to copy and paste most of the information.
-
Once you're done filling in the fields, you can click the Save button to close the window, or the Save & New button to save the first cost period but keep the window open to continue to add others.
Edit cost periods
-
On the Cost Periods log, click the dropdown in the row you'd like to change, and then click the Edit button.
-
A window appears that shows you the three fields you can change.
-
Make your changes and then click the Save button to close the window and be taken back to the log.
Errors
When setting up the project cost periods, you must follow the rules outlined below:
-
The End Date must not come before the Start Date. For example, Start Date is "01/15/2018" and the End Date is "01/10/2018".
-
One cost period must not overlap with an existing cost period. For example, "Cost Period 1" is "01/01/2018 - 01/31/2018" and "Cost Period 2" is "01/15/2018 - 02/15/2018".