Note: Before setting up an SSO integration with ADFS, you must contact ProjectTeam Support (support@projectteam.com) to Acquire a Key.
Integrating Active Directory Federation Services with ProjectTeam
Assumptions:
-
The customer has the Active Directory Federation Services (ADFS) role running in their existing Active Directory forest.
-
The customer has “Active Directory” as an Attribute Store and a Claims Provider Trust in ADFS.
-
The customer’s outside-accessible ADFS URL is secured by a certificate provided by a Trusted Certificate Authority (not a self-signed or internally provided certificate).
-
The customer’s Active Directory “E-mail” user account attribute is populated with the correct email addresses.
-
The customer has an externally accessible ADFS sign-in URL and has or will provide the URL to the ProjectTeam administrators. The URL is typically something like: https://adfs.<company name>.com/adfs/ls/idpinitiatedSignOn.aspx
Adding the ProjectTeam.com application URL as a “Relying Party Trust”
1. If not already done previously, run the following Powershell command on the ADFS server to allow the email address as an alternate login ID:
Set-AdfsClaimsProviderTrust -TargetIdentifier "AD AUTHORITY" -AlternateLoginID mail -LookupForests pttest.local
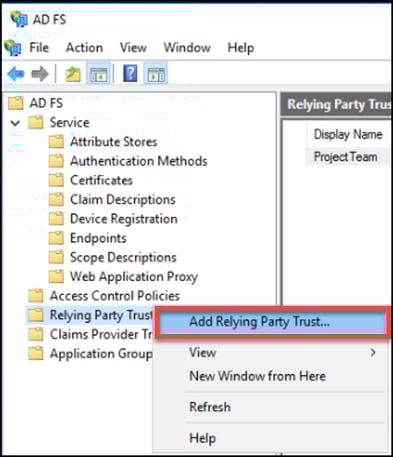
2. Within the AD FS management console, right-click the “Relying Party Trusts” container and choose “Add Relying Party Trust…”

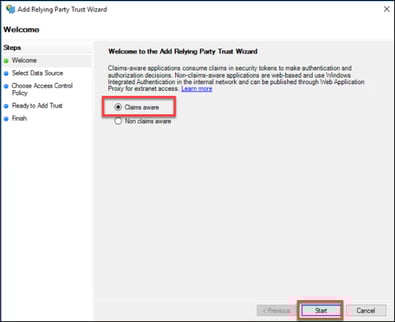
3. Leave the default “Claims aware” application setting and click “Start”.

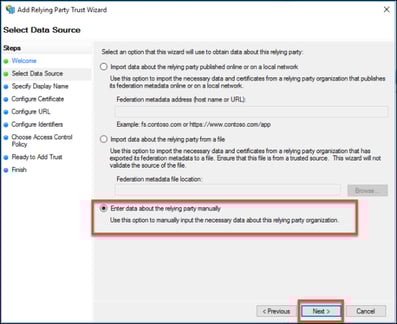
4. Change the default to “Enter data about the relying party manually” and click “Next”.

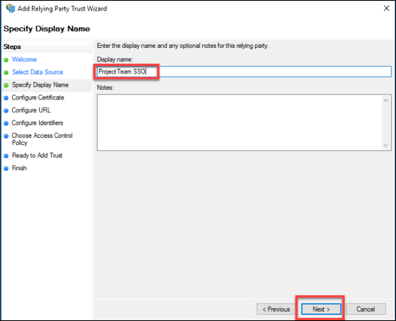
5. Enter a Display Name of your choosing to identify this relying party trust (example below “ProjectTeam SSO”) and click “Next”.

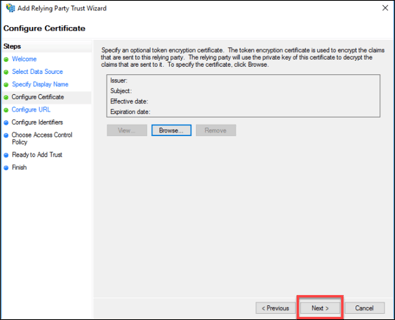
6 No additional optional certificate should be required. Click “Next”.

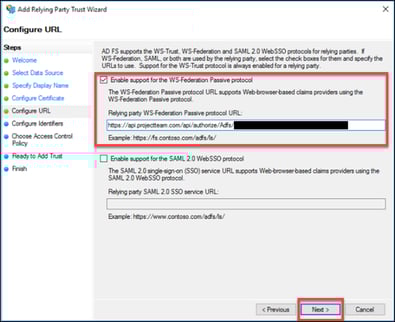
7. Check the box “Enable support for the WS-Federation Passive protocol”.
The “Relying party WS-Federation protocol URL” should be:
https://api.projectteam.com/api/authorize/Adfs/{key provided by ProjectTeam}
IMPORTANT: the URL is CASE-SENSITIVE. It is recommended to COPY-PASTE from above.
Click “Next”.

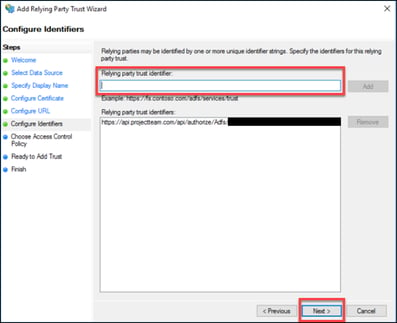
8. The same URL entered previously should be populated below in the existing “Relying party trust identifiers” list. No other identifiers should be required. Click “Next”.

9. The “Access Control Policy” can be locked down further at the discretion of the customer administrator. For the purposes of this example, the default “Permit everyone” will be used. Click “Next”.


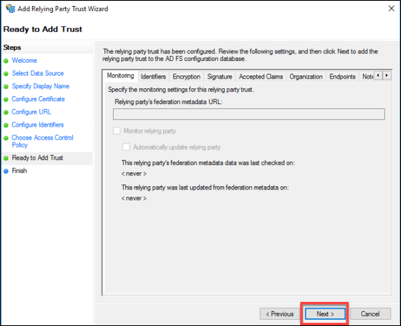
10. All settings configured in the wizard are available for review. After confirming the accuracy, click “Next”.

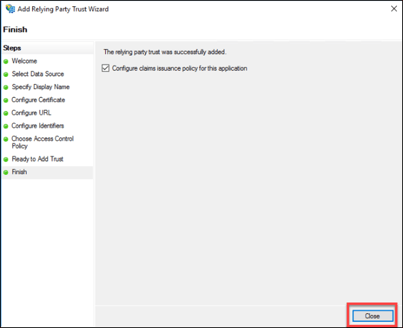
11. Click “Close” to complete adding the relying party trust.

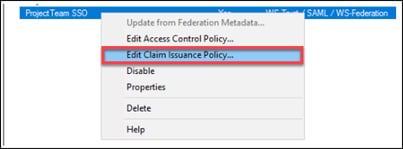
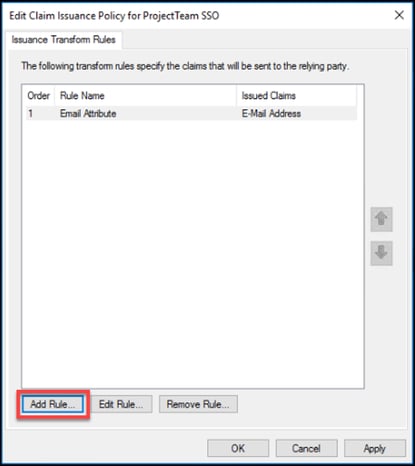
12. Back at the “Relying Party Trusts” pane, right-click the new trust, and choose “Edit Claim Issuance Policy…”

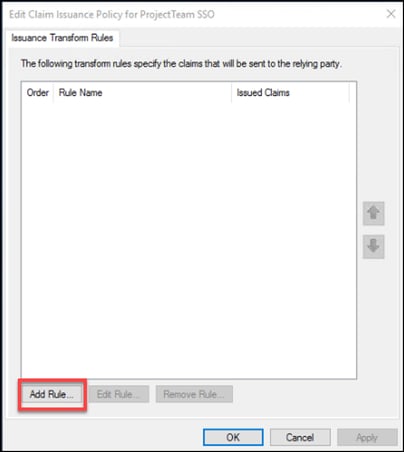
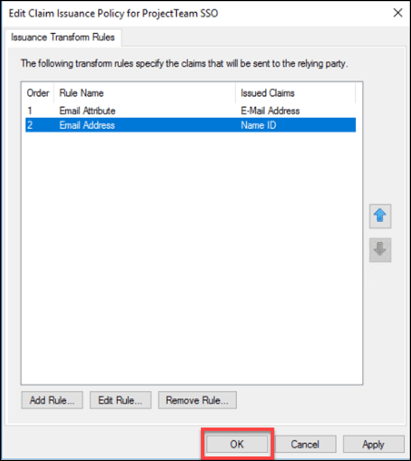
13. Two rules will be added. Click “Add Rule…”

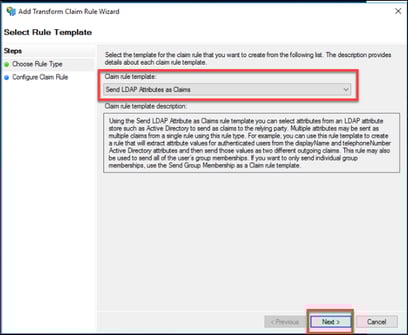
14. The default “Send LDAP Attribute as Claims” should be selected. Click “Next”.

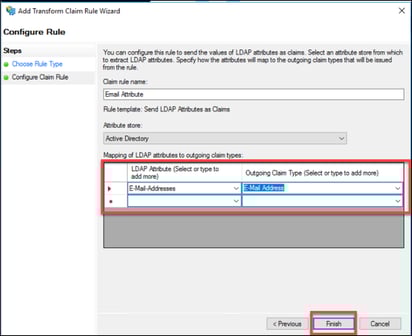
15. Give the claim rule a name, i.e. Email Attribute. Be sure to choose the Active Directory Attribute Store.
Map the “LDAP Attribute” E-Mail-Addresses to the “Outgoing Claim Type” E-Mail Address.
16. Click “Finish”.

17. A second rule will be added; click “Add Rule…”.

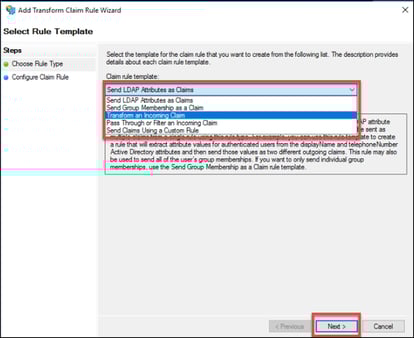
18. Change the “Claim rule template” to Transform an Incoming Claim. Click “Next”.

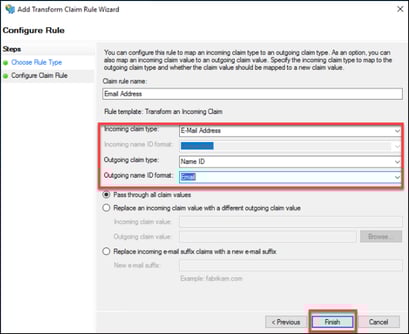
19. Provide a “Claim rule name”, i.e. Email Address.
-
Set “Incoming claim type” to E-Mail Address.
-
Set “Outgoing claim type” to Name ID.
-
Set “Outgoing name ID format” to Email.
Click “Finish”.

20. Click “OK” to apply Claim rules.

This concludes the Relying Party Trust and Claim Issuance configuration for ADFS SSO Integration with ProjectTeam.com. For troubleshooting issues, it is best to first review the Windows Event Viewer – Application and Service Logs – ADFS – Admin for details.