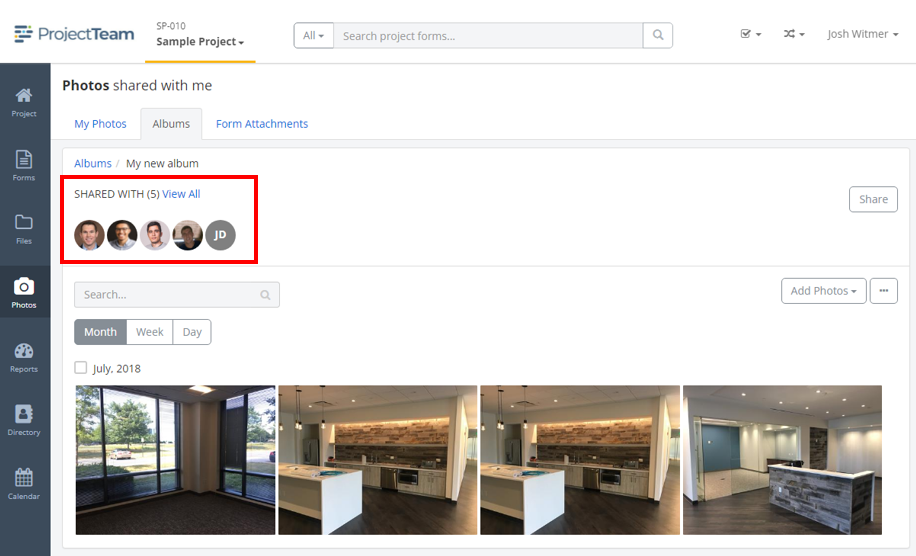
At the top of an album's view, you will see a list of users that have shared access to the album. Users that have access to the album can view all photos included in the album. If you have access to an album, you can share the album with other groups and users that you are connected to.
Share a photo album
- Inside of a project, click the Photos option in the secondary navigation.
- By default, you are viewing the My Photos tab. Click the Albums tab.
- Click on the appropriate album to open the album.
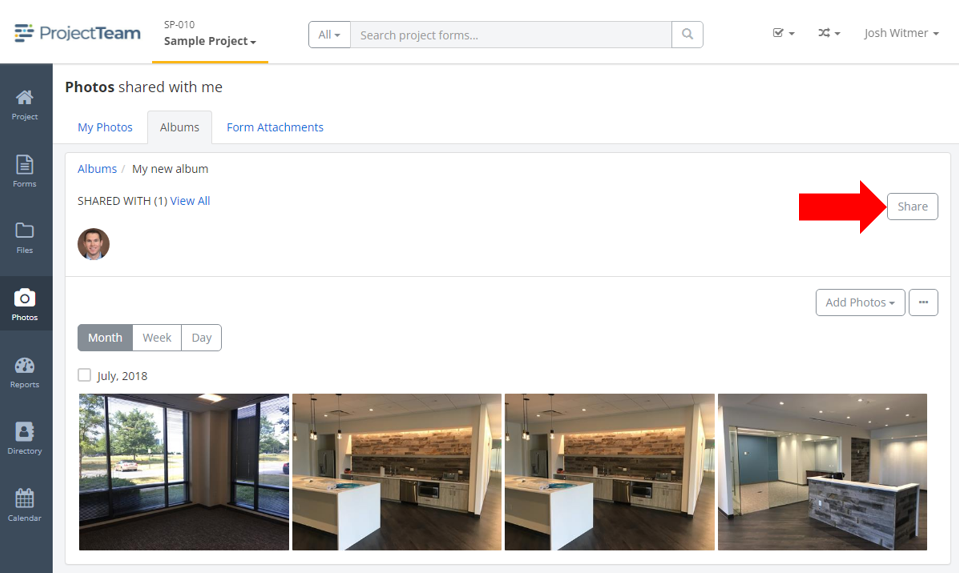
- At the top of the album, click the Share button.
- In the modal window, choose the groups and users that you want to share with.
- Click the Share button.
- You will see the list of all shared users at the top of the photo album.
Remove access from a photo album
Caution: Removing a user from a photo album means they will no longer be able to access the album and they may lose access to photos in the album.
- Inside of a project, click the Photos option in the secondary navigation.
- By default, you are viewing the My Photos tab. Click the Albums tab.
- Click on the appropriate album to open the album.
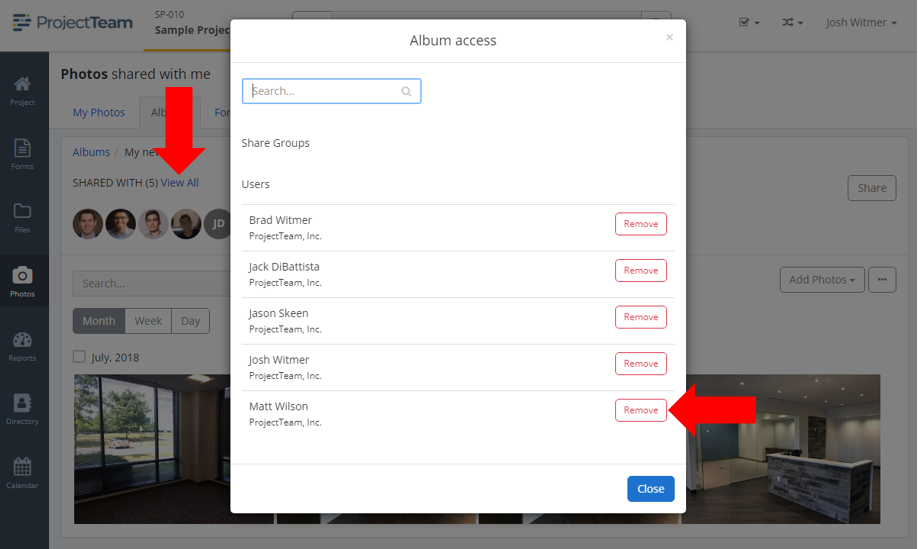
- At the top of the album, click the View All link above the list of shared users
- In the modal window, click the Remove button next to any user you no longer want to access the photo album.
- Users are removed immediately and will no longer be able to access the photo album.