- Overview
- New Share Group
- Existing Company Share Group
- Add users to a Share Group
- Public vs Private Share Groups
Overview
Note: Only Project Administrators have access to managing share groups on projects.
Project share groups are used to quickly share data to an entire group instead of having to share the data with each user individually. Share groups are used in many areas throughout ProjectTeam.com including Forms, Files, Folders, Custom Fields, Action Items, Workflows, Project Templates.
You can add users to a share group and then share information to that group. Once information is shared with the group, all users within that group get access to the information that was shared.
In this article:New Share Group
-
From the project homepage, click the Share Groups box
-
Click the Add button on the top of the list
- Select 'New Project Share Group'
-
Fill in the Group Name and Description
-
Click the Save button
By default, there are no users added to your new share group.
Existing Company Share Group
Add a share group to your project, that has been previously set up by your Company Administrators.
-
From the project homepage, click the Share Groups box
-
Click the Add button on the top of the list
- Select 'Existing Company Share Group'
-
Select the Company Share Groups you would like to add to your project
-
Click the Save button
Add Users to Share Group
-
Navigate to the Share Group you want to add users to
-
In the Group Membership panel, click the Add button
-
Click the checkbox next to all users you'd like to add to the Share Group
-
Click the Add button
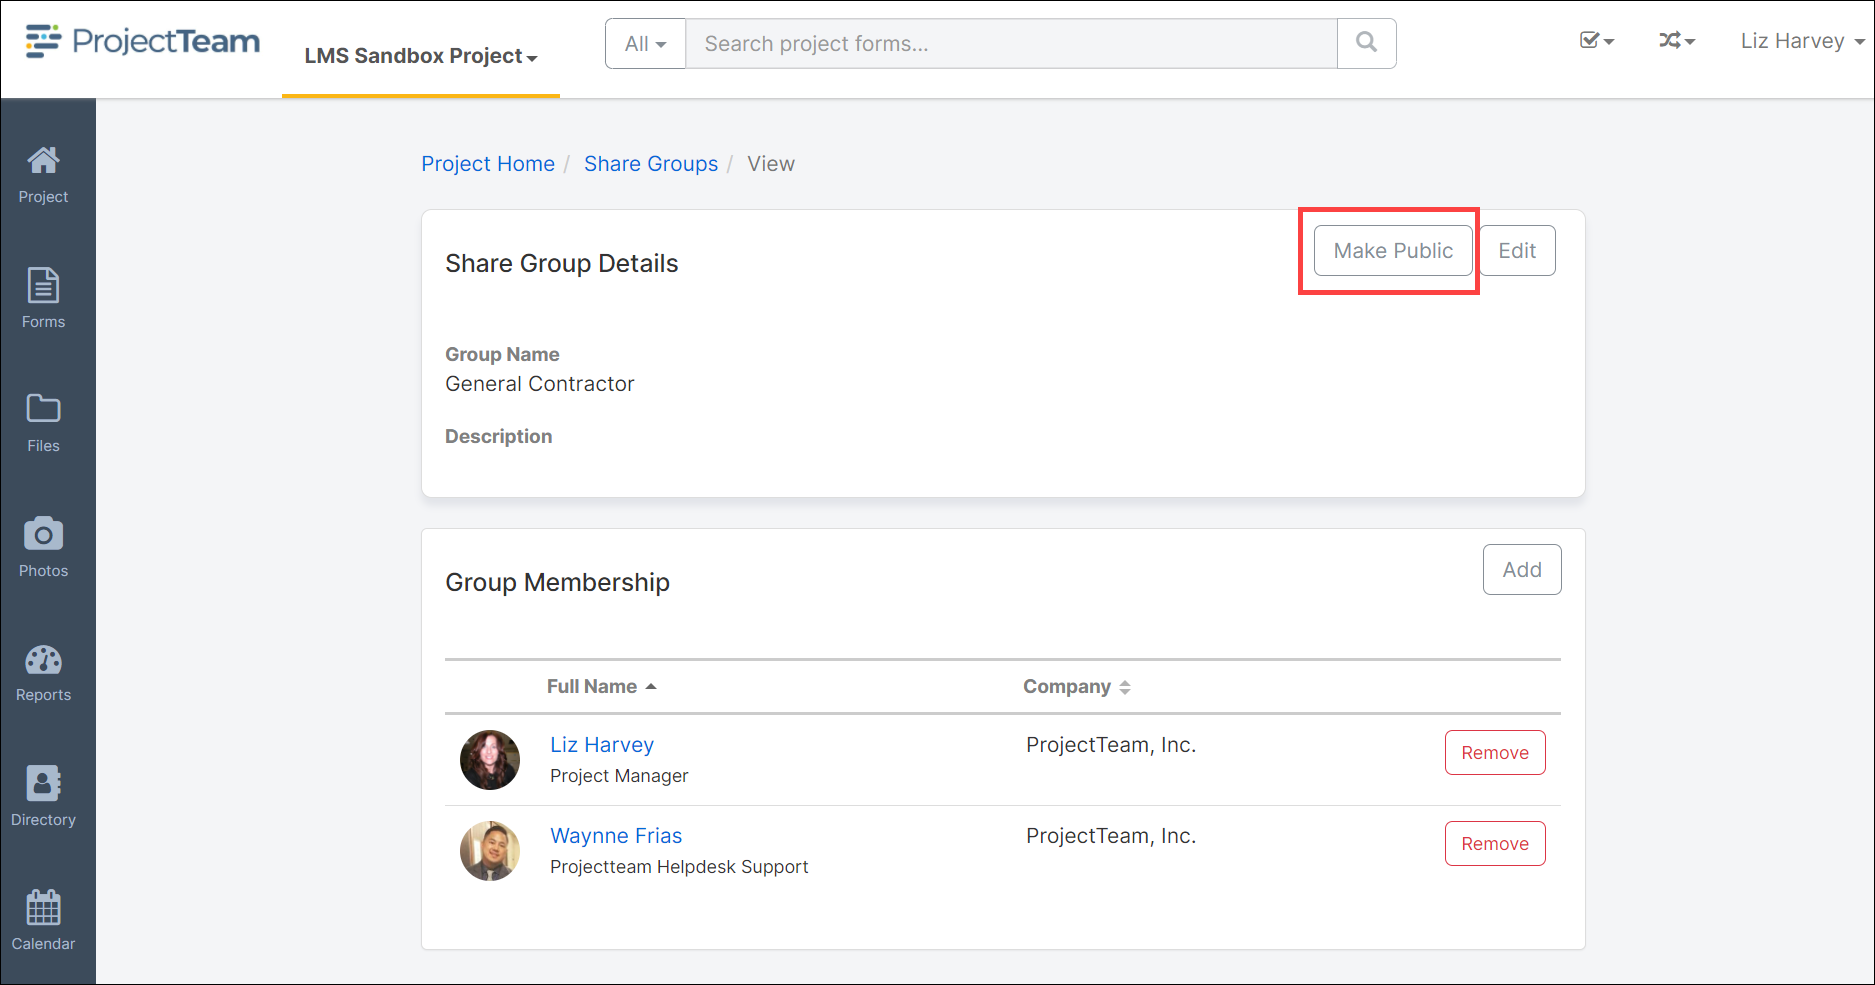
Switching Share Group from "Private" to "Public"
Warning: Once you mark a Share Group "public," that action cannot be undone. Make sure you read the confirmation modal message carefully before completing that action.
By default, all new share groups start as "private". A private group means only users from your company can use the group. At any point, you can switch the share group from private to public. Once you make a group public, users from companies you are connected to on the project will be able to use the group.