Add a photo to your Merge Template
During the creation of a Merge Template, many organizations choose to add their logo to the document. The steps below assume you have a basic understanding of how to create and edit a Merge Template. They are based on step two of a new Merge Template or editing an existing Merge Template using the Get Merge Tags button.
- In the merge tags modal window, click the dropdown and choose the User Fields option if you want to add your company logo or the Project Fields option if you want to add your project-specific logo.
- Scroll down until you find the appropriate tag. Click the Copy button to copy the tag and paste it into your merge template file.
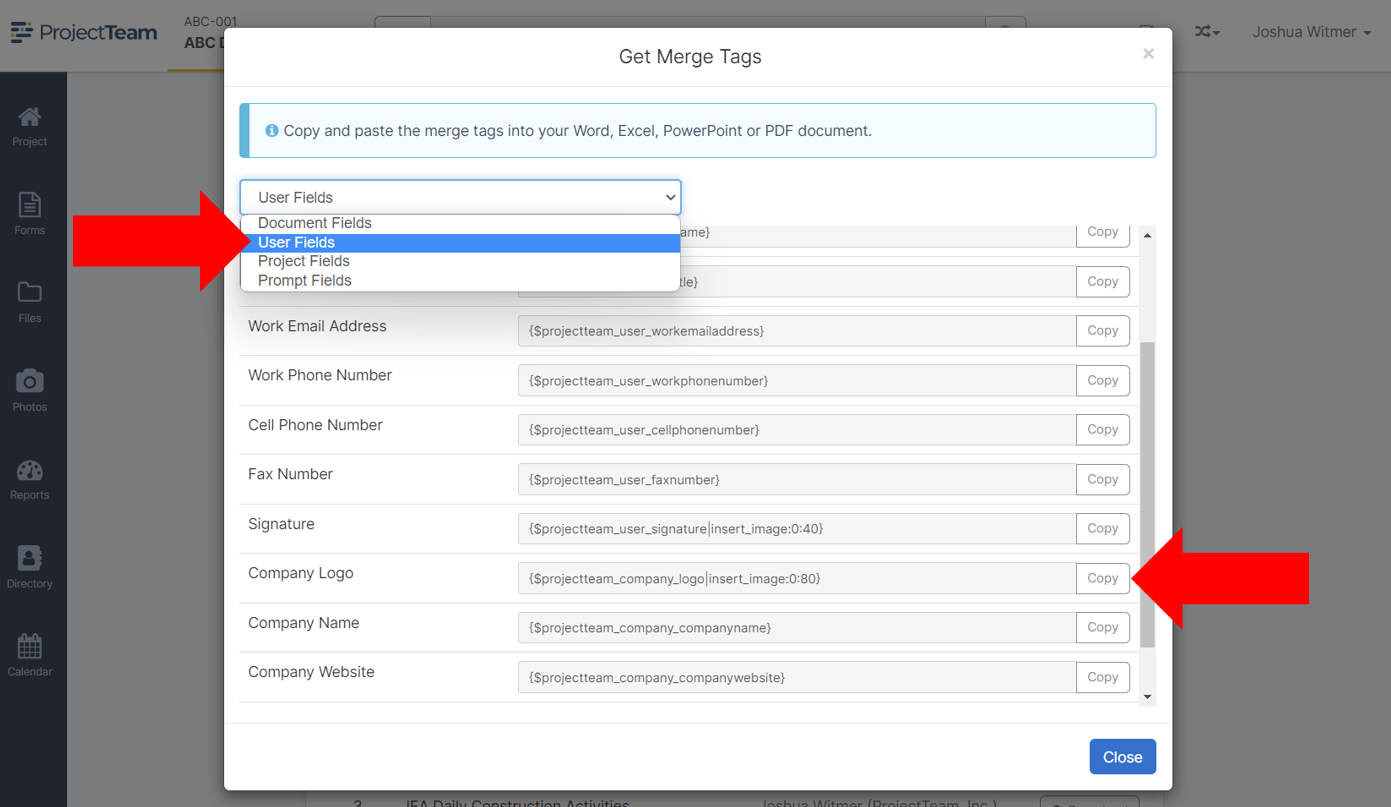
The tag has three different sections to it:
- Make sure the first section is "$projectteam_company_logo" if you plan to use your company's main logo (uploaded to the Company Details page in the My Company area) or "$projectteam_project_logo" if you plan to use a project-specific logo (uploaded to the Project Details page in the Project Administration area)
- Keep the second section as is. The "insert_image" tag is required in order for your document to load your logo properly.
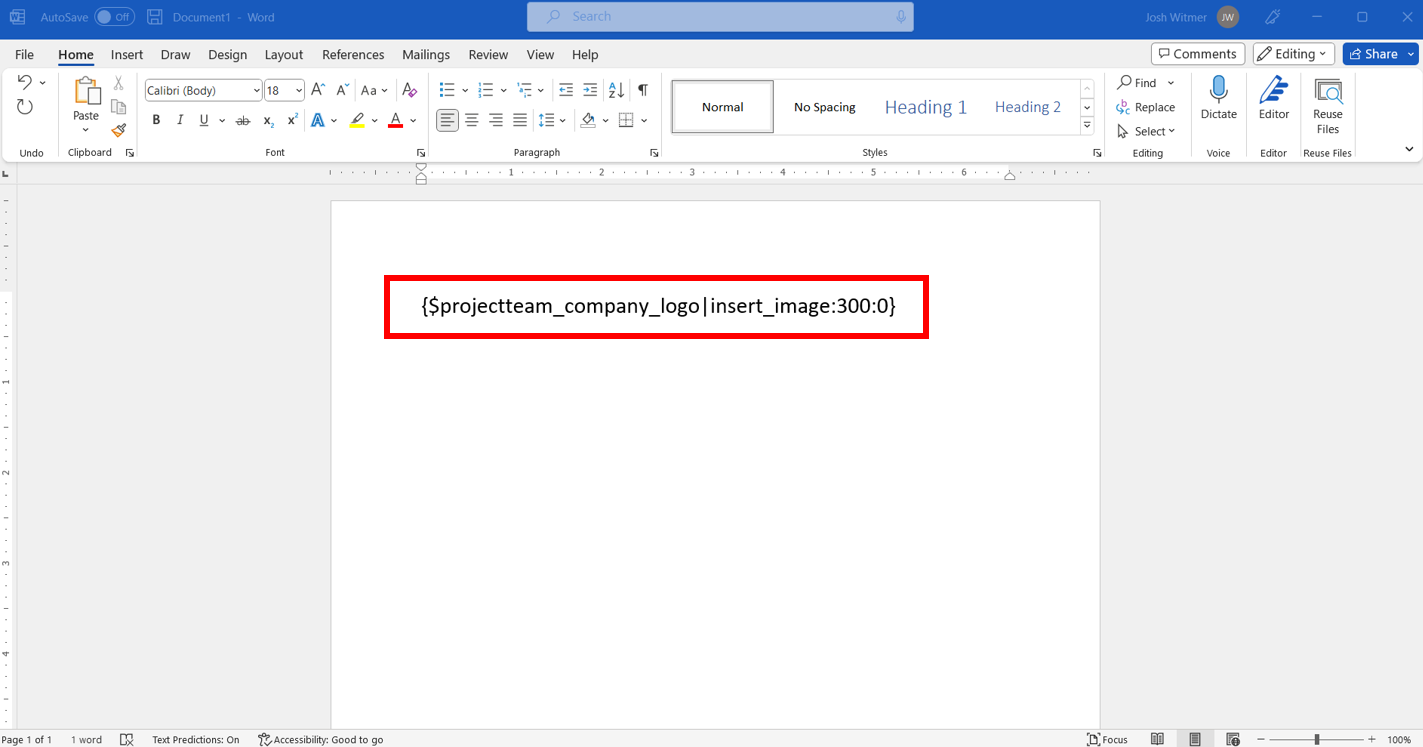
- Update the third section with the desired size of your logo. By default, there is a size of "0:80" meaning auto-adjust the width and set the height to 80 pixels. You can change this to be any size depending on how you want the logo to appear on your template. If you want to set the width but automatically size the height to keep proportions, you can use a "0" for the height like this: {$projectteam_company_logo|insert_image:300:0}. This means 300 widths and auto-calculate the height. If you want to set a maximum height for your image, you would use a tag like this: {$projectteam_company_logo|insert_image:300:0:0:200}. This means 300 widths and auto-calculate the height. No maximum width, but set a maximum height of 200.
Finding the right size for your logo
The numbers in the last section of the merge tag are based on pixels. A pixel is 1/96 of an inch (0.26mm). We typically recommend that the number of pixels is assigned to the width OR the height which will allow the other to auto-calculate in order to maintain the logo's aspect ratio. The pixel size of the width is entered first, followed by the height, and separated by a colon (:).
The following are examples of proper tag syntax. These tags can be copied and pasted to use as needed.
- 1" (96 pixels) Tall Company Logo: {$projectteam_company_logo|insert_image:0:96}
- 3" (288 pixels) Wide Project Logo: {$projectteam_project_logo|insert_image:288:0}