Note: Markups can be added to certain file types on the attachment panel of forms and in the file management area. Markups are not yet available in the dedicated photos module.
Turn on the markup tool
ProjectTeam.com provides a robust viewing experience for many of the most common file types including:
- MS Office (Word, Excel, PowerPoint)
- Images (JPG, PNG)
To turn on the markup tool, follow the steps below:
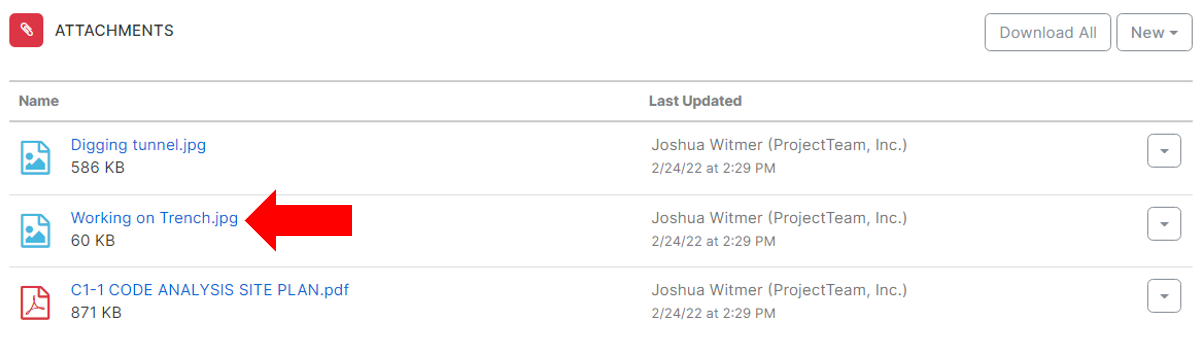
1. Click on the file name that you want to open and add markups.
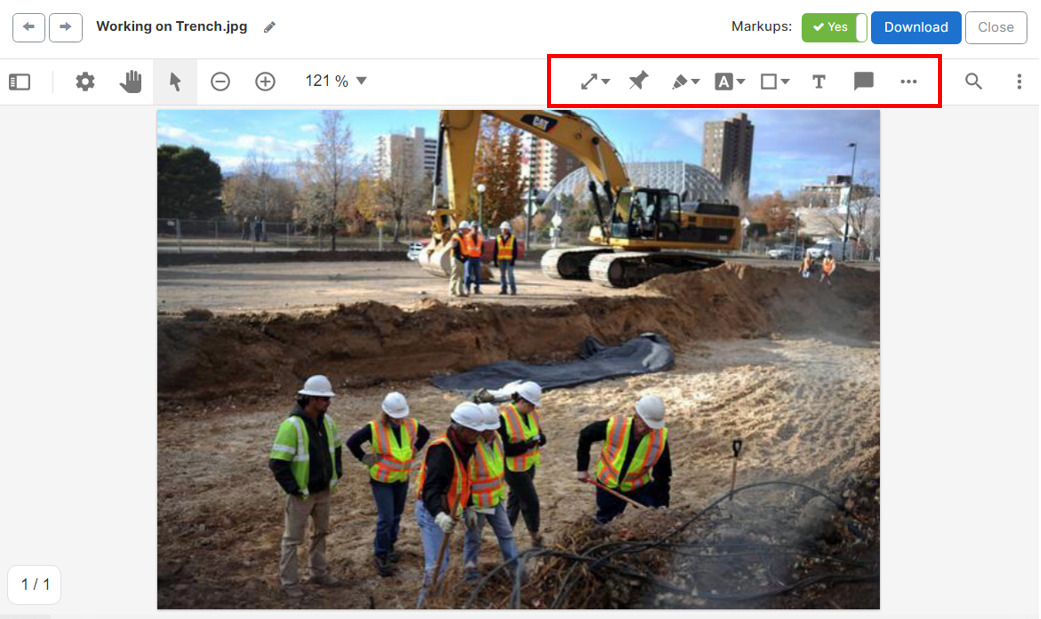
2. Once the file is open, click the Markups toggle on the top right of the window.

3. The toggle will switch on and you will see an extra set of markup tools and options appear in the toolbar.
Markup tools/options
On each file, you have the following options when adding your markups:
| Icon | Title | Description |
 |
Measurement tool (distance, perimeter, and area measurements) | Set a scale and take measurements on the file. |
 |
Document Pin | Add a pin to the file and reference any other document you have access to. |
 |
Freehand Pen | Freely draw shapes and text on the file. |
 |
Text tool (highlight, underline, and strikeout) | For text-based files, bring attention to certain words or sentences. |
 |
Shape tool (rectangle, circle, line, and cloud) | Add shapes to call out important areas of the file. |
 |
Text | Add text to the file. |
 |
Comment | Add a comment icon and include comments to collaborate on the file. |
To add a markup, click on the appropriate icon and then click on the file. Depending on the type of markup you want to add, you may need to hold down on your mouse to adjust the size of your shape or text box.
.gif?width=600&name=ezgif.com-gif-maker%20(14).gif)
Tip: Holding the "Shift" key on your keyboard while adding a shape will help keep your lines straight and make exact shapes.
For example, if you want to make a perfect square, select the Rectangle markup and then hold the "Shift" key while drawing your rectangle.
Edit the style of your markups
Each markup feature includes a set of styles that you can adjust. For example, on shapes you can adjust the thickness and color of the shape border. For text, you can adjust the size, color, and background of the text.
You can adjust the style of your markup before or after adding the markup.
Adjust style before adding markup
- In the markup toolbar, click on a markup icon.
- If there is a submenu, click an icon in the submenu to open the style options.
- Adjust the styles to your preference.
- Add your markup.
-1.gif?width=600&name=ezgif.com-gif-maker%20(14)-1.gif)
Adjust style after adding markup
- In the markup toolbar, click on a markup icon.
- If there is a submenu, click an icon.
- Add your markup.
- Click the Select icon on the top left of the toolbar.
- Click on your existing markup.
- In the popup, click the Styles icon and adjust the style of the markup.
-2.gif?width=600&name=ezgif.com-gif-maker%20(14)-2.gif)
Tip: The last style used for a markup is saved and will be the default style for that markup type next time you add the markup to any other file.
Delete a markup
In times where you add a markup by mistake or the markup is no longer needed, you can delete what you have added. You can only delete markups that you add, you cannot delete markups added by other users.
You can delete one markup or many markups at a time.
Delete one markup
- Click on the markup you want to delete.
- In the popup, click the Delete icon.
-3.gif?width=600&name=ezgif.com-gif-maker%20(14)-3.gif)
Delete many markups at once
- Click on the Select icon on the right-side toolbar.
- Click and drag around the markups you want to delete.
- In the popup, click the Delete icon.
-4.gif?width=600&name=ezgif.com-gif-maker%20(14)-4.gif)