Setting up a Meeting
- Within the project click the Forms icon on the left navigation pane.
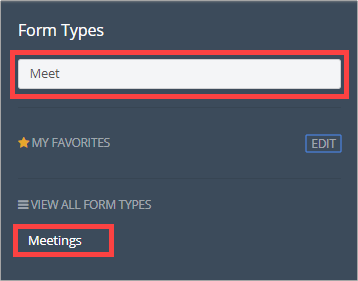
- Use the Search box to type meet to easily locate the Meeting Click the Meeting form type to open the Meeting log.
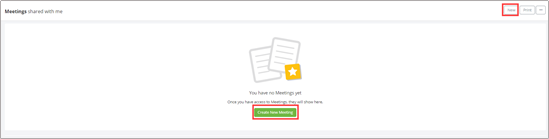
- The Meetings shared with me log will open. If this is the first meeting of the project, click the Create New Meeting button located in the middle of the log. If meeting records already exist for the project, click the New button located in the top right corner.
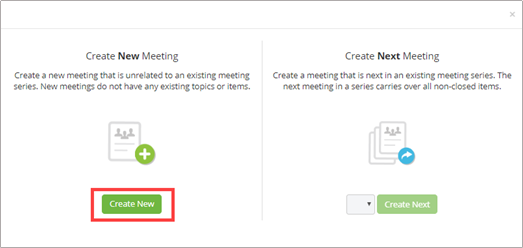
- To create the very first meeting, click the Create New button.
- The meeting form will open. There are 3 required fields which will need to be completed to save the meeting document. The Subject is the meeting title, the Meeting Series will determine which series to assign future meetings to and the Start Date and Time. The remaining fields are optional but will add great value to any reports created for the project.

- Scroll to the Invitees section to enter a list of meeting invitees.

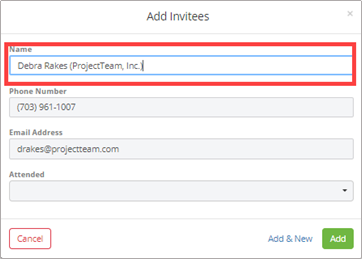
- The Add Invitees modal window will open. Entering the name of a user who is already in the project directory will auto populate the address and phone number fields. If the invitee is not in the project directory, manually enter this information.
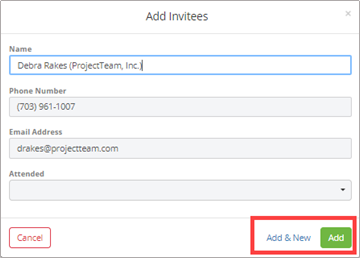
- Click the Add & New button to save the entry and add a new invitee or click the Add button to save the invitee and return to the meeting document.
- To add multiple invitees at one time, use the import feature. Click the ellipsis (...) button and click Import Rows.

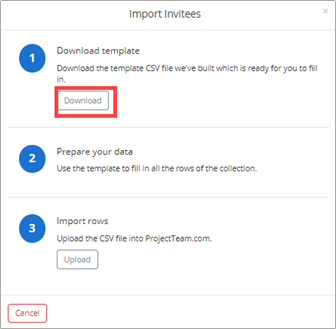
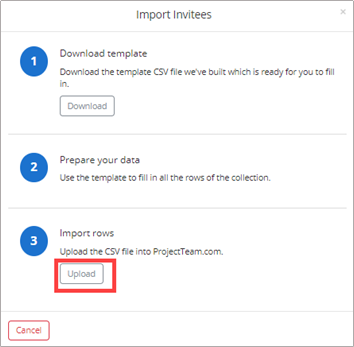
- The Import Invitees modal window will open. Click the Download button to open the Invitees import template.
- Open the downloaded template.
- Enter information in the applicable fields in the import document and save the document as a .csv file to a location on your computer.
Note: If an error message is provided, return to the import document, and make the required corrections and reimport the updated template.
- Return to ProjectTeam and press the Upload button on the Import Invitees modal window.
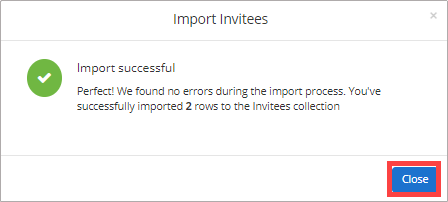
- If the information entered in the import document is correct, a successful confirmation notice will appear. Click the Close button to return to the meeting form.
Note: If an error message is provided, return to the import document, and make the required corrections and reimport the updated template. - The imported attendees will appear in the collection.

- To reorder the Invitees, hover your mouse over the name of the attendee you would like to move up or down in the list. A crosshair pointer will appear. Drag and drop the name of the attendee in the list where you want them to appear.

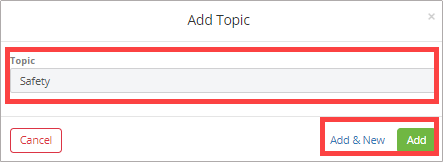
- The Topics section is below the Attendees section. Before adding meeting items, topics must be added. Click the New Topic button.

- The Add Topic modal window will open. Enter the Topic and click the Add & New button to save the topic and add another or click the Add button to save the topic and return to the meeting form.
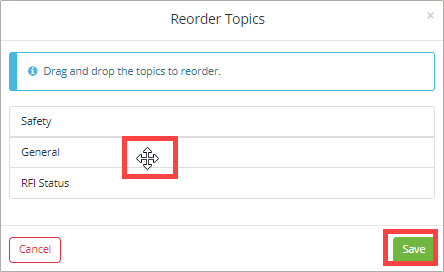
- A separate line is added for each topic. To change the order of the topics, click the Reorder button.

- To reorder the topics, hover your mouse over the topic you would like to move up or down in the list. A crosshair pointer will appear. Drag and drop the topic in the list where you want them to appear. Click Save when complete.
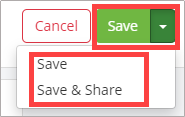
- Click the dropdown arrow beside the Save & Share button located in the top right corner of the meeting form. Click Save & Share to save the document and share with other project members or click the Save button to save the document without sharing. Save & New will allow you to create the next meeting within that set.

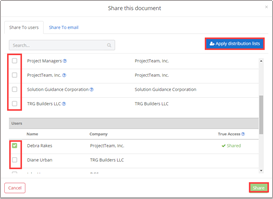
- The Share this document modal window will open. Select the radio button to the left of the Share Group or User to share the Meeting with. The user can also use the Apply distribution lists if a distribution list has been created for sharing Meetings. Click Share at the bottom of the modal window to share the record.
Taking Minutes
- Open the Meeting form log and click the title of the meeting to open the document.

- Click the Edit button in the Details section.

- Edit or update the information contained in the fields if needed.
- To take attendance for the meeting, click the dropdown arrow beside the name of each invitee and click the Edit button.

- The Update Invitees modal window will open. Click the Attended dropdown arrow and click the attended option which applies to the invitee.
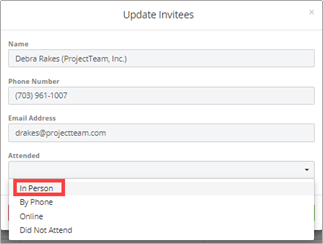
- To update the next invitee in the list, click the Next Once all invitees are updated, click the Update & Close button.

- The Attended column will update with the newly added information.

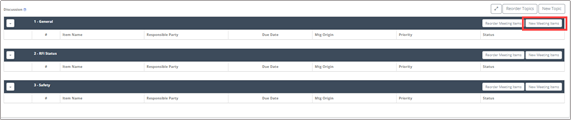
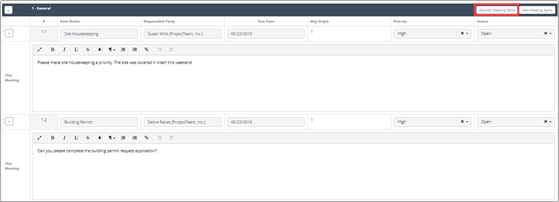
- Scroll to the Discussion section to add Meeting items. Select a topic and click the New Meeting Items button.
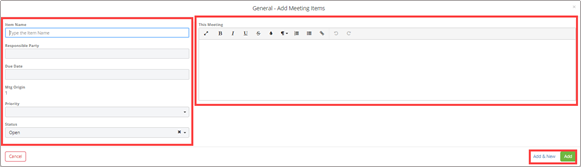
- Enter information about the meeting item fields. Press the Add & New button to add a new meeting item or the Add button to save the meeting item and return to the meeting form.
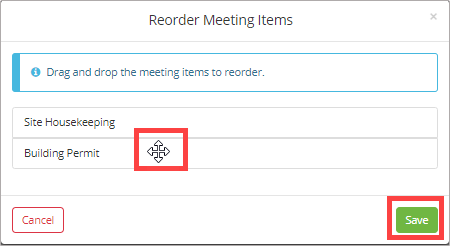
- To reorder the meeting items within a topic, click the Reorder Meeting Items button.
- To reorder the meeting items, hover your mouse over the meeting item you would like to move up or down in the list. A crosshair pointer will appear. Drag and drop the meeting item in the list where you want them to appear.
- Click the dropdown arrow next to the Save Click Save & Share to share the meeting form or click the Save button to save the document without sharing.

Update Meeting Items
- Open the Meeting form log and click the title of the meeting to open the document.

- Click the Edit button in the Details section.

- Add additional notes in the This Meeting To change the status of the meeting item, click the Status dropdown and choose the new status.
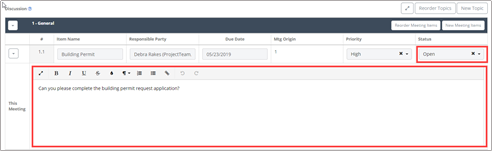
- Click the dropdown arrow next to the Save button. Click Save & Share to share the meeting form or click the Save button to save the document without sharing.