If you create a new album without adding any photos to it, the album will not have a cover photo. However, once the first photo is added, that first photo will become the album's default cover photo. The cover photo is shown in various areas of ProjectTeam.com where a list of albums is shown.
If you are the creator of the album, you can update the cover photo of the album with any other photo included in the album.
Edit the cover photo of an album
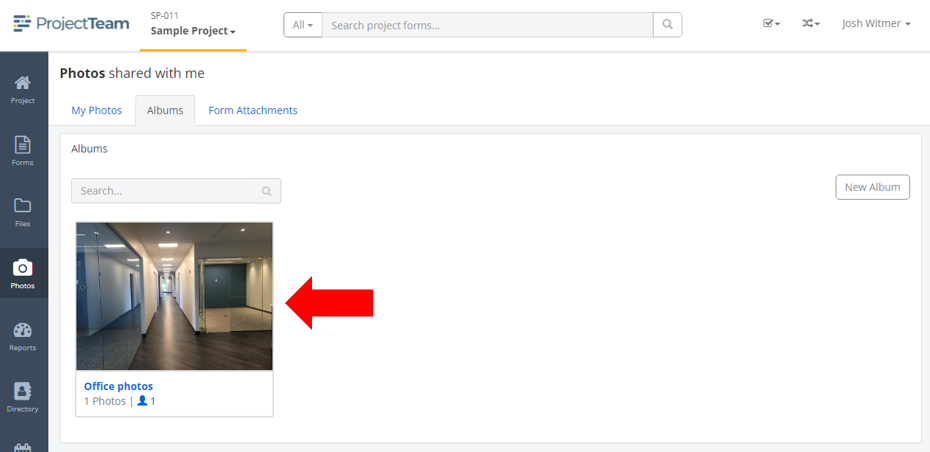
- Inside of a project, click the Photos option in the secondary navigation.
- By default, you are viewing the My Photos tab. Click the Albums tab.
- Click the album that you want to edit.
- Search within the album and find the photo that you want to use as the album's cover photo.
- Click on the thumbnail of that photo.
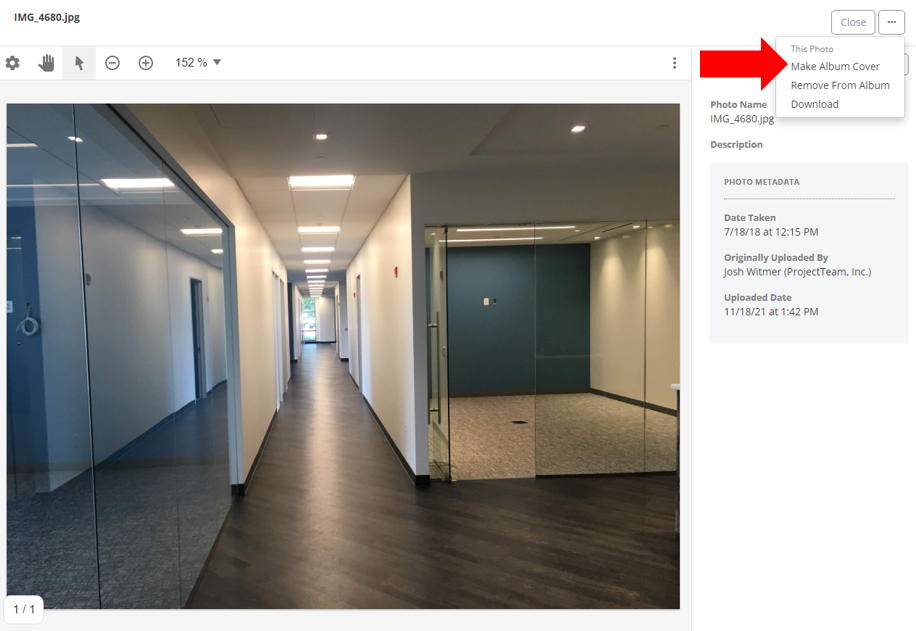
- In the fullscreen view of the photo, click the ellipsis button and choose the Make Album Cover option.
- A confirmation modal will appear, click the Yes button to confirm your change.
- You will see your new cover photo in all areas where a list of albums is shown. All users that have access to the album will now see the updated cover photo as well.