- Navigate to the Drawings form within a project.
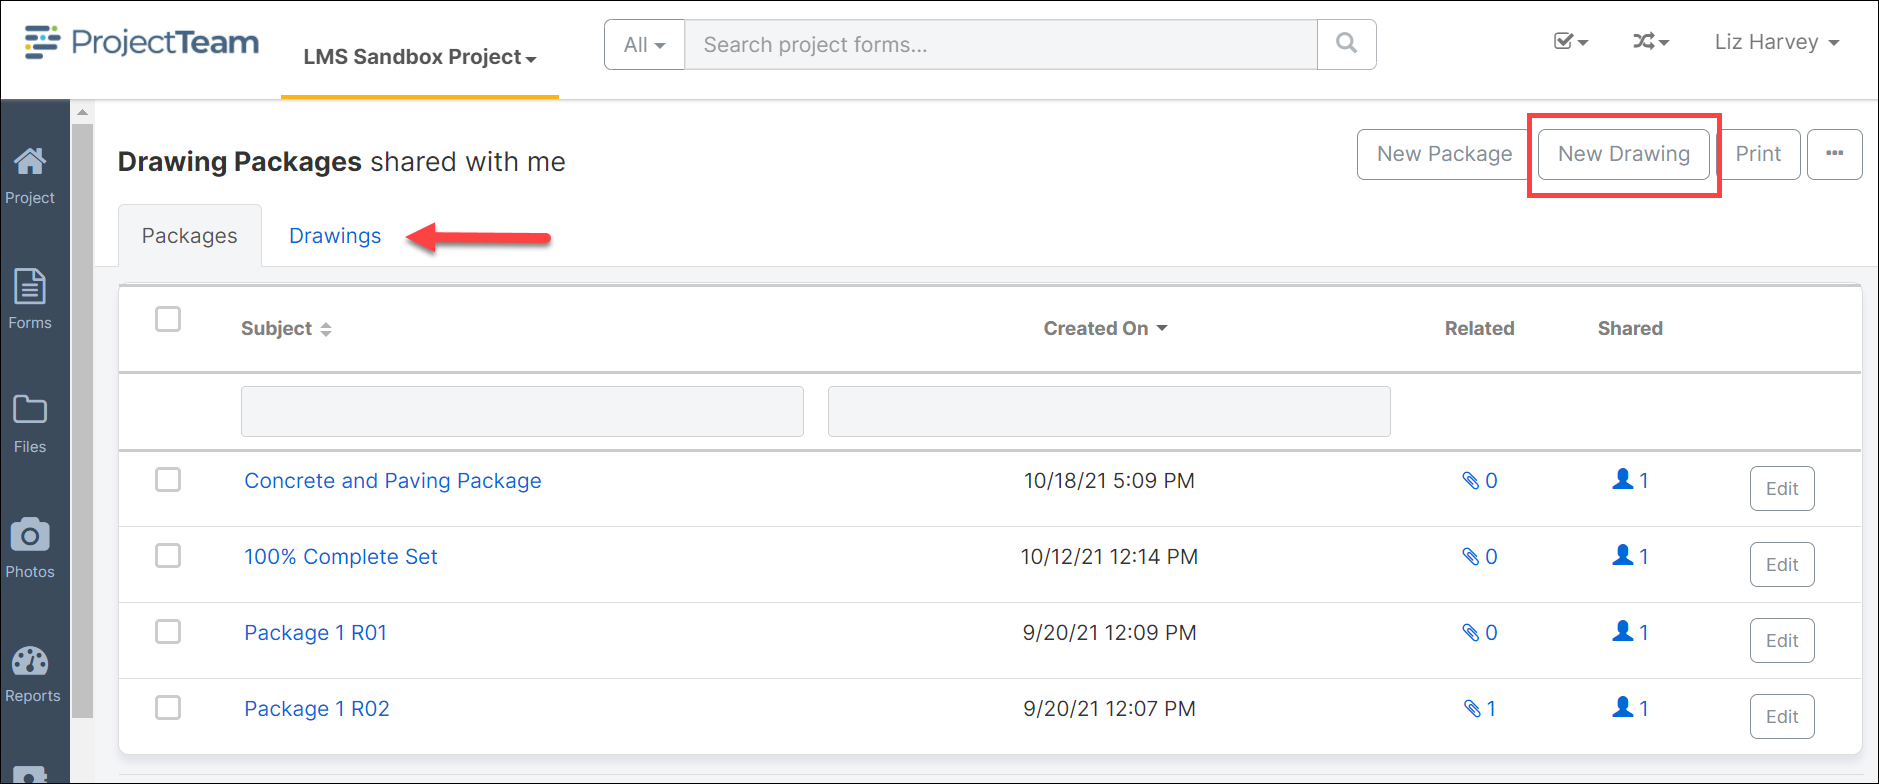
- By default, the Packages tab displays. To view current drawings, click on the Drawings tab. Otherwise, click New Drawing to upload.
- If this is the first drawing for the project, click the Create New Drawing button located in the middle of the drawing log page.
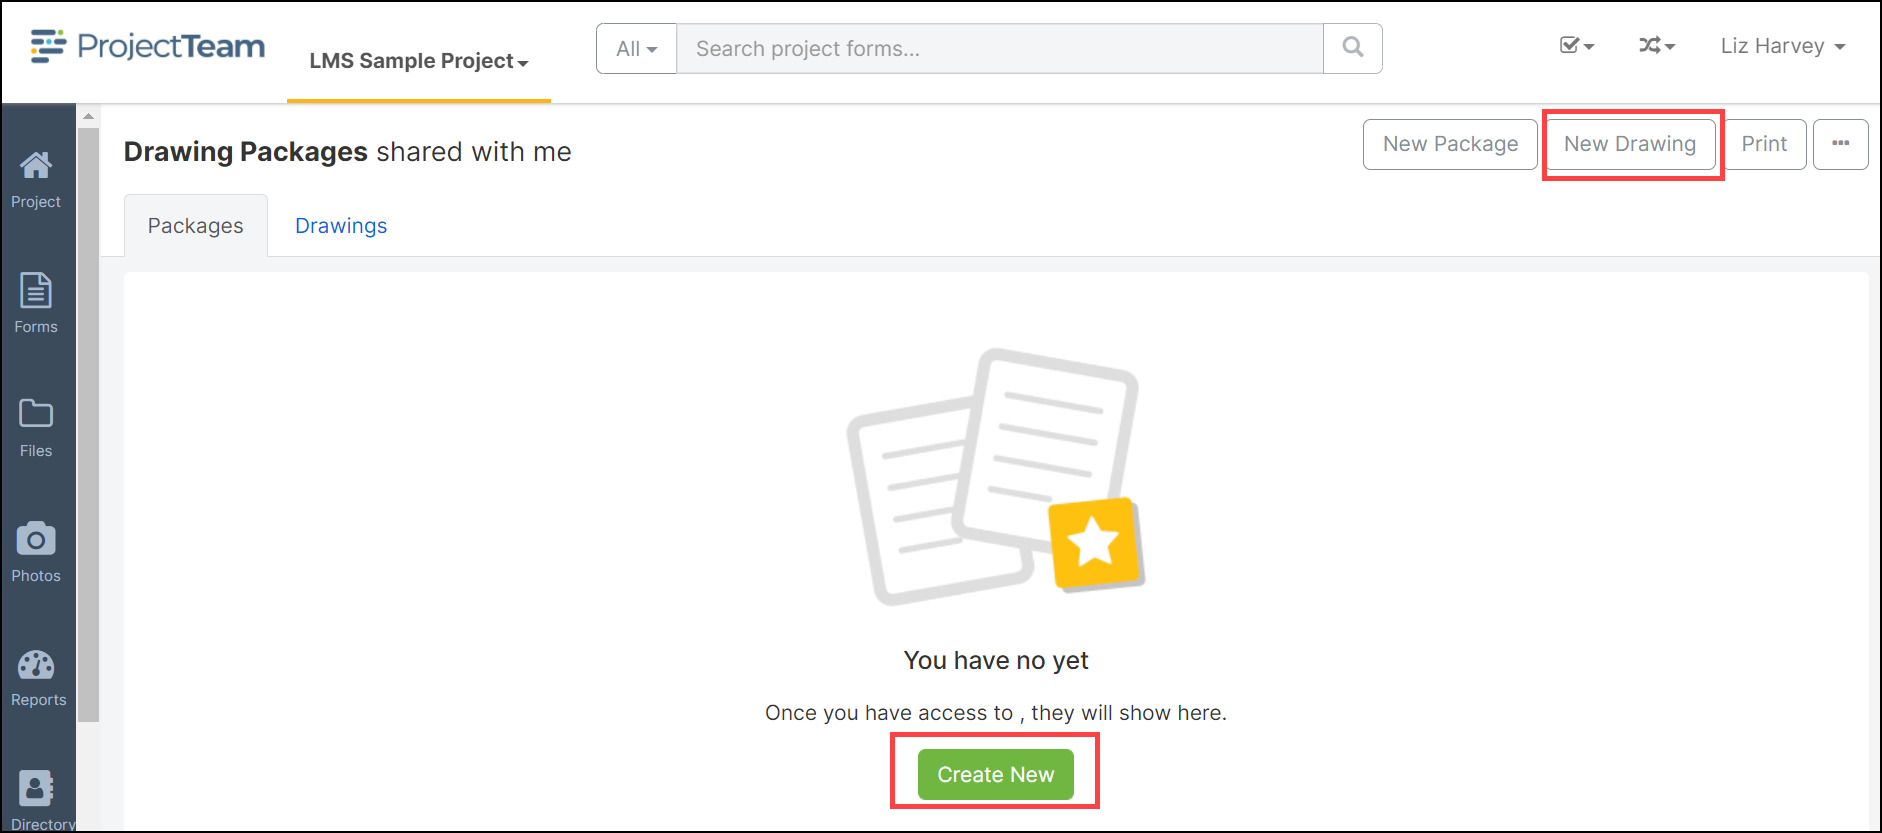
Otherwise, click the New button located in the top right corner. - To upload the actual drawing file, click the Create New button located on the left of the New Drawing modal window.
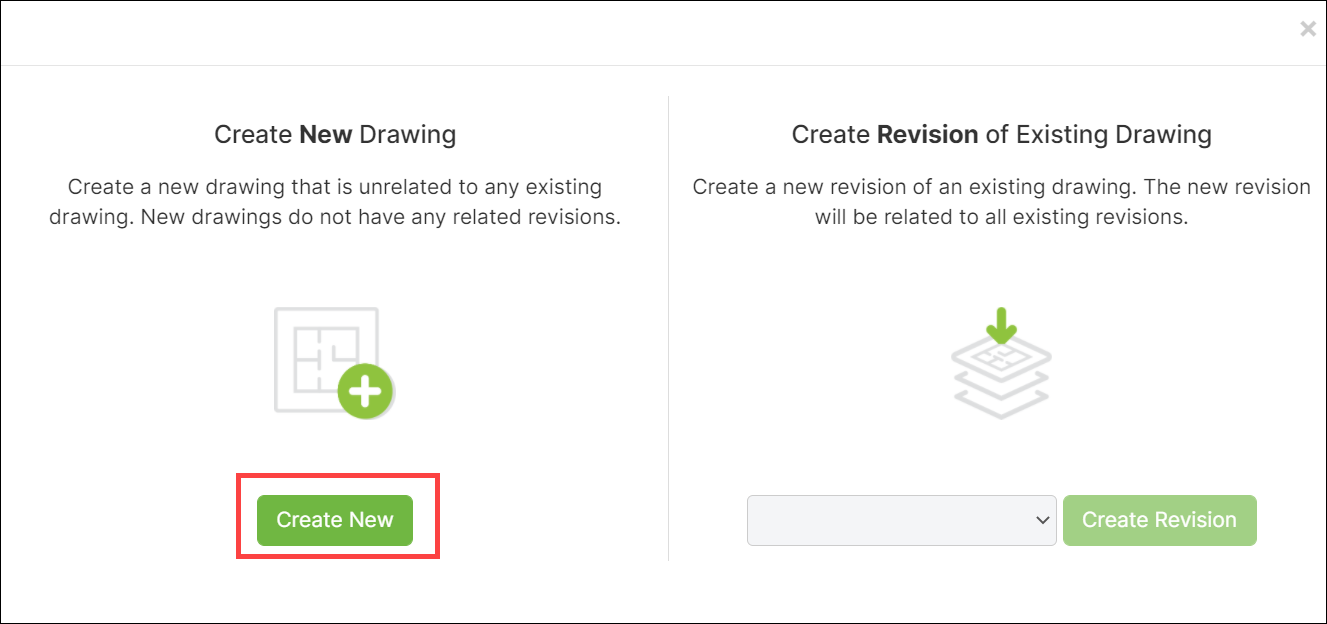
- Click the Upload button to search for your new drawing.
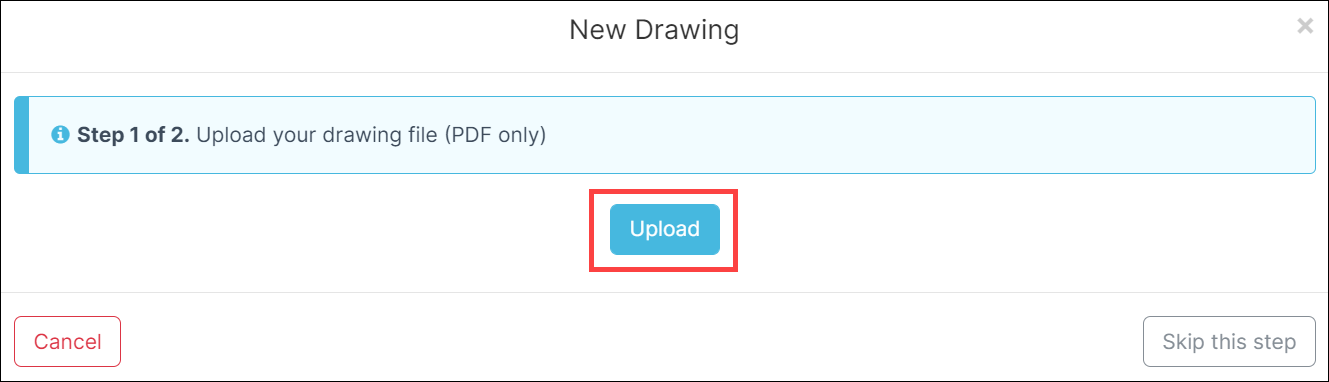
If you are not ready to upload the drawing file, click the Skip this step button located on the bottom right corner.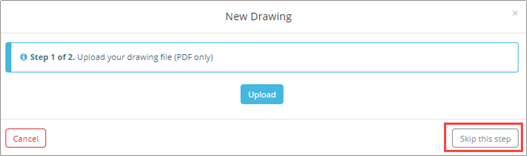
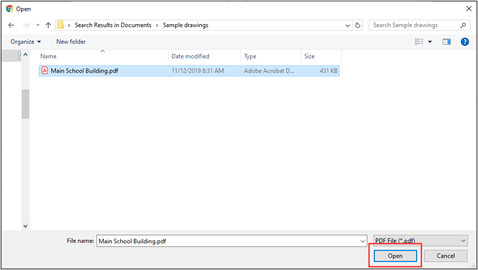
- Locate and click the drawing title to select the document and click the Open button located on the bottom right corner of the Files window.
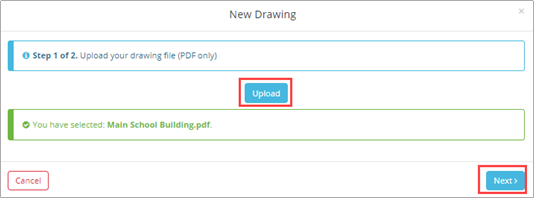
- Additional drawing files may be added by selecting the Upload button and following steps 4 and 5 above. Once the uploads are complete, click the Next button located in the bottom right corner.
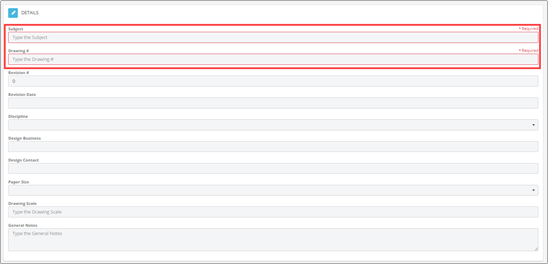
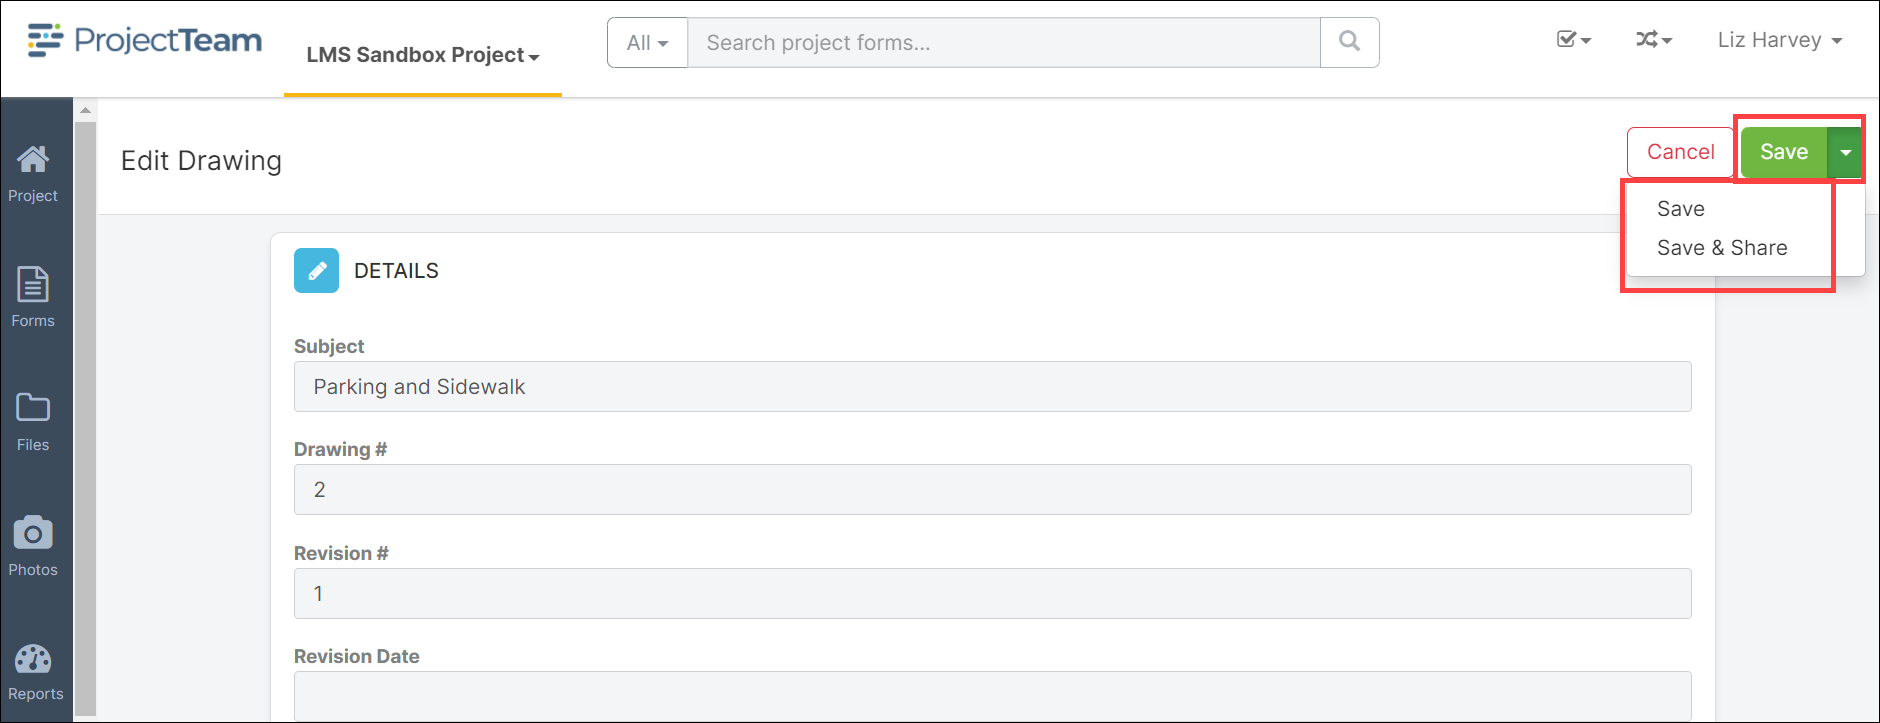
- The Drawing form will open. Enter the required information in the Subject and Drawing # The remaining fields are optional but the information captured in these fields will be very helpful in creating robust reports about your drawings.
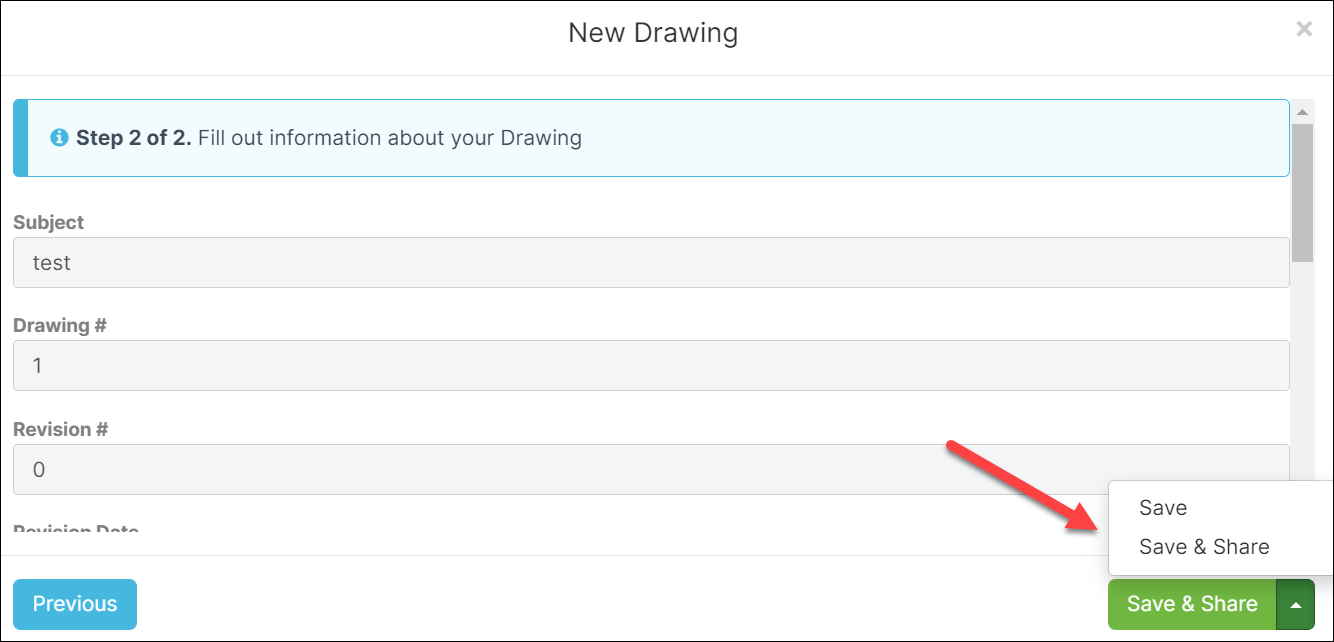
- Click the dropdown arrow beside the Save & Share button located in the top right corner. Click Save & Share to save the document and share with other team members or click the Save button to save without granting access to the drawing.
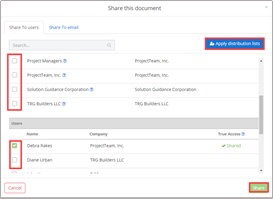
- The Share this document modal window will open. Select the radio button to the left of the Share Group or User to share the drawing with. The user can also use the Apply distribution lists if a distribution list has been created for sharing drawings. Click Share at the bottom of the modal window to share the record.
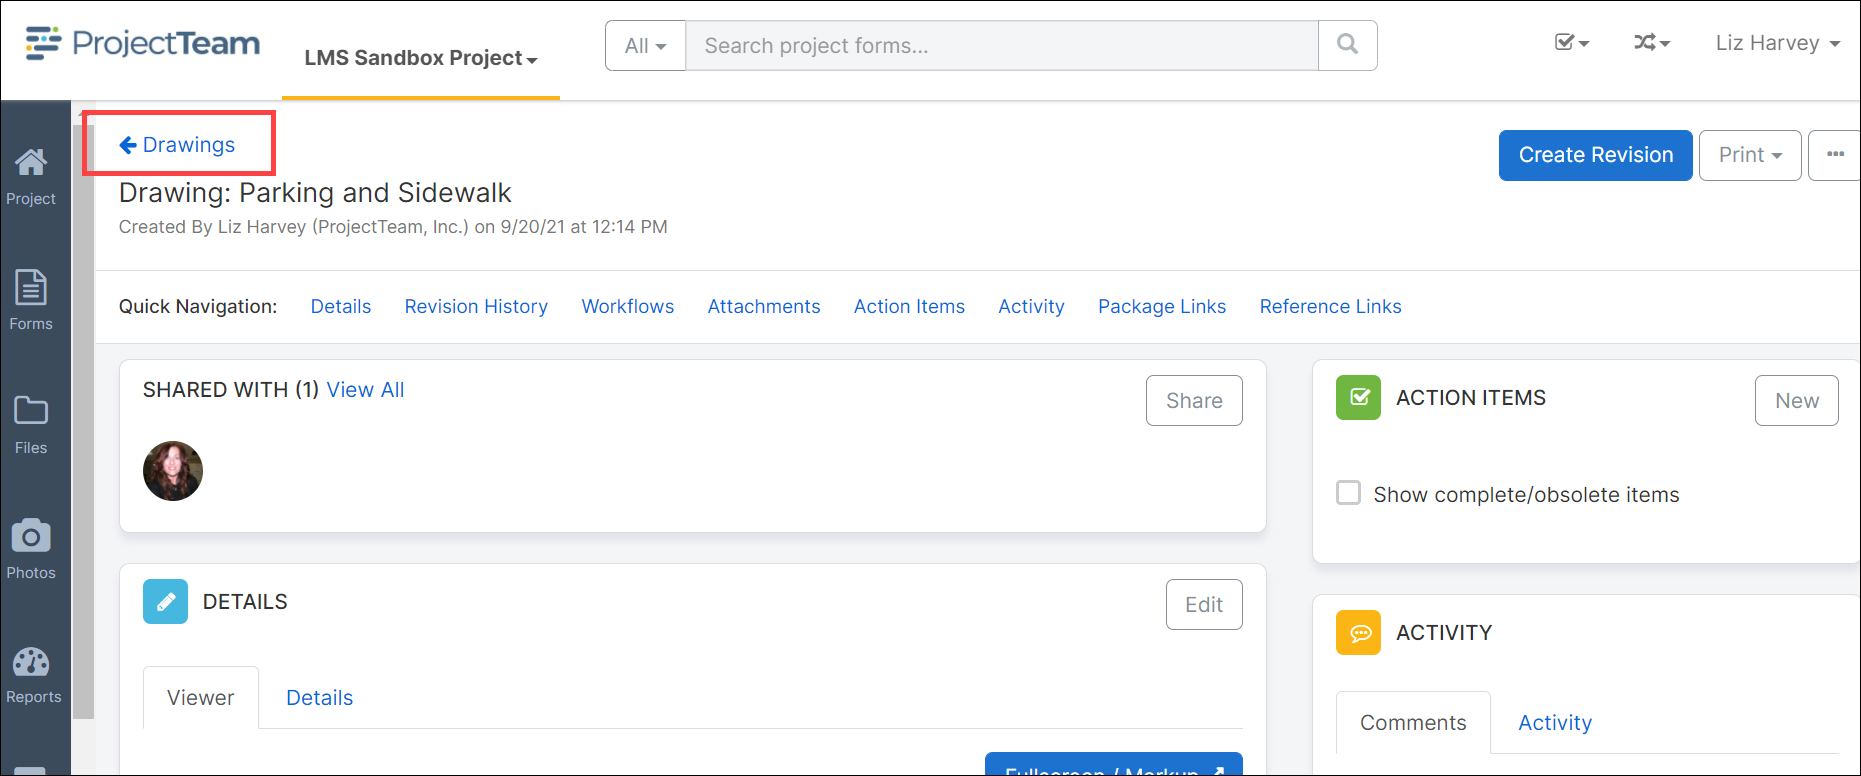
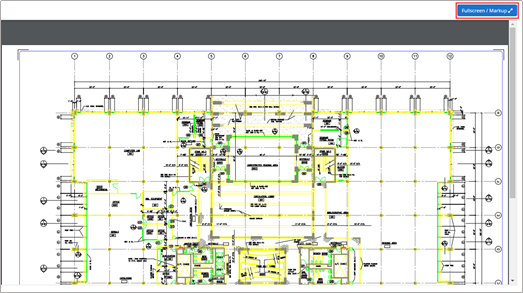
- The drawing document will open. If a drawing file was uploaded to the drawing document, the drawing file is available on the Viewer tab.
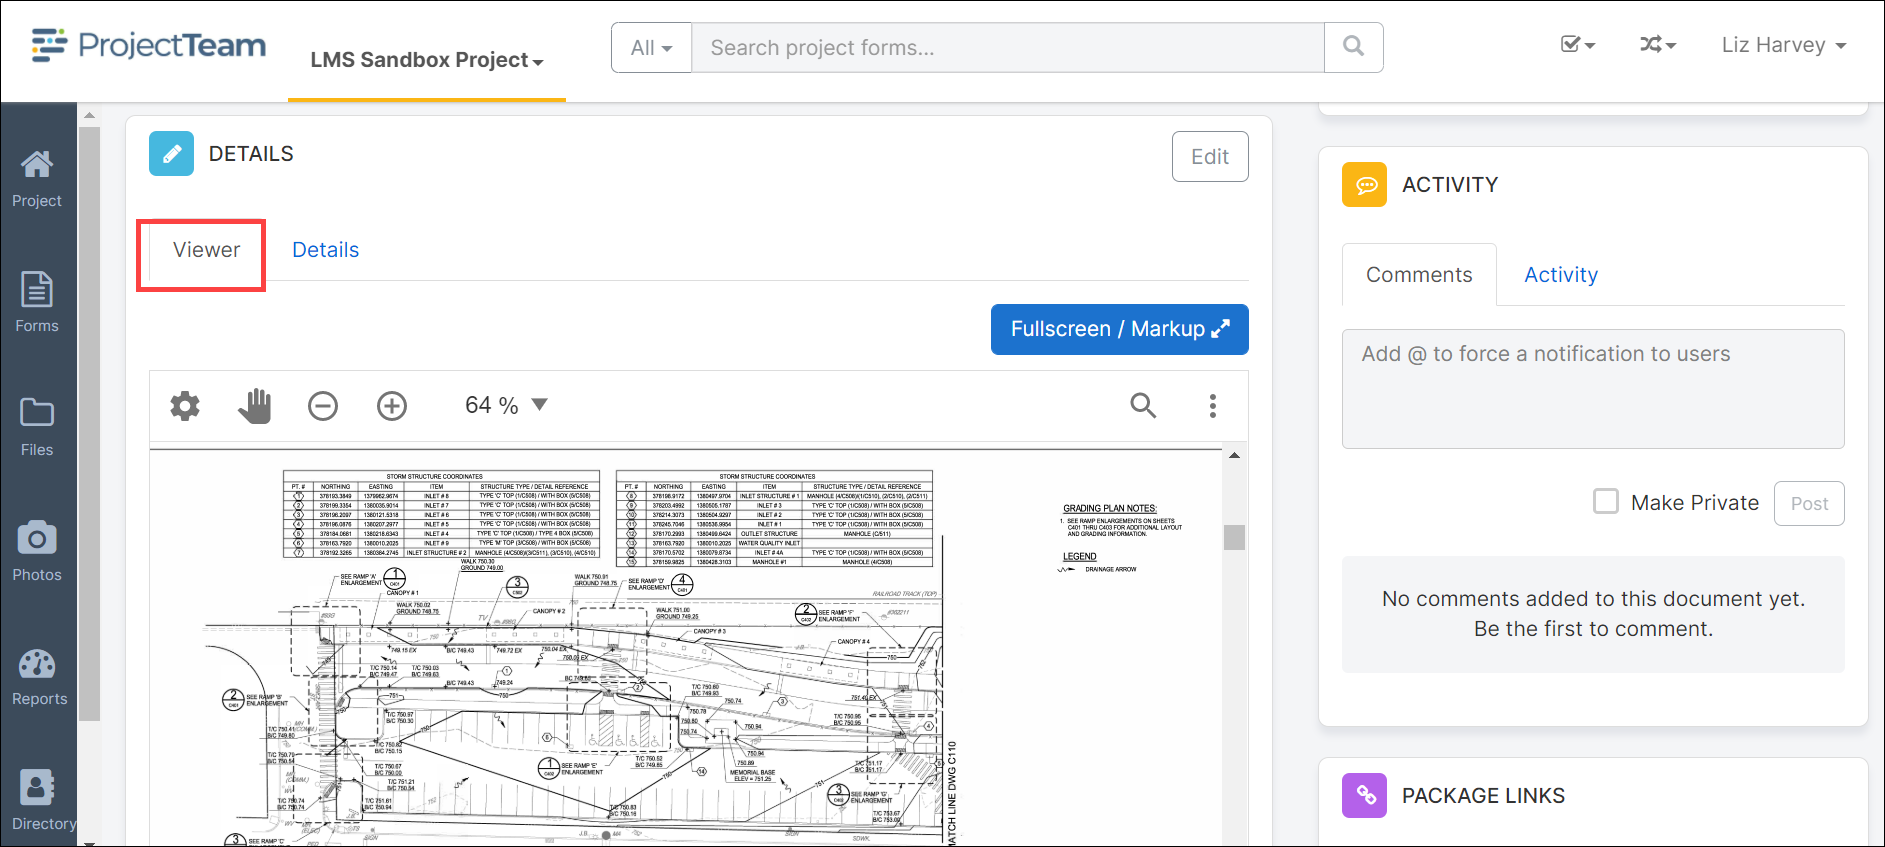
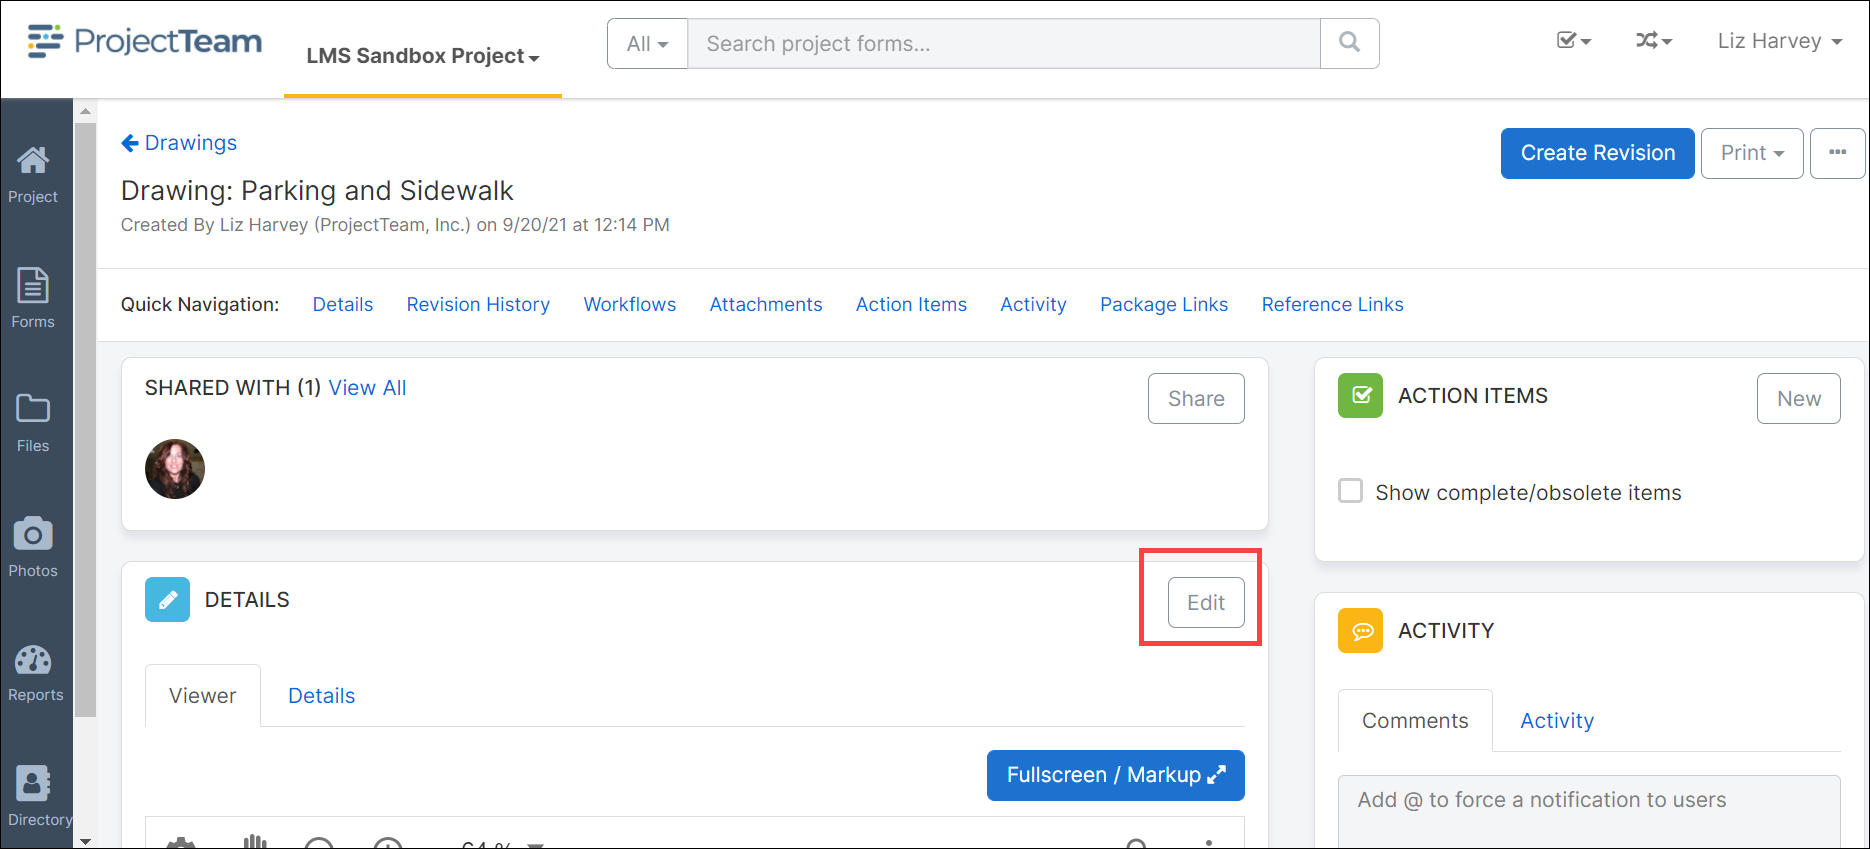
- To view the document in full screen or markup the drawing, click the Fullscreen/Markup button located in the top right corner of the Viewer screen. For more information on the File Markup Utility, please refer to the File Markups and Annotations QRG.
- To view the drawing information, click the Details To edit the record, click the Edit button.
- Once edits are complete, click the Save button and choose Save & Share to share with other team members or Save to save the record without sharing.
- To return to the Drawing Log, click the Drawings link located in the top left corner of the drawing document.