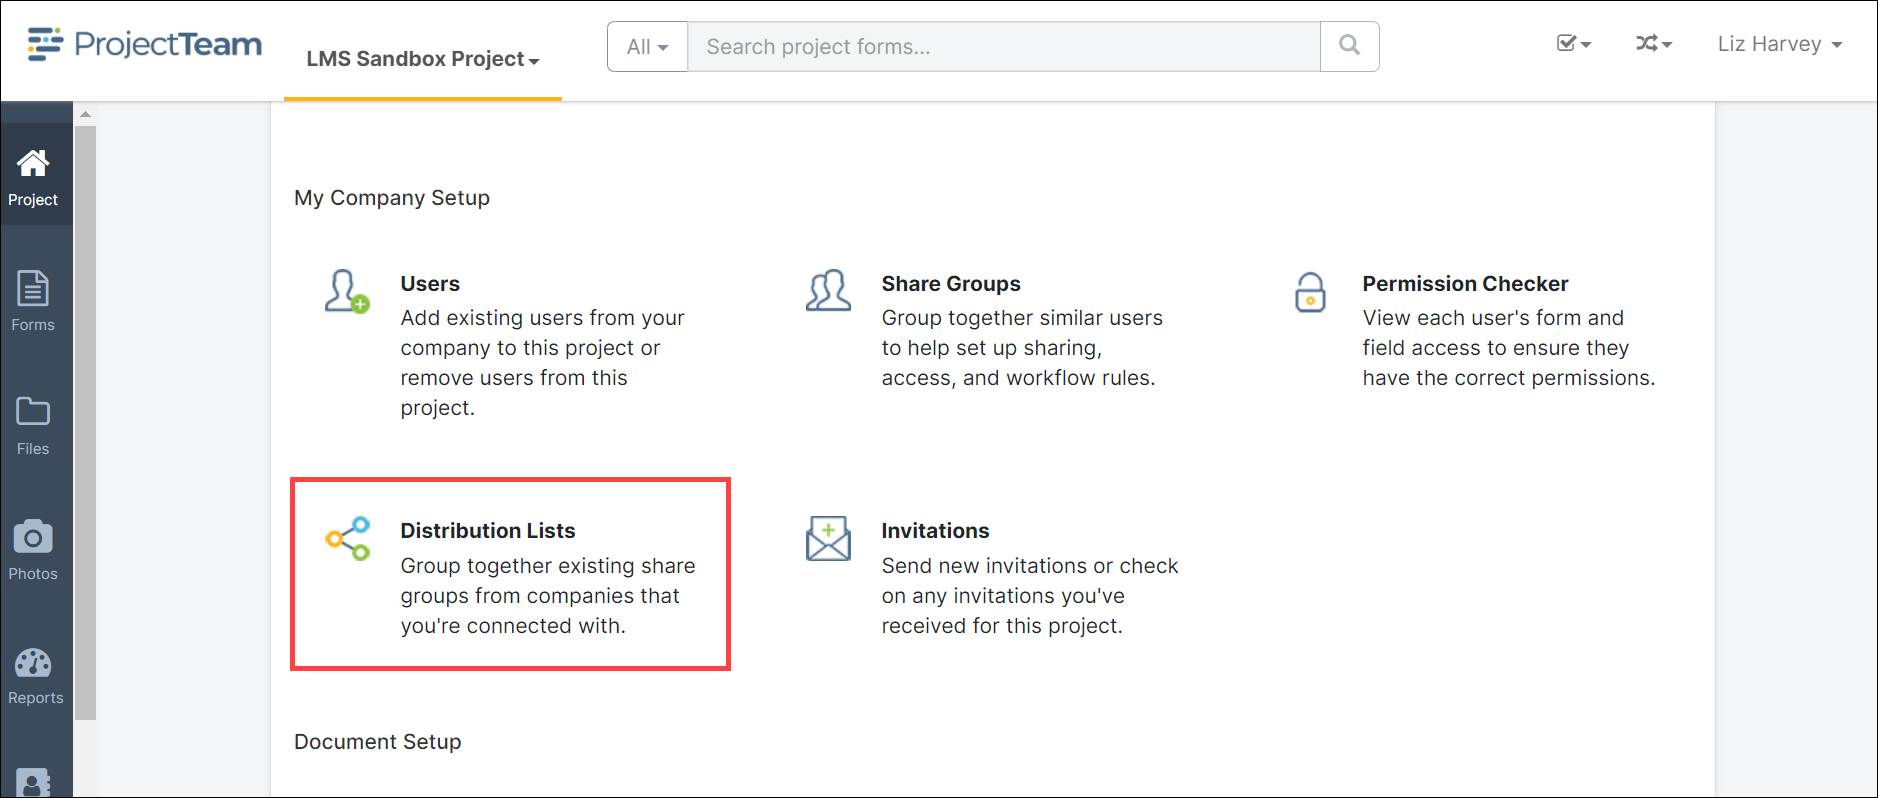
ProjectTeam.com allows you to group together existing share groups from companies that are connected to your organization for ease in sharing information. For instance, these Distribution Lists can be used to share Requests for Information records with specific group of individuals for coordination purposes. To access the Distribution Lists:
- From the Project Home Page, scroll down to the Project Administration pane under My Company Setup and click the Distribution Lists icon:
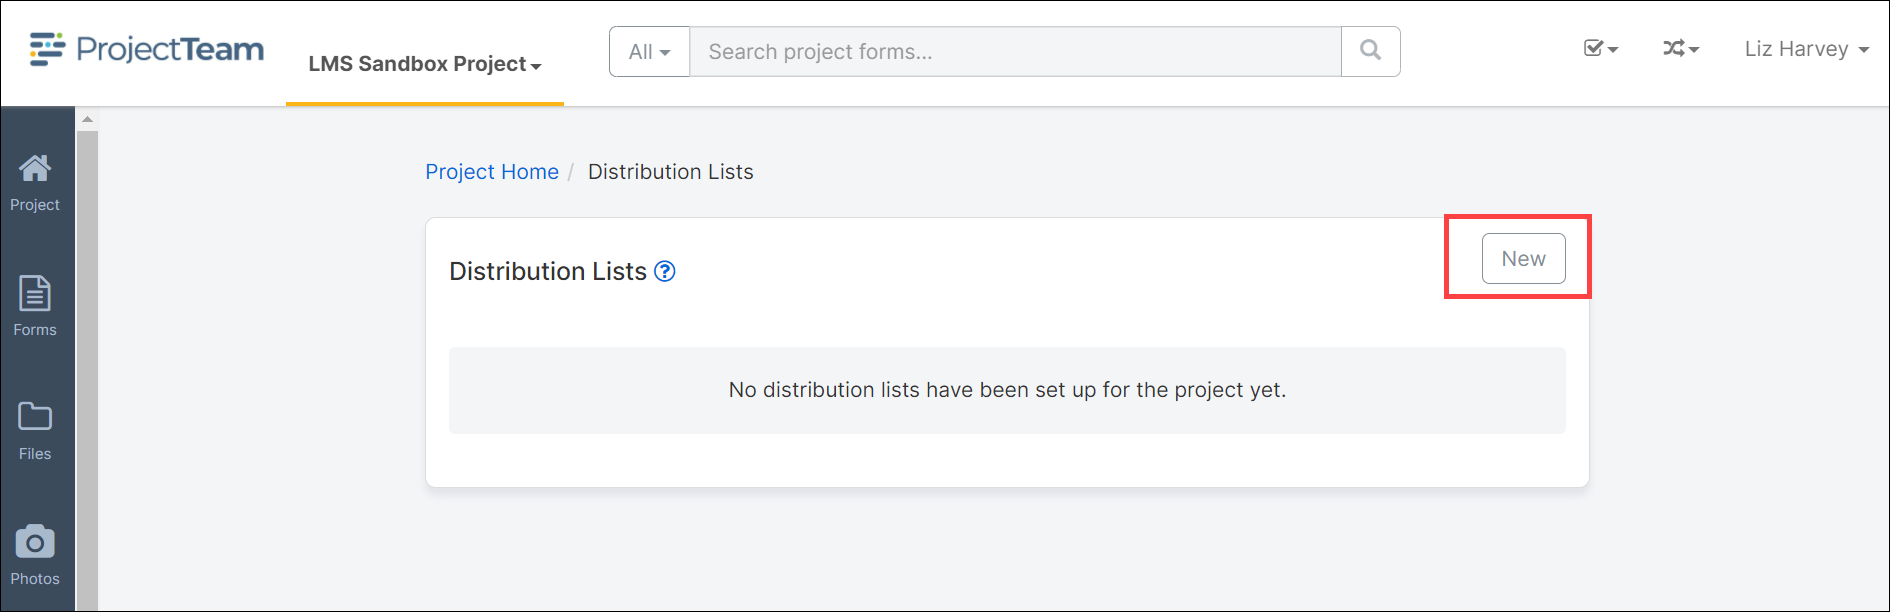
- The Distribution Lists page will open. Click the New button to add a new Distribution Lists.
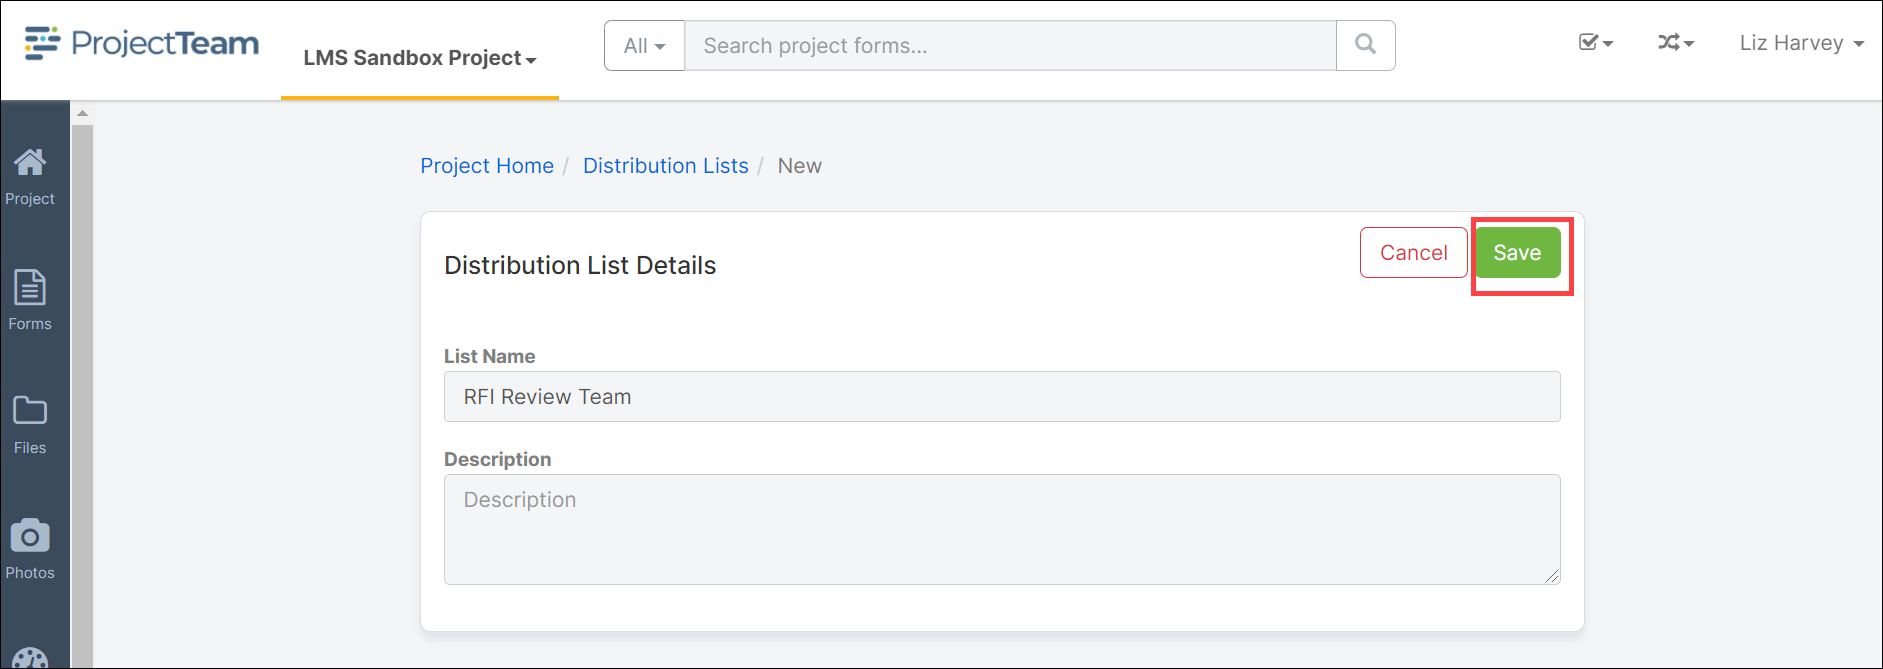
- The Distribution List Details page opens. Enter a List Name and Description for the list if appropriate. Click Save to save the record.
- The List Membership pane will be added to the page. This is where the individual users will be added to the list. Click the Add button to add users.

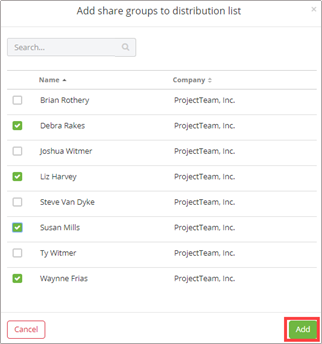
- The Add share groups to distribution list modal window will open. Select the individual users by clicking in the box to the left of their name to add that user to the list. Once all users to be contained in the list are selected click the Add button.
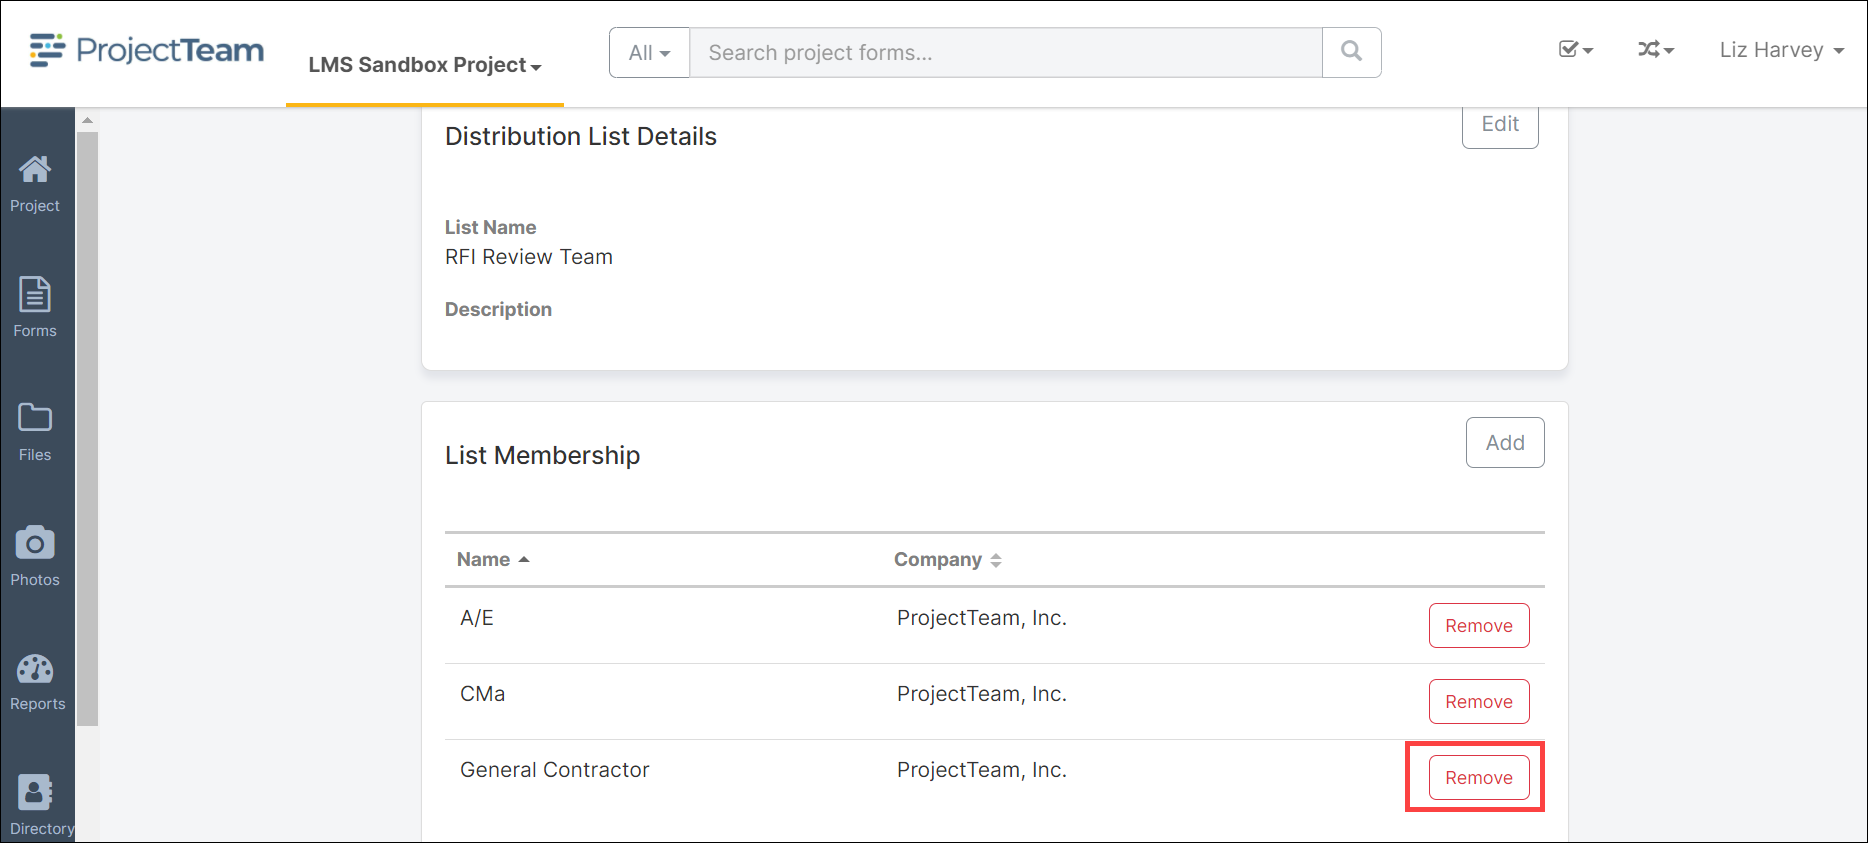
- The selected users will be added to the List Membership. If an incorrect user was added by mistake, simply click the Remove button to remove the user from the list.
- The Distribution Lists can be updated anytime during the project as team members leave the project and need to be replaced/supplemented. To update the Distribution Lists, follow the directions below:
- Click the Project icon on the left navigation pane.
- Scroll down to the Project Administration pane under My Company Setup and click the Distribution Lists icon:
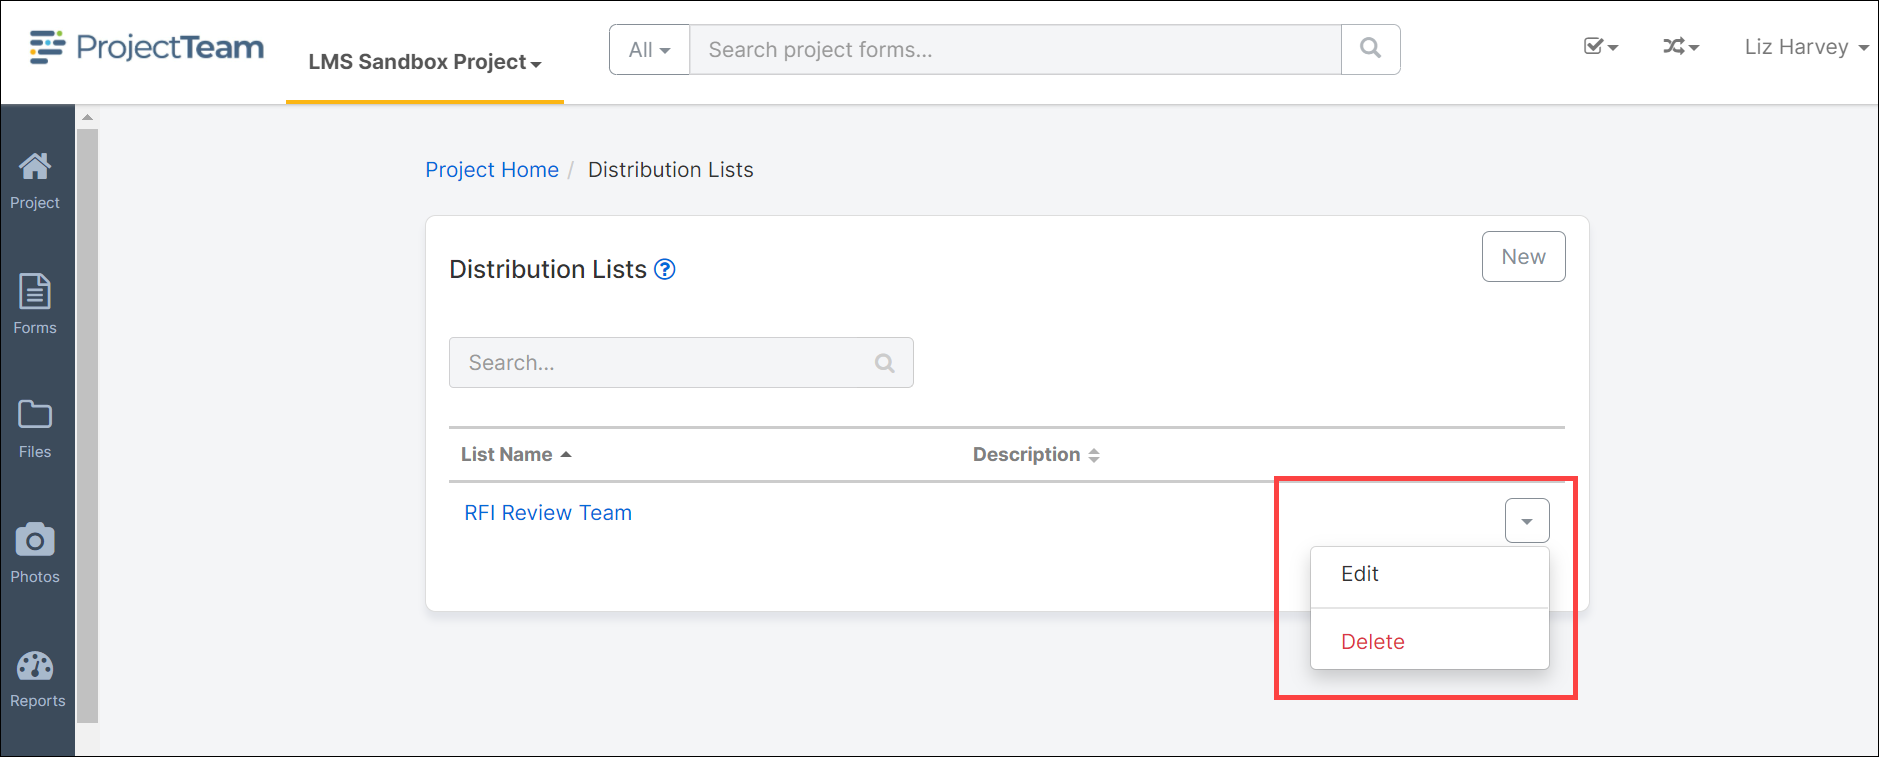
- The Distribution Lists page will open. Select the appropriate Distribution Lists then click the Edit button on the dropdown menu to the right of the Description or click the List Name to open in view mode.
- The Distribution List Details page will open. Update any information necessary for the List Name and Description and click the Save button to save changes.
- The List Membership pane will be added to the page. Click the Remove button to remove any users from the group and click the Add button to add additional members to the list.