The Customized Forms can be created as either Project Forms or Company Forms depending on how they are to be used. Project Forms are for project specific use and Company Forms can be used across multiple projects. Company Forms also allow for cross project reporting. The instructions on this page are for creating a Custom Project Form.
- Click the Project icon on the left navigation pane.

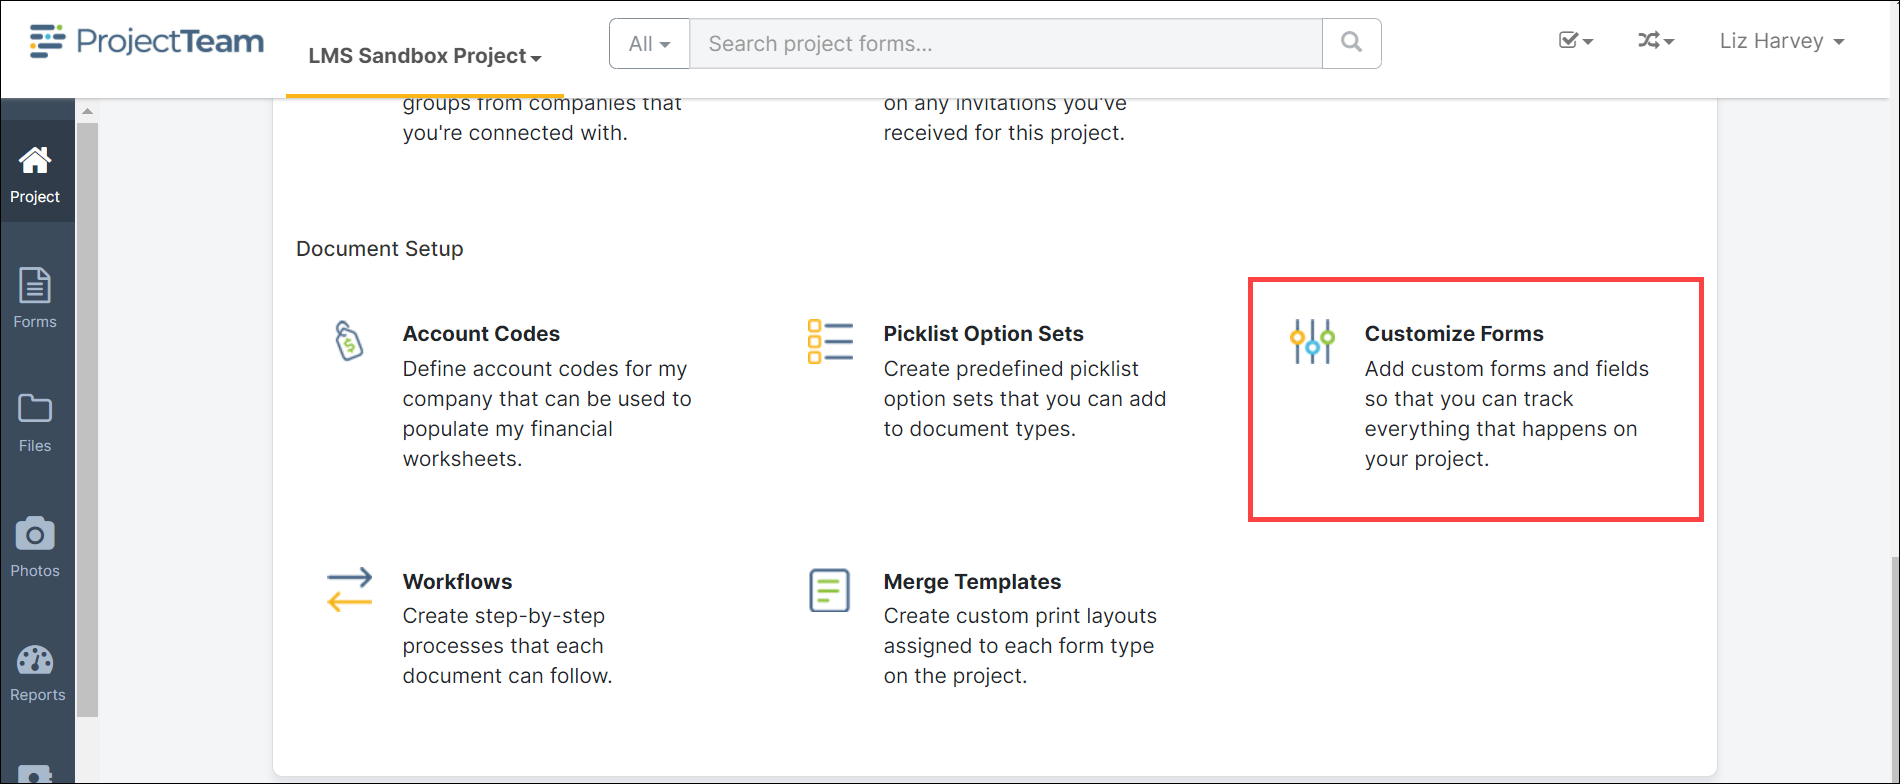
- Scroll down to the Project Administration pane under Project Setup and click the Customize Forms icon:
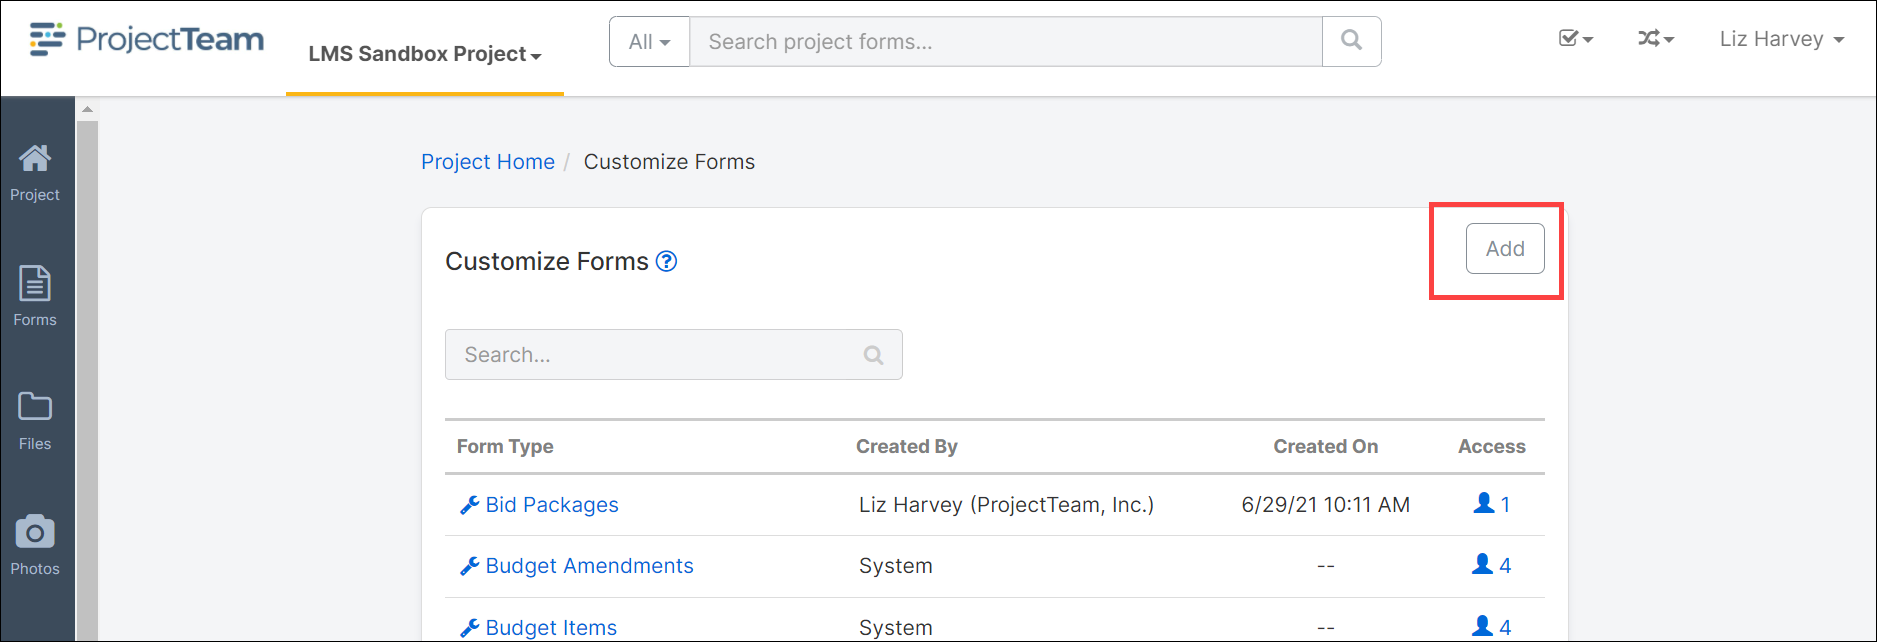
- The Customize Forms page will open. Click the Add button to create a new custom form.
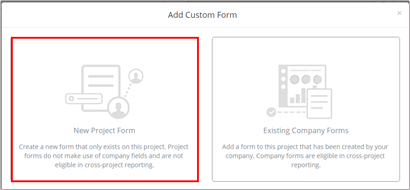
- The Add Custom Form pane will open. Select New Project Form to create a new custom form.
- The Form Property pane page will open. Enter the Form Name and verify the Plural of Form Name is correct. Click the Save button if all information is correct.

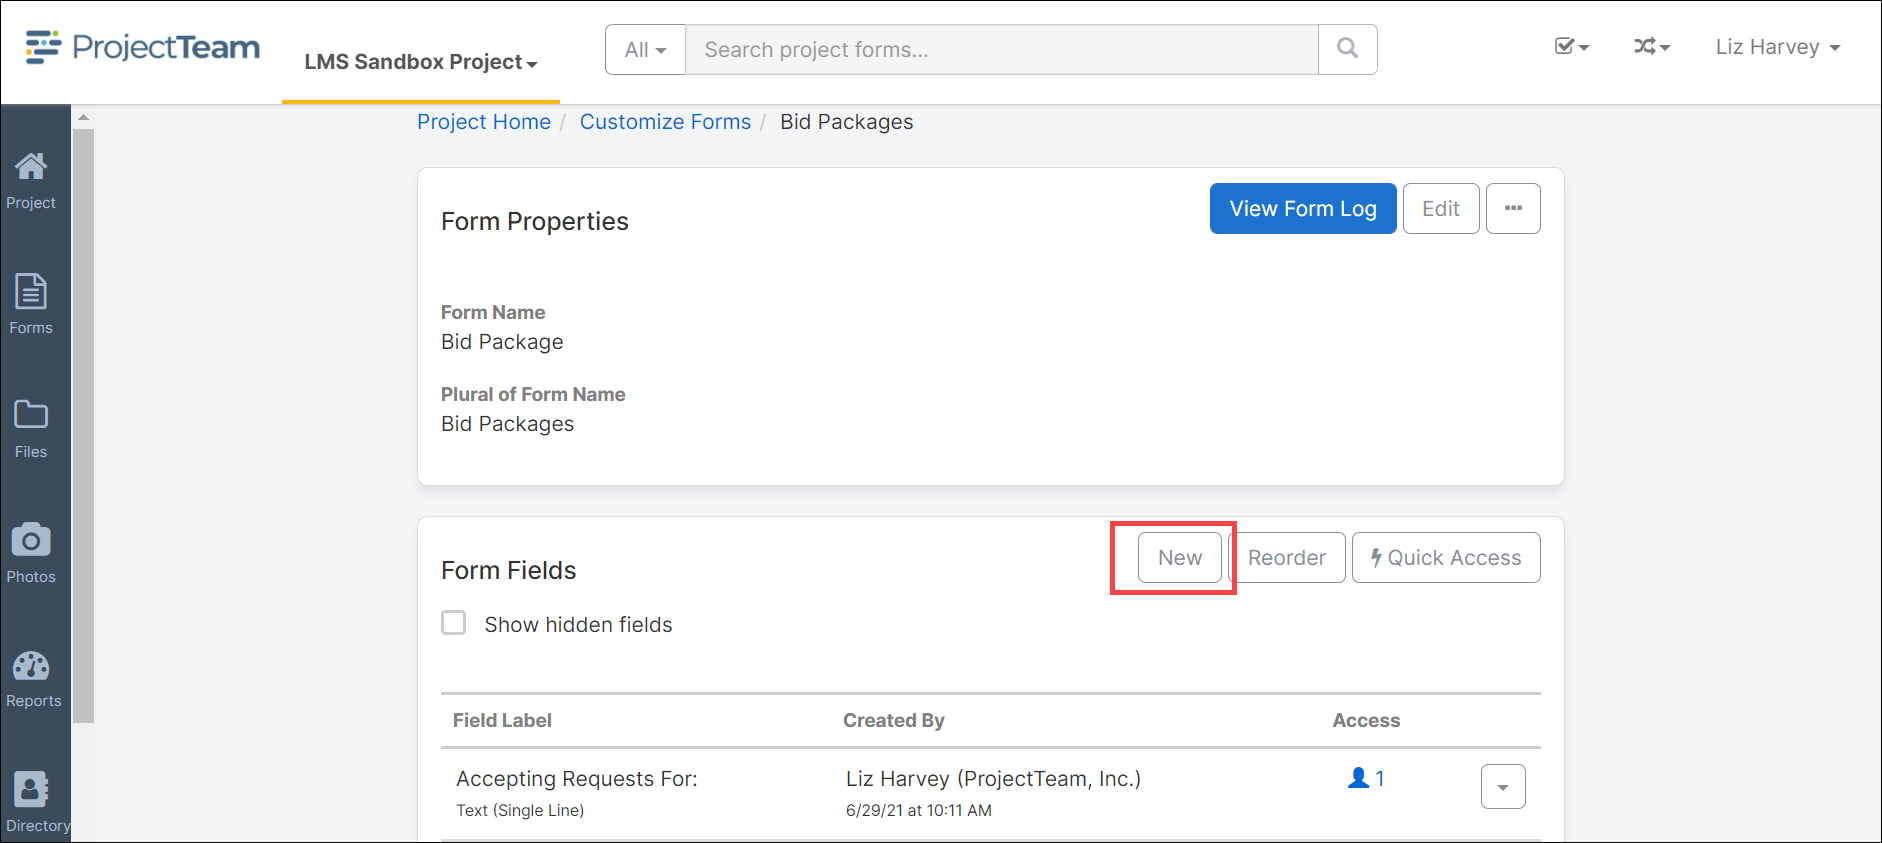
- The Form Properties pane will open. Click the New button to add fields to the new form. By default all forms will contain the System Field titled Subject.
- The New Custom Field (Form Name) pane will open.
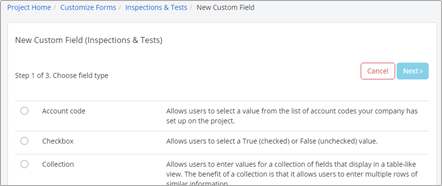
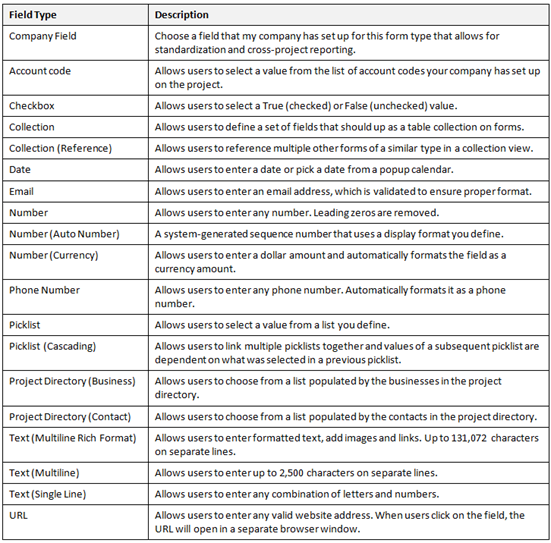
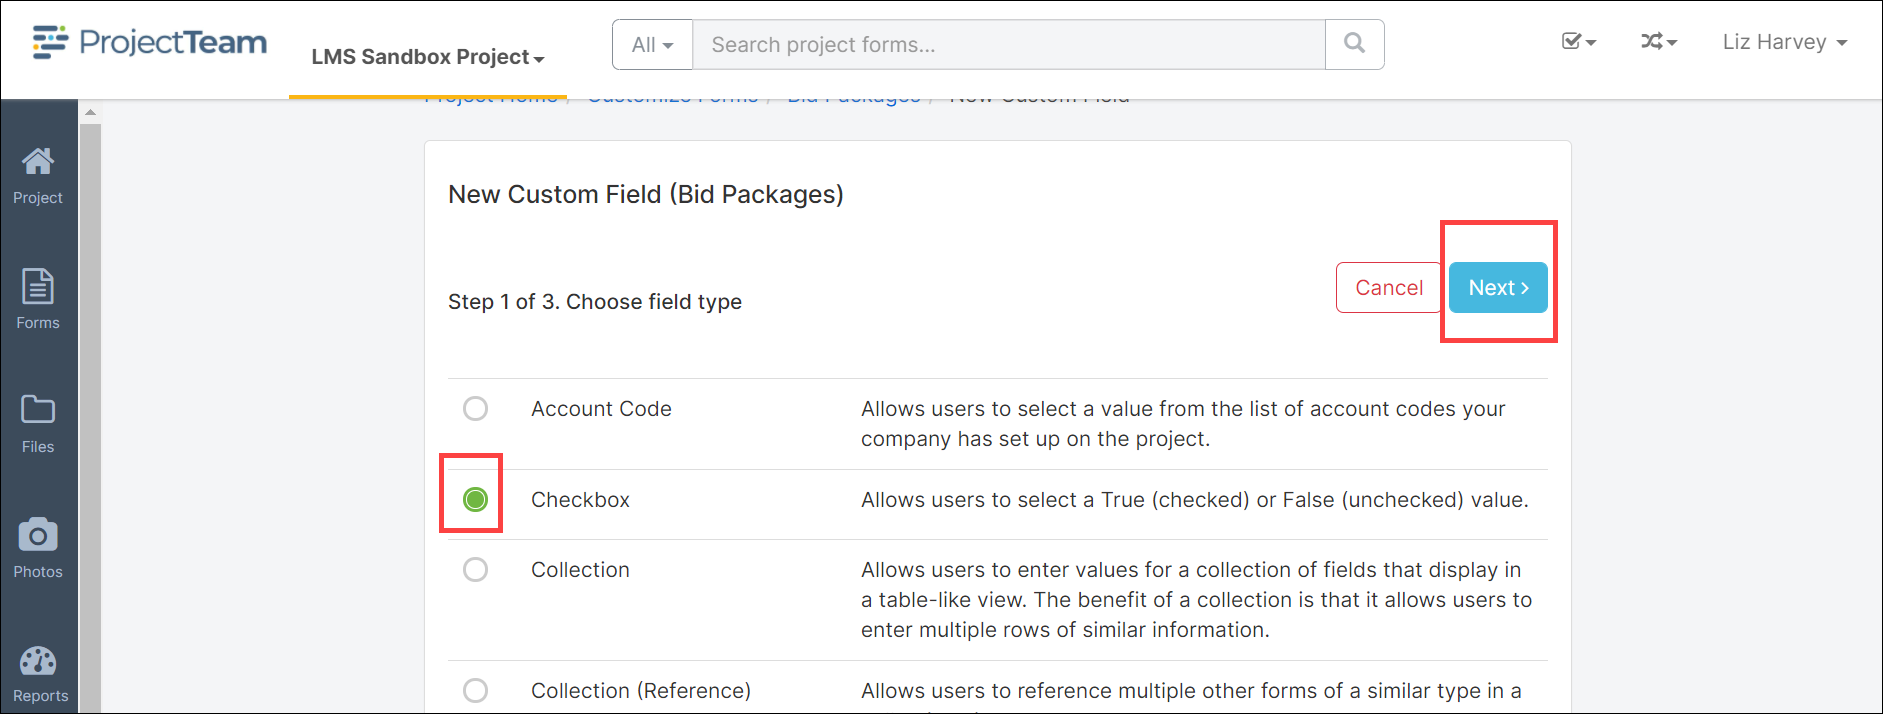
- In Step 1 of 3, using the radio button select the Field Type to be used on the new form from the list below.
- Click the Next button.
- In Step 2 enter the Field Label (the name that will be displayed on the form) and Help Text if applicable. Click Next to move to Step 3.

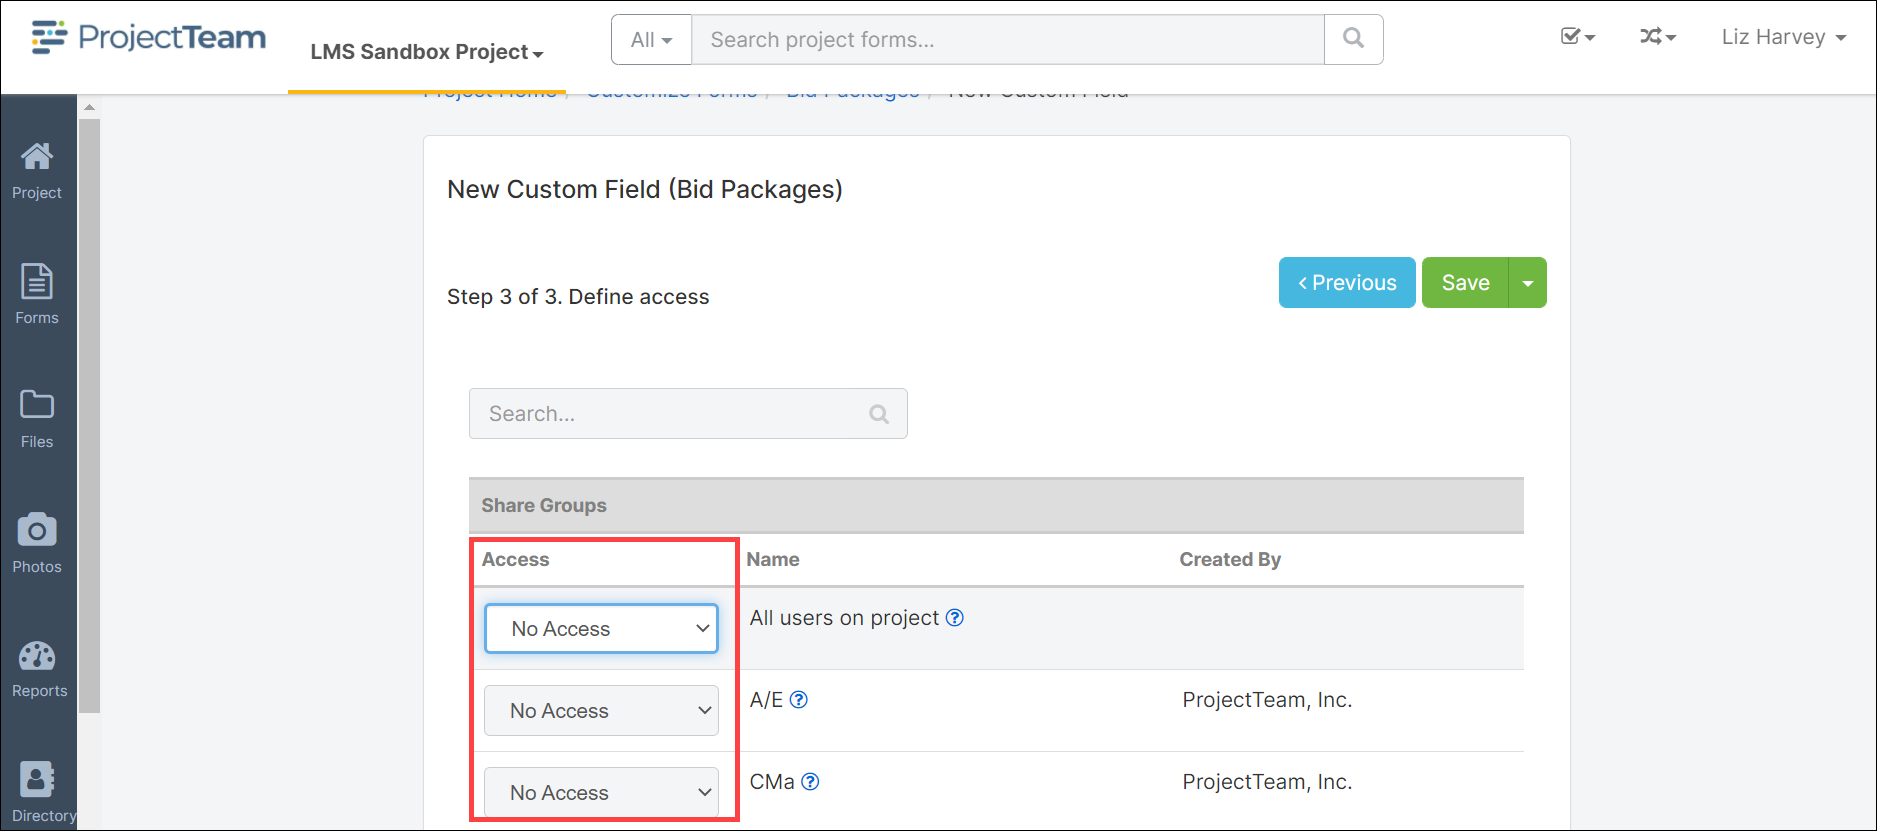
- In Step 3 Access to the field will be defined. There are 3 levels of access, No Access, Read/Write or Read Only. By default the user creating the custom field will be granted Read/Write Access. Access can be defined at a Share Group Level or a User Setting security on fields within a form follows the "most access wins" method of access. For example, if a user is included in a Share Group with access defined as Read/Write or Read Only, the Share Group will take precedence over the User level of No Access.
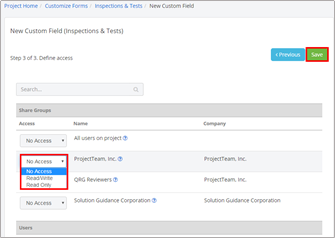
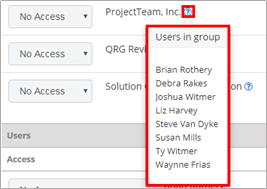
- To review the users in a Share Group click the “?” to the right of the Share Group Name.
- Select the appropriate Access for Share Groups or individual Users then click Save at the top of the window to save the custom field.
If adding multiple fields, click the Save button and select Save & New.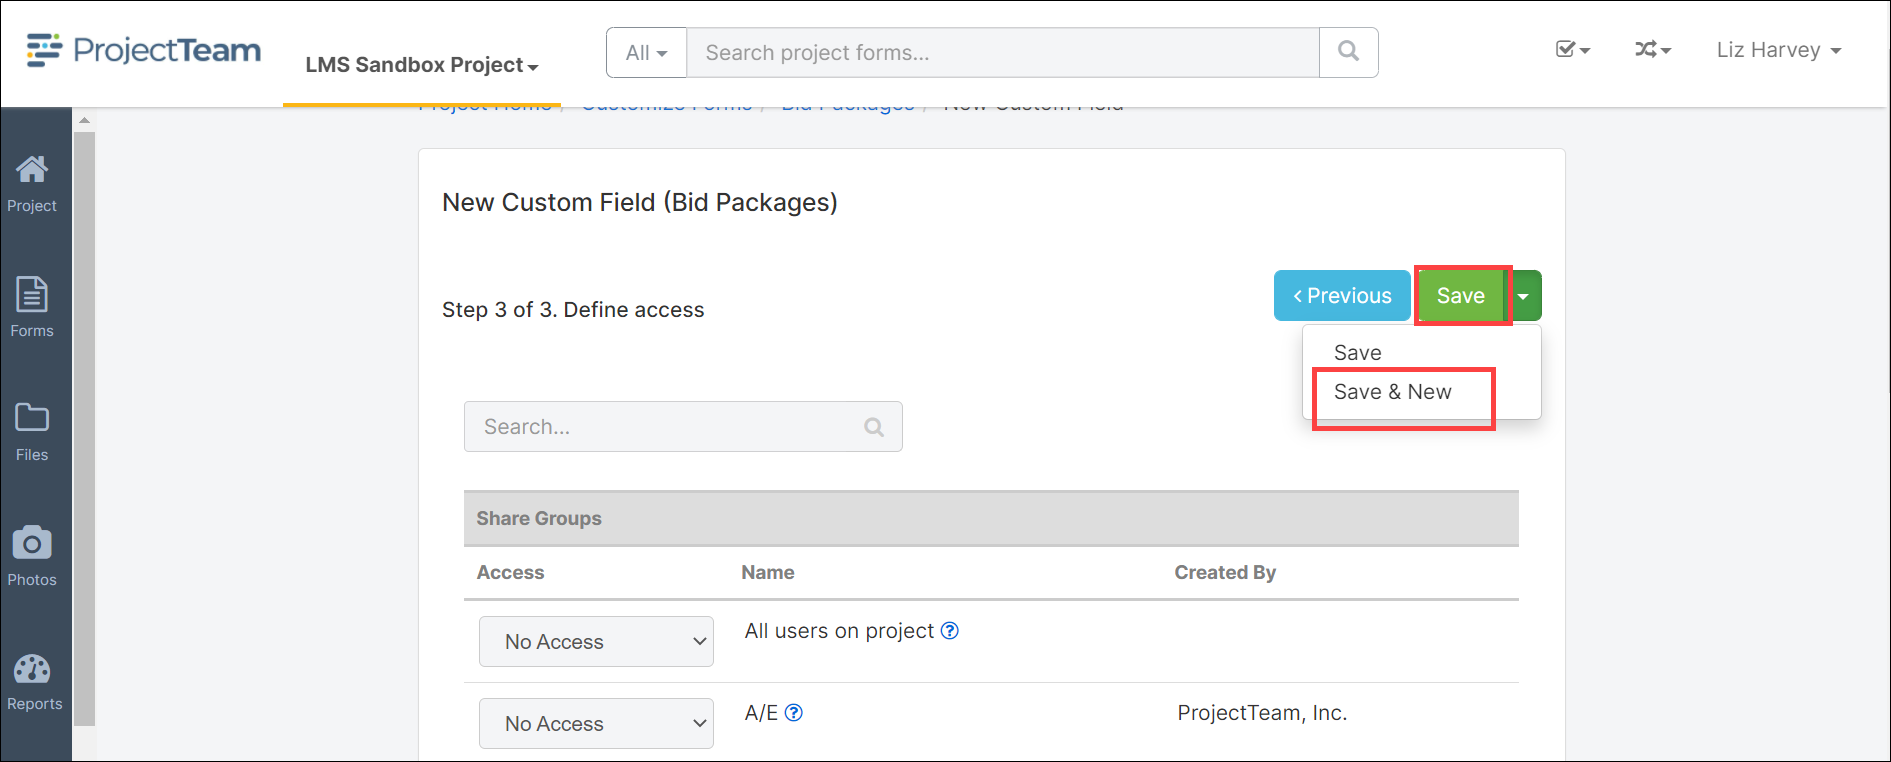
- Repeat Steps 3 through 13 to add additional fields to the form. ProjectTeam allows for unlimited custom fields on all forms.
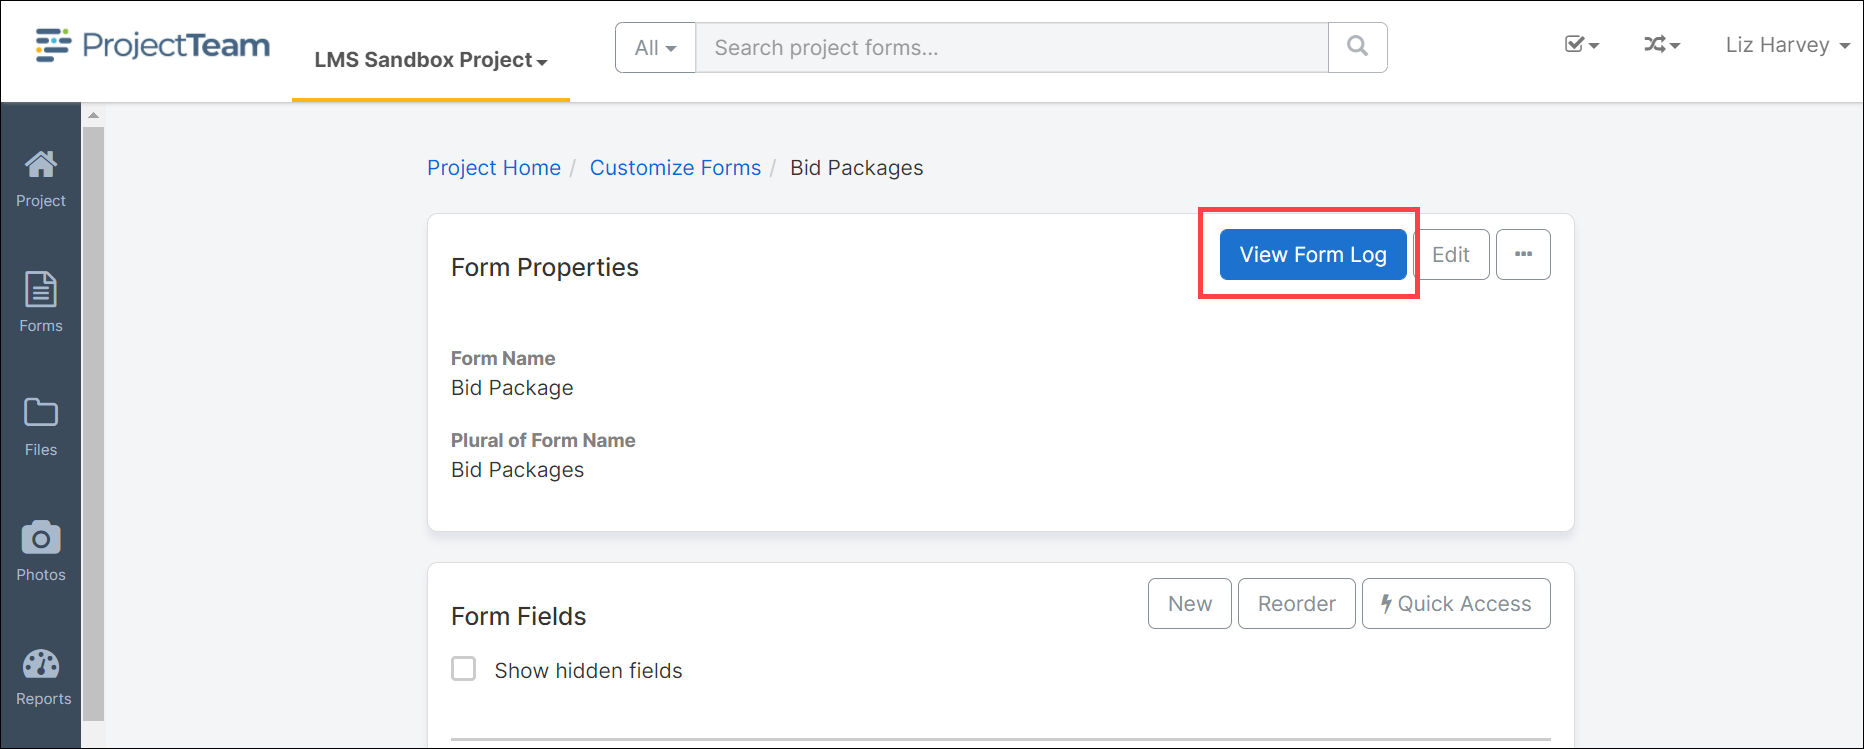
- Once all fields have been added, click the View Form Log button to review the added field on the form.

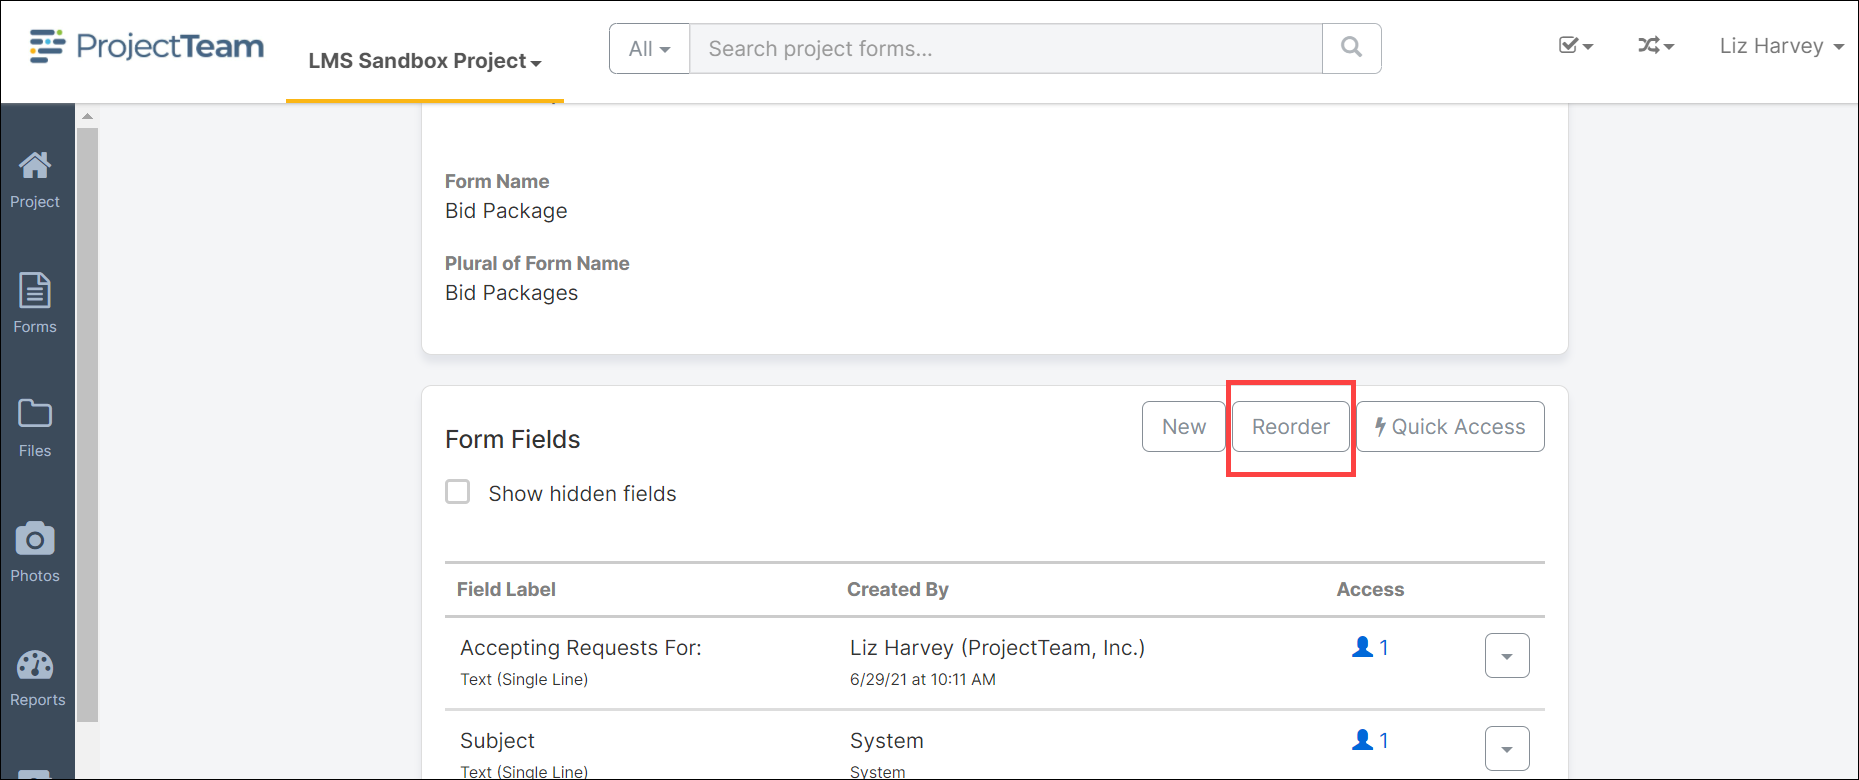
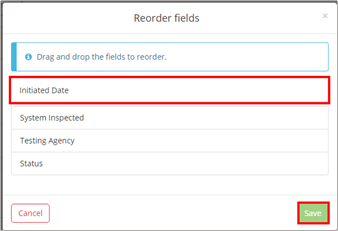
- To change the order of the fields, click the Reorder button at the top of the Form Fields pane.
- The Reorder fields modal window opens. Select the field to be moved. b it in the desired location. Click Save to save the reordered fields.
- Once all fields have been reordered, click the View Form Log button to review the added field on the form.
- Click the Project Home link on the breadcrumb trail to return to the home page.
