Inside each project, you will find a project calendar. There are two main functions of the project calendar. They include:
Configure working vs. non-working days
Working and non-working days are used when you have workflows for project forms. Each workflow step has a "Days to Approve" field that is based on the working days of the project. For example, if a workflow step is in your court on a Friday, and you have 3 days to approve but Saturday and Sunday are non-working days, then your workflow action is required by Tuesday (Friday-1, Monday-2, Tuesday-3).
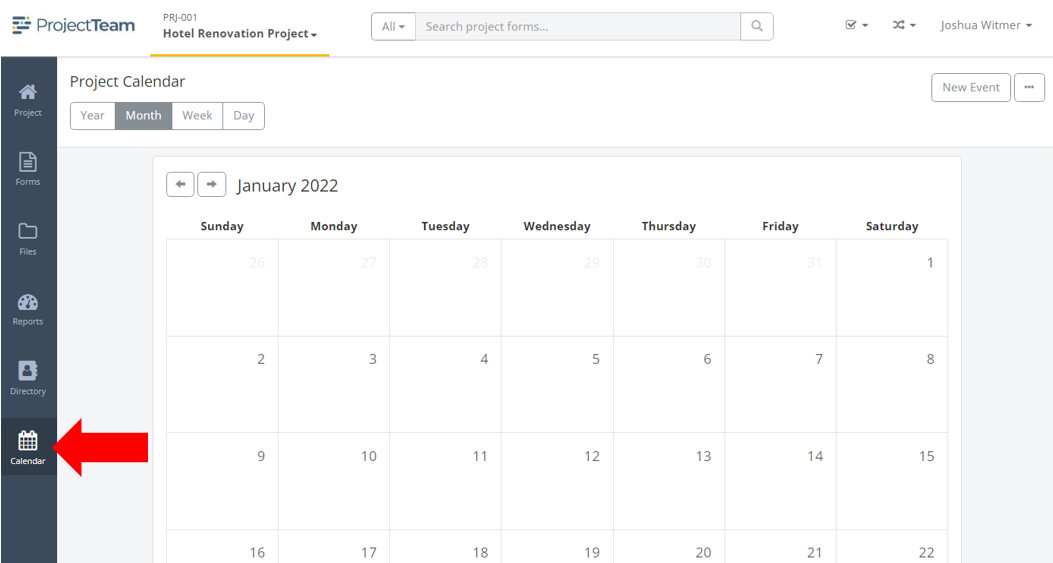
- Inside of a project, click the Calendar icon in the secondary navigation.
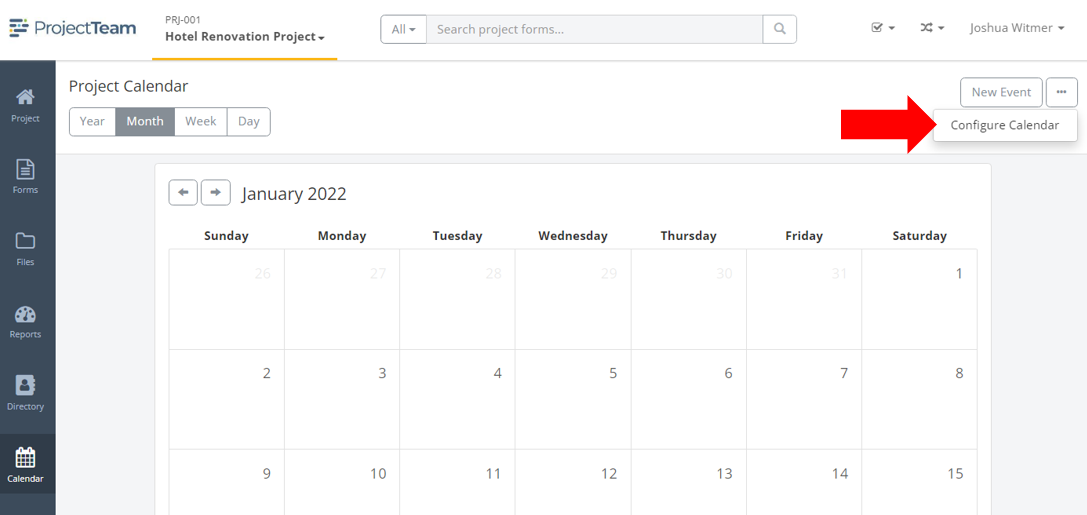
- Above the calendar view, click the ellipsis button and choose the Configure Calendar option.
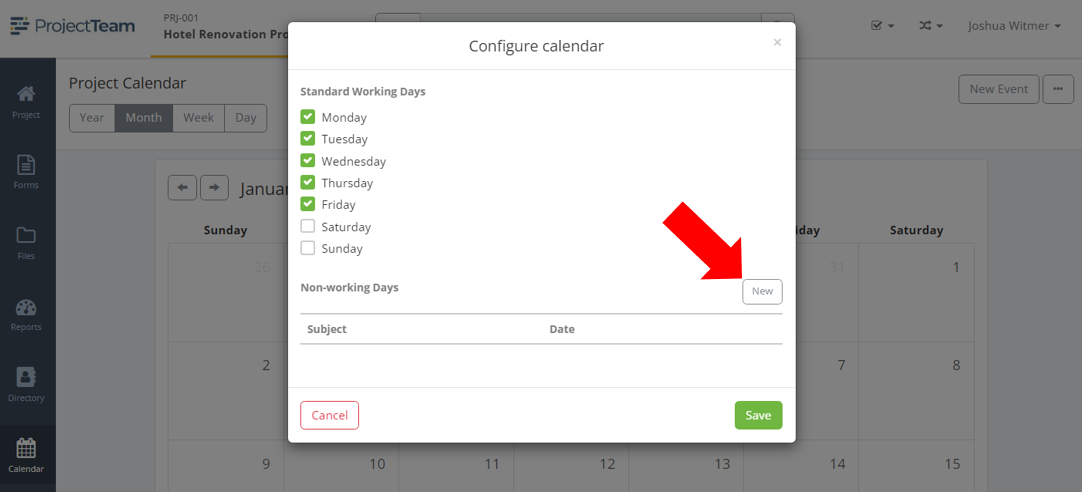
- Check or uncheck the standard working days (Common working days might be to check Monday - Friday and leave Saturday and Sunday unchecked).
- Add non-working days such as holidays and special project days by clicking the New button in the Non-working Days section.
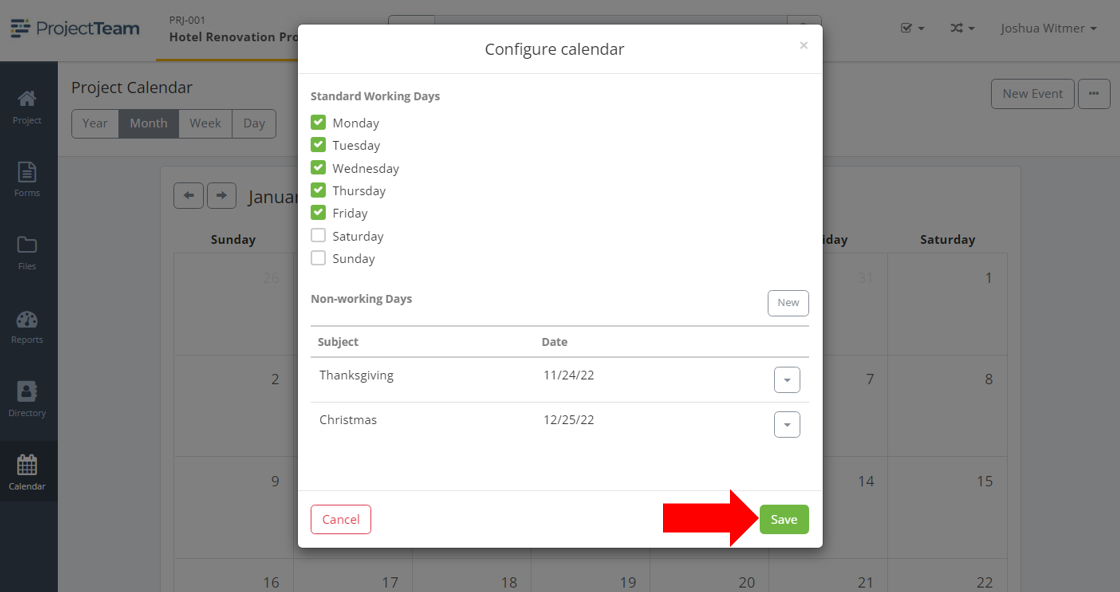
- Add a Subject and a Date for each non-working day (For example, Christmas for the Subject and 12/25/2022 for the Date).
- Click the Add Day button to add the non-working day to the list.
- Repeat steps 4-6 until all non-working days have been added.
- Click the Save button to save your calendar configurations.
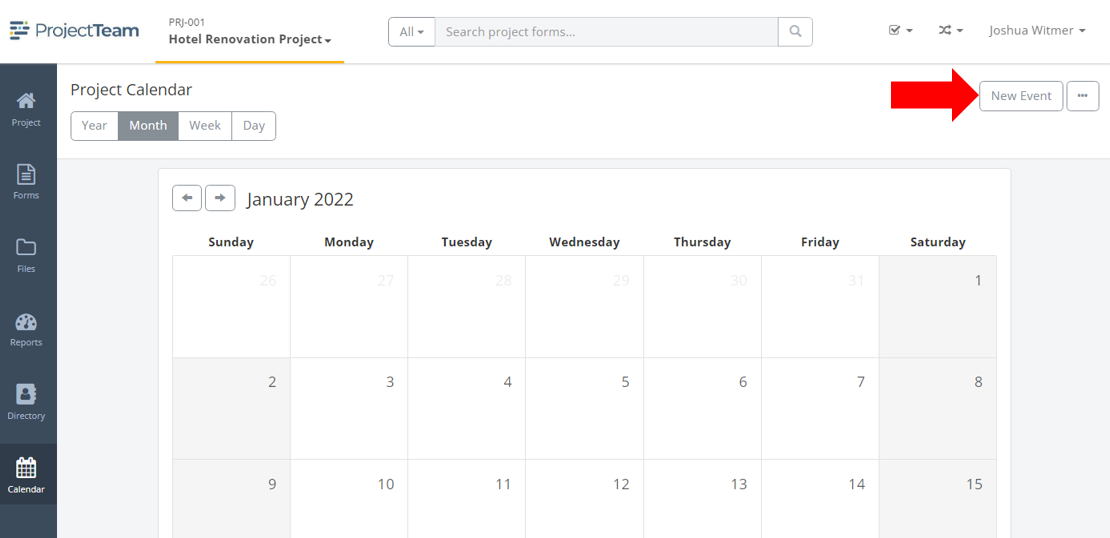
Add project-specific events
- Above the calendar view, click the New Event button.
- In the modal window, add the event:
- Subject
- Starts At (date and time)
- Ends At (date and time)
- Location
- Notes
- Click the Save button to add the event to the calendar.