By default, your My Photos tab is empty at the start of each new project. However, you can add photos in four different ways:
- From your computer, click the "Upload" button
- From your computer, drag and drop photos
- From your mobile device, take a new photo with your camera
- From your mobile device, add photos from your camera library
Once photos are uploaded, they will appear in the timeline view under the appropriate month, week, or day based on the date taken or the date uploaded (if the date taken cannot be found in the metadata).
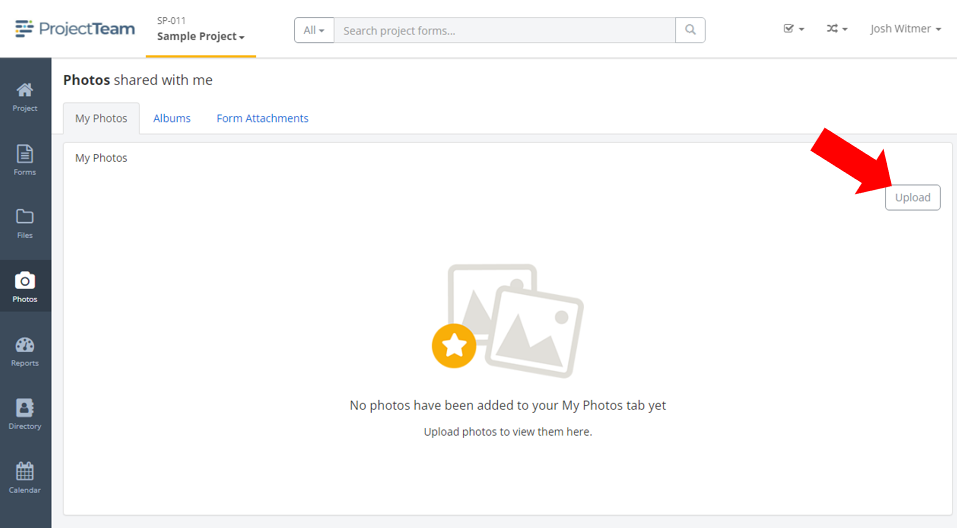
From your computer, click the "Upload" button
- Inside of the appropriate project, click the Photos option in the secondary navigation.
- You will land on the My Photos tab by default (verify the My Photos tab is active).
- Click the Upload button.
- Browse and select photos from your computer. (Note: Accepted file types for photos include: .jpg, .jpeg, and .png)
- Click Open.
- Uploaded photos will show in the My Photos timeline view.
- Optional: Repeat the steps above to upload more files.
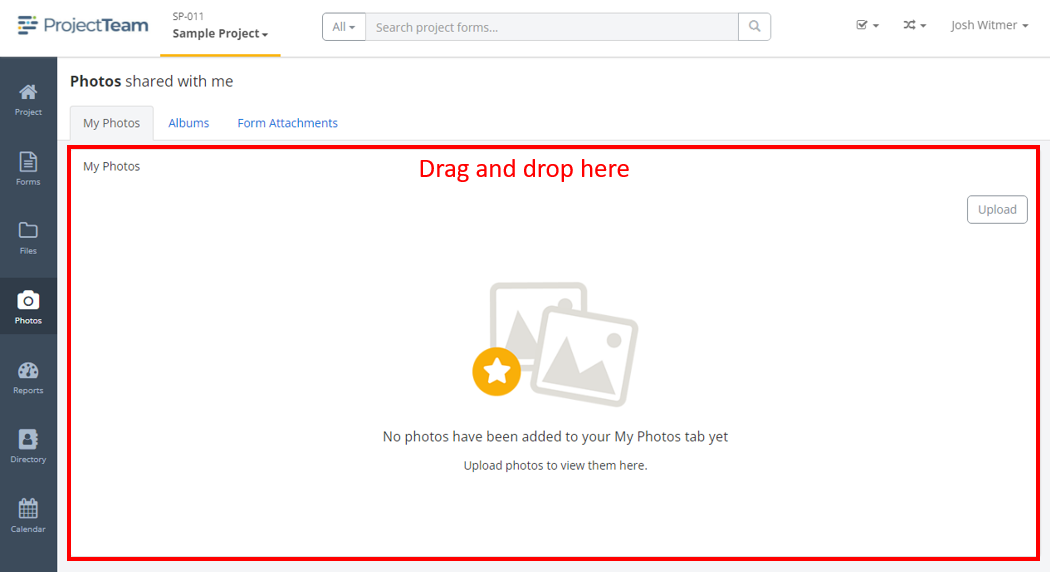
From your computer, drag and drop photos
- Inside of the appropriate project, click the Photos option in the secondary navigation.
- You will land on the My Photos tab by default (verify the My Photos tab is active).
- Open your computer's File Explorer and navigate to the appropriate photos that you want to drag into your My Photos area of ProjectTeam.com (Note: Accepted file types for photos include: .jpg, .jpeg, and .png).
- If you want to drag many photos at once, hold the Shift key on your keyboard and select multiple photos)
- Drag the selected photos to the main area of the My Photos tab, and drop to start the upload.
- Uploaded photos will show in the My Photos timeline view.
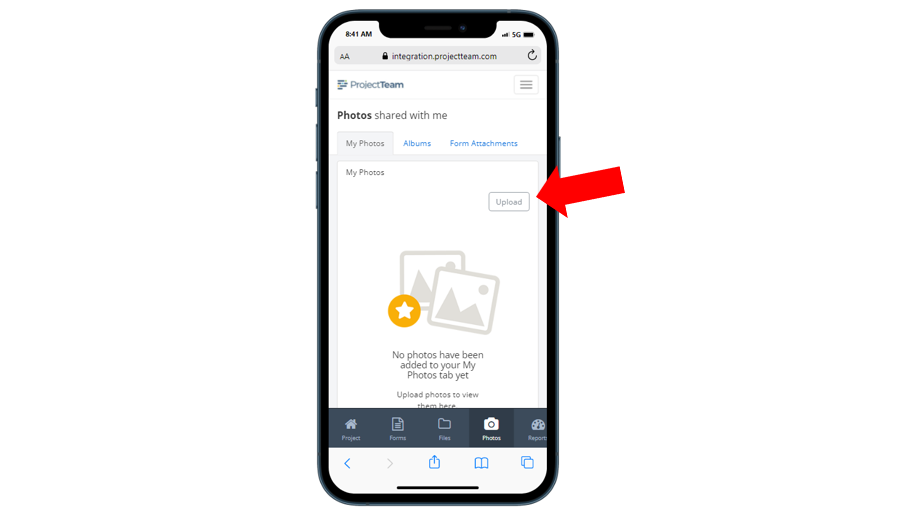
From your mobile device, take a new photo with your camera
- With your photo, navigate to the appropriate project and click the Photos option in the secondary navigation.
- You will land on the My Photos tab by default (verify the My Photos tab is active).
- Click the Upload button.
- Click the Take photo option.
- Your device's camera will open, take a photo with your camera, then click the Use Photo button.
- Uploaded photos will show in the My Photos timeline view.
From your mobile device, add photos from your camera library
- With your photo, navigate to the appropriate project and click the Photos option in the secondary navigation.
- You will land on the My Photos tab by default (verify the My Photos tab is active).
- Click the Upload button.
- Click the Photo Library option.
- Select one or multiple photos and then click the Add button.
- Uploaded photos will show in the My Photos timeline view.